Website management (blogs and news)
Write and publish posts for the public website: blog posts, news, platform insights and deployment guidance. Each post has a title, a banner image and its content.
Before you start
- You need a platform owner account.
- Website Management is not shown in the sidebar on some dedicated deployments.
- Have a banner image ready as a JPG or PNG file of up to 4 MB.
Steps
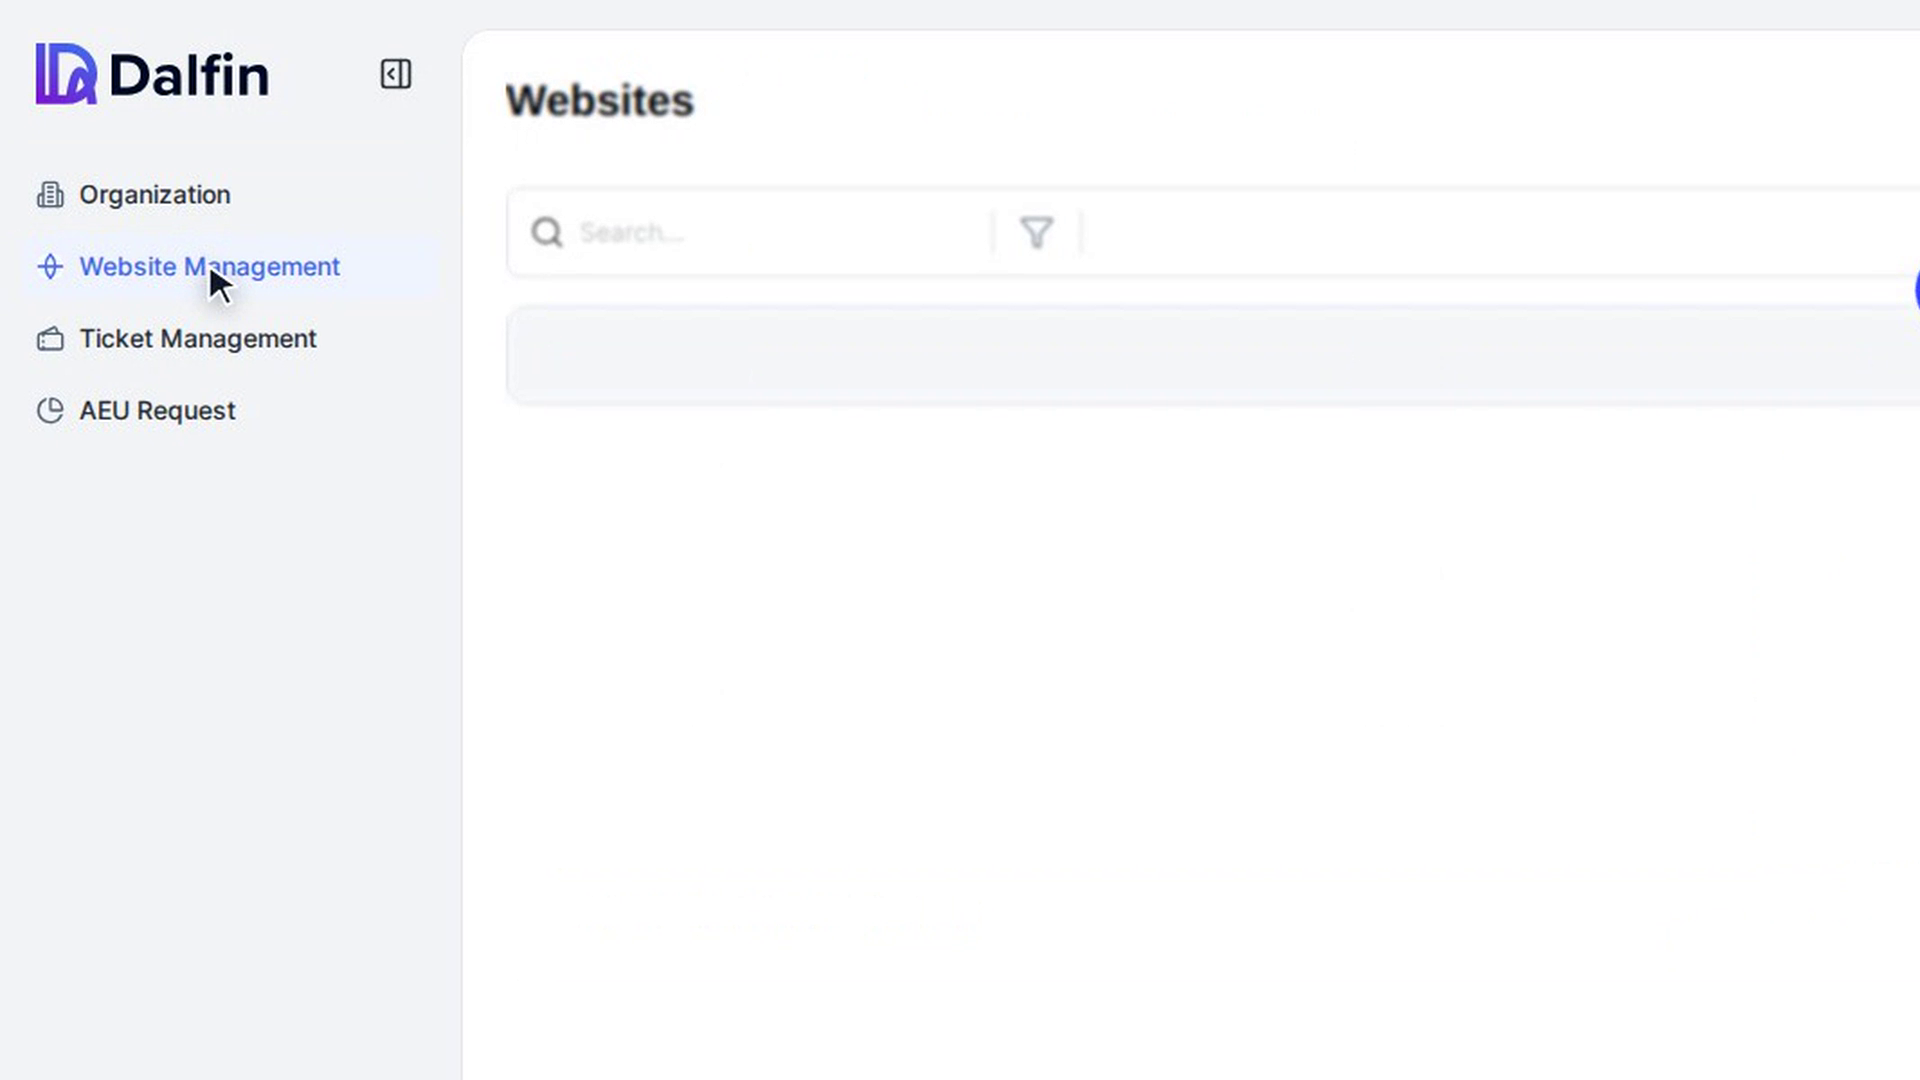
Open Website Management
In the admin panel sidebar, select Website Management. A table titled Websites lists the posts you have already created, with their status.
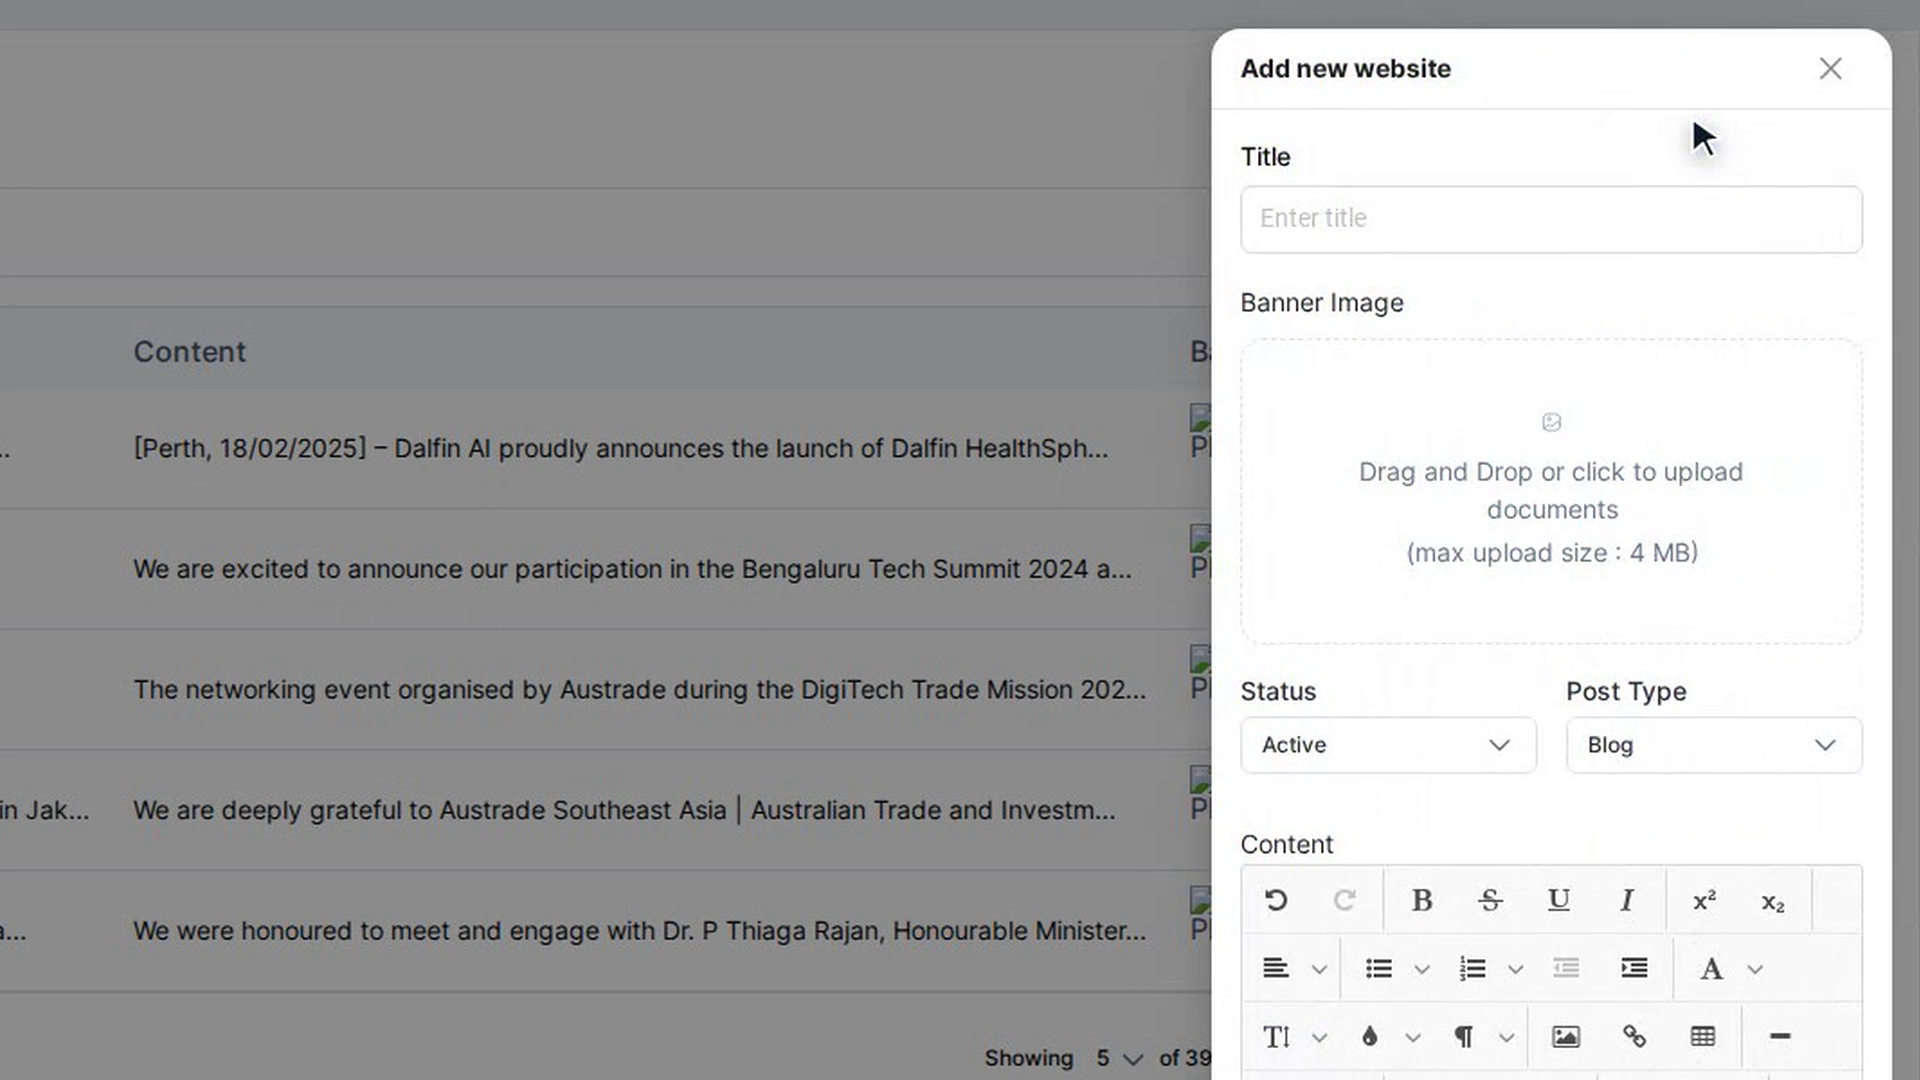
Start a new post
Select + Add Website above the table. A panel titled Add new website opens on the right.
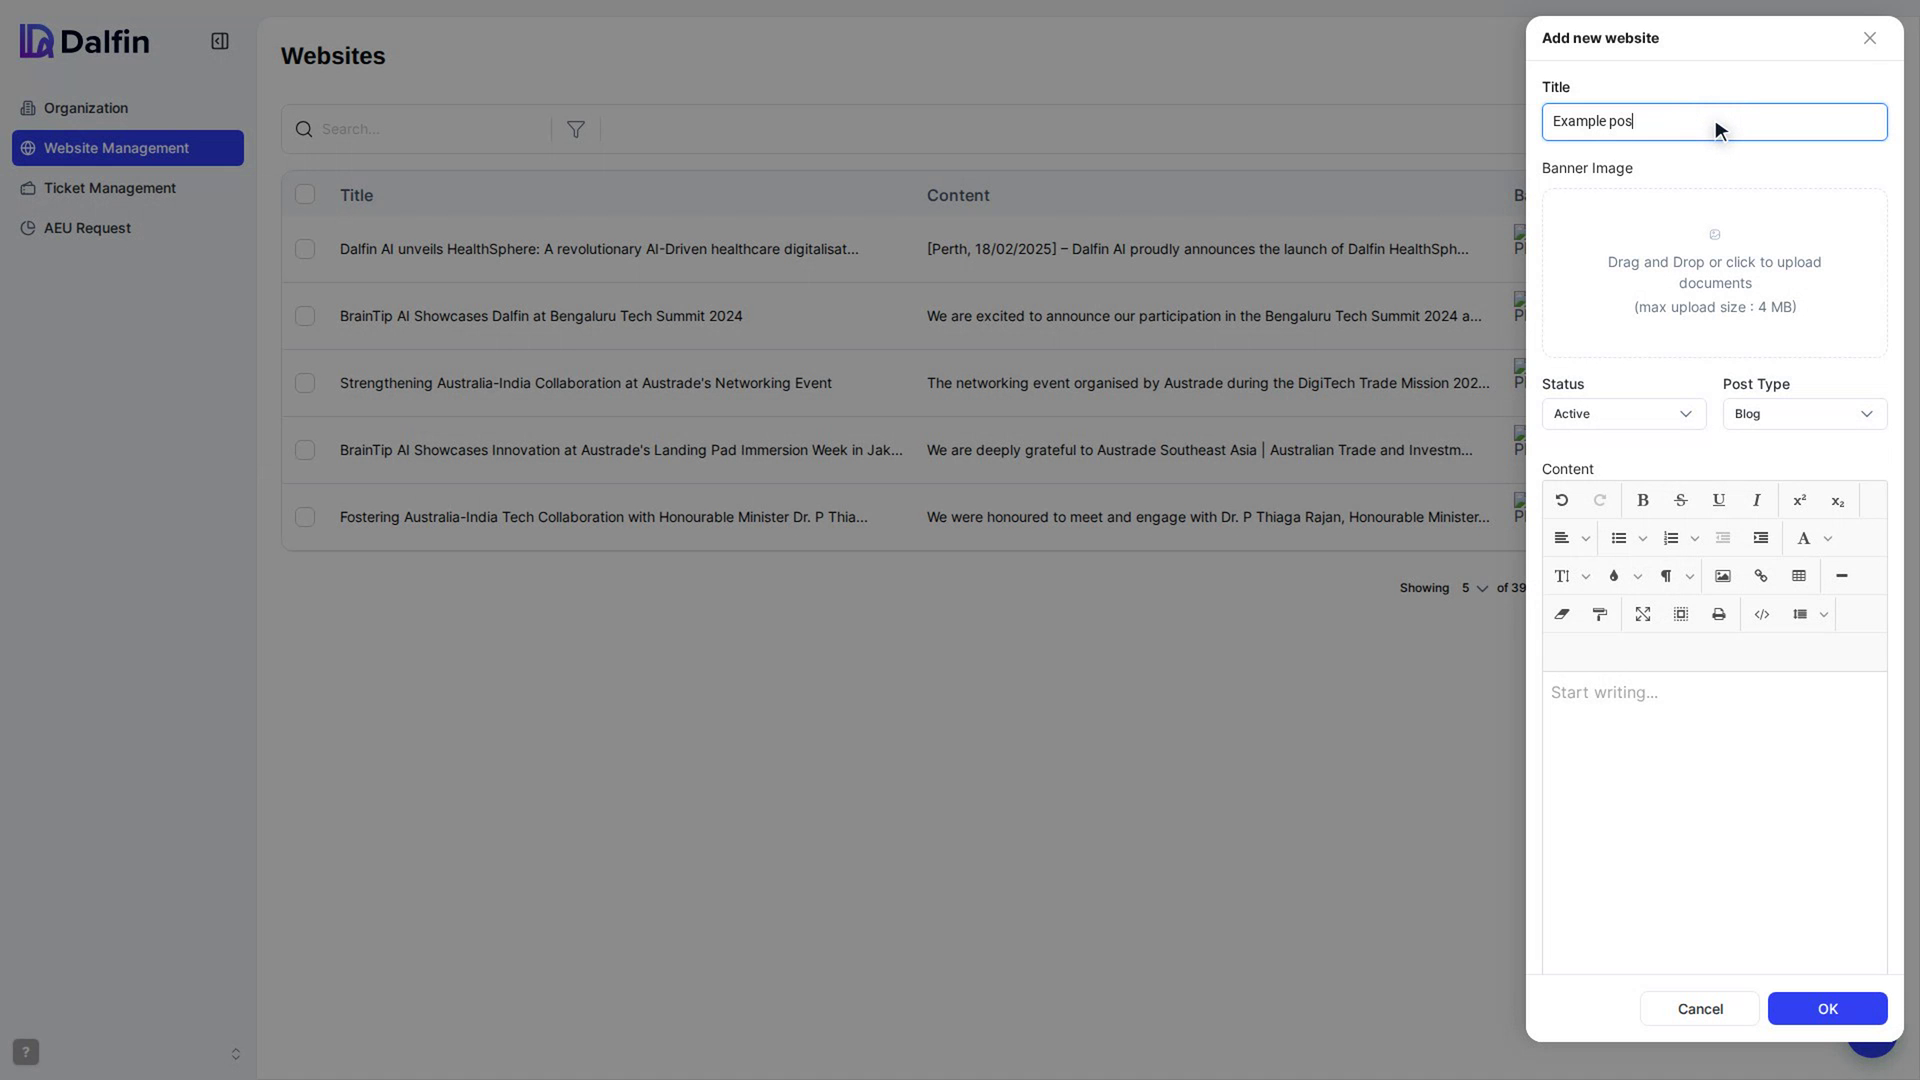
Fill in the post
- Title (required)
- Banner Image (required): upload a JPG or PNG, up to 4 MB.
- Status: Active or Inactive
- Post Type (required): Blog, News, Platform Insights or Deployment Guidance
- Content: write the post in the text editor, with headings, formatting and links.
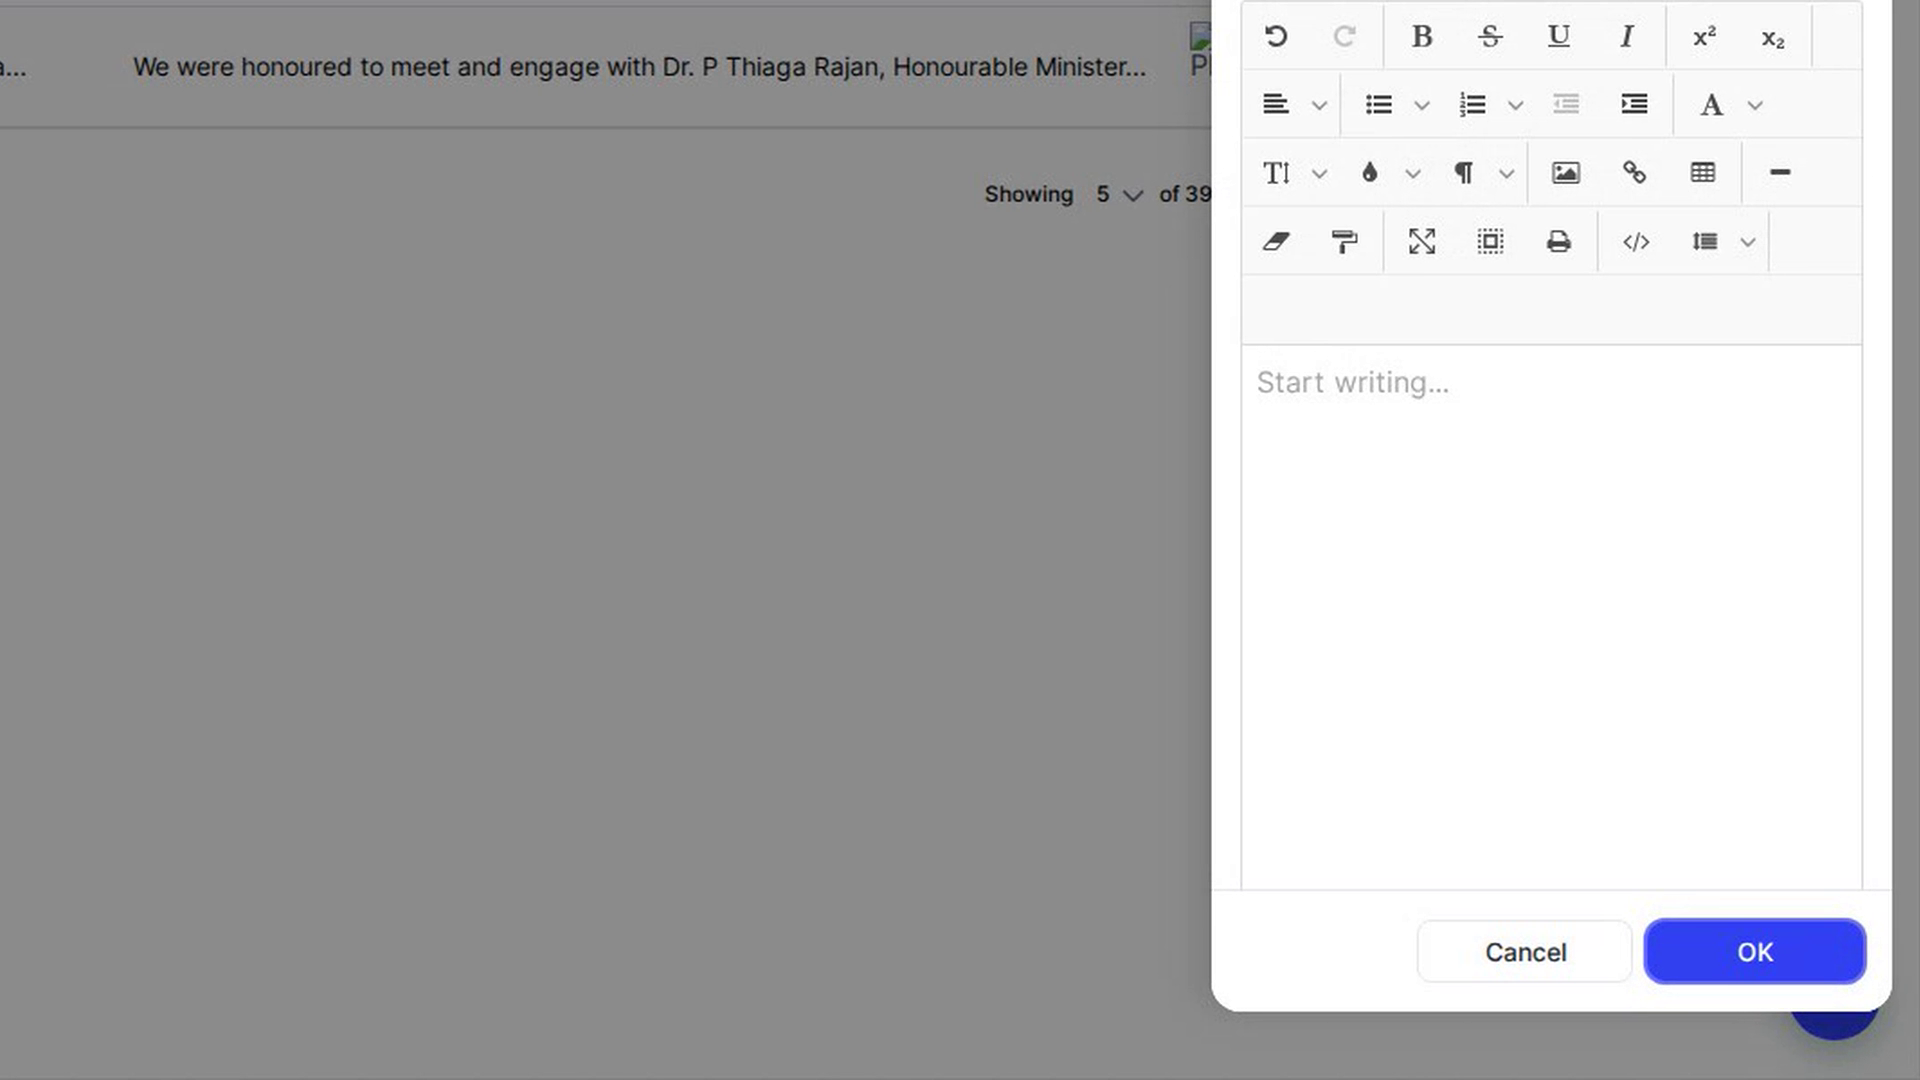
Save the post
Select OK. The panel closes and the post appears in the Websites table. If a required field is empty, you see a message under it, for example Title is required field or Banner image is required.
Edit a post
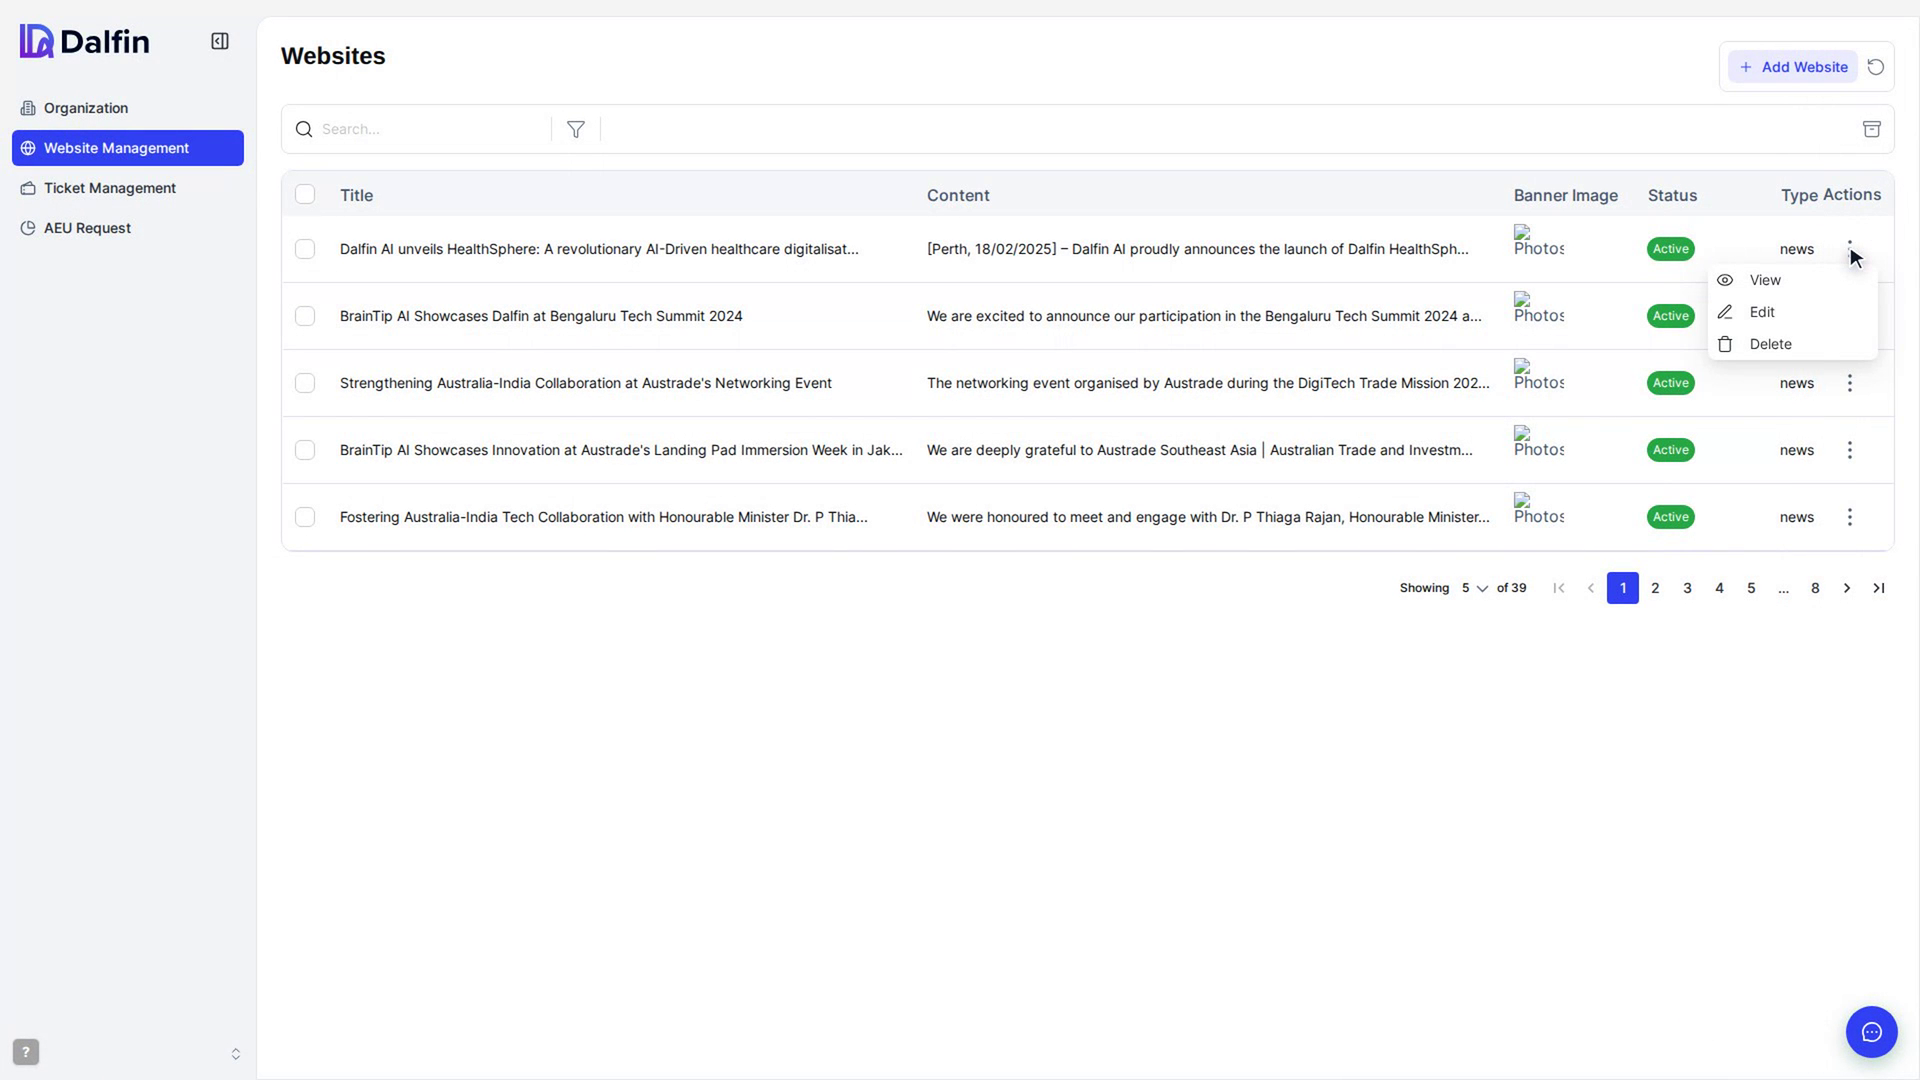
Select the ⋮ menu at the end of the post's row and choose Edit. The panel opens as Edit website with the post's details filled in. Make your changes and select OK.
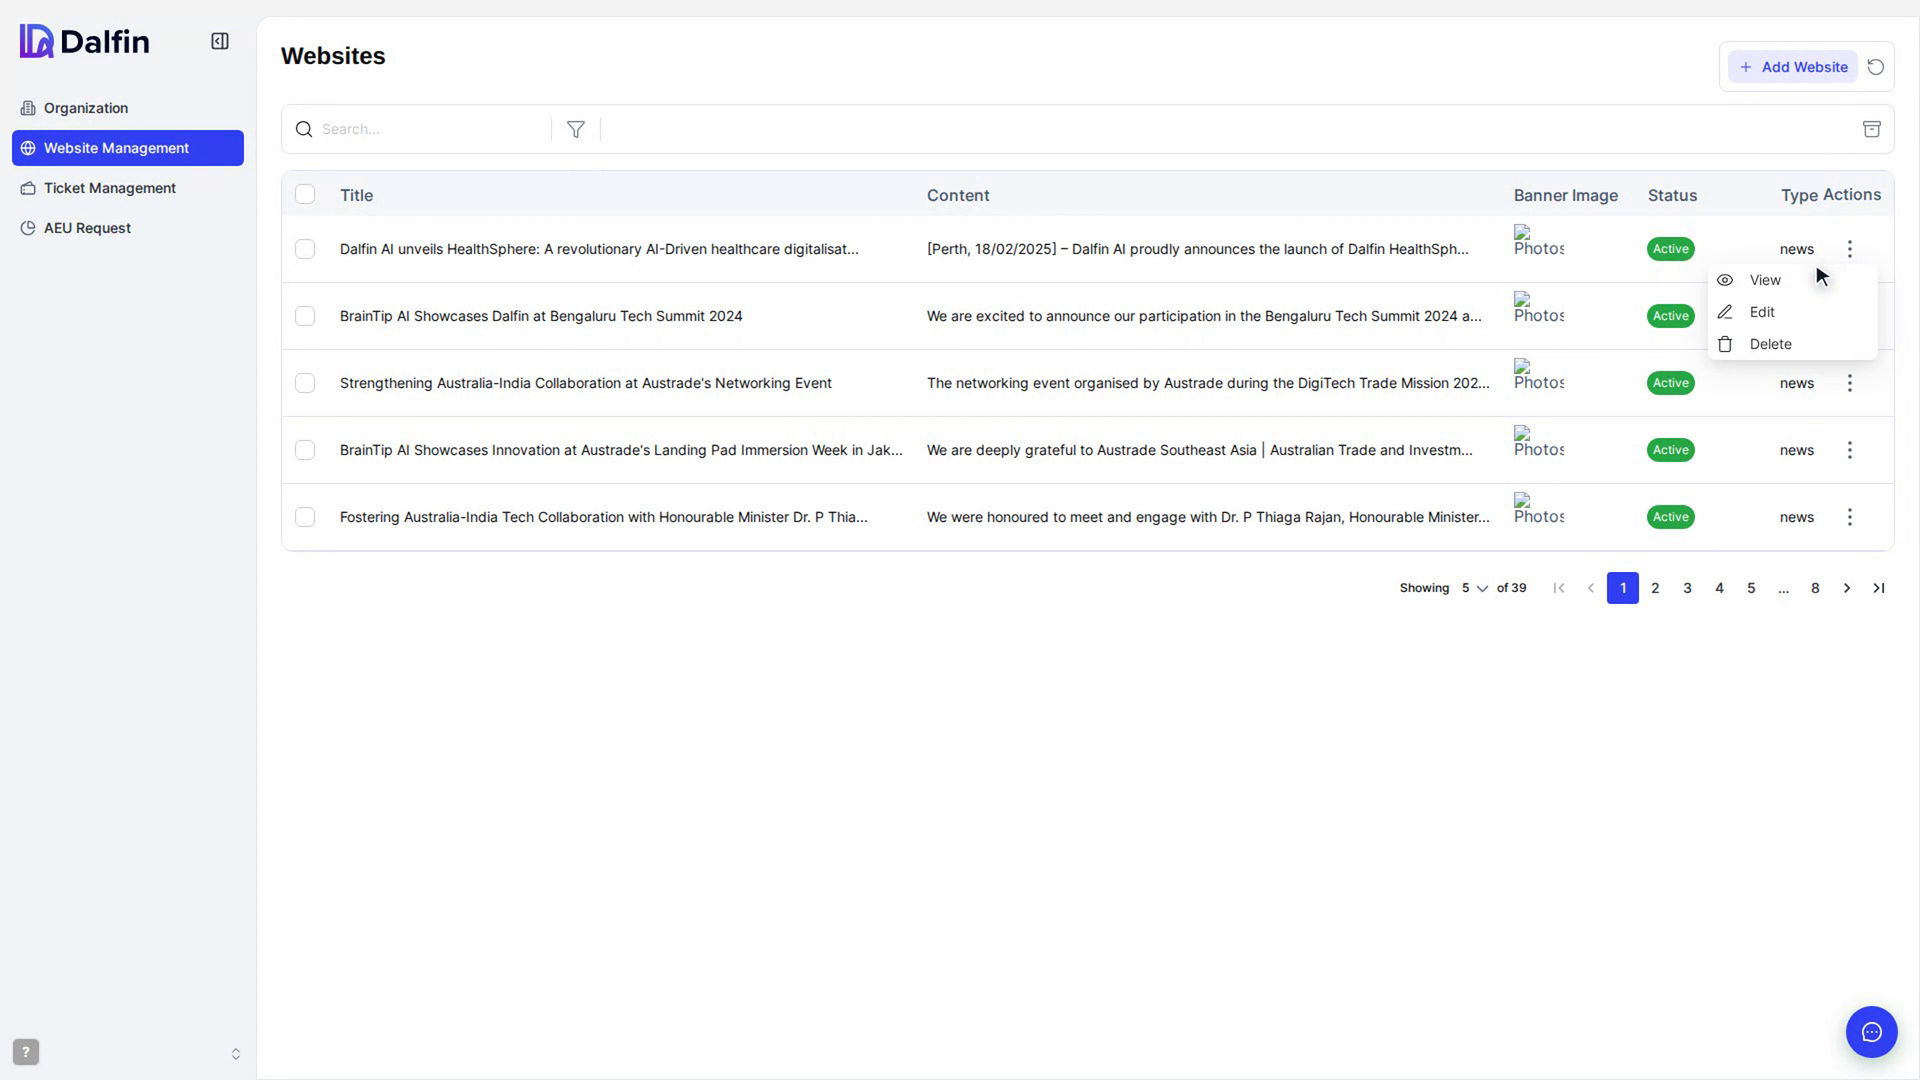
The ⋮ menu offers View, Edit and Delete, depending on your permissions.
Preview a post's details
Select the ⋮ menu on the post's row and choose View. A window shows the post's details without letting you edit them.
Screenshots
Step 1: Open Website Management
Step 2: Start a new post
Step 3: Fill in the post
Step 4: Save the post
Step 5: Edit a post
Step 6: Preview a post's details
Watch how
Setting a post's Status to Inactive doesn't take it off the website. To remove a post, delete it.