Add pages and components
Organize your app's pages in the menu and drag ready-made components, such as buttons, cards, text and form fields, straight onto a page. Use this when you want to change what a page contains or how your app's menu is arranged.
Before you start
- You need access to your app's Customize tab (usually a team admin).
- Your app must have finished building, so the editor can show its pages.
Steps
Open the page list
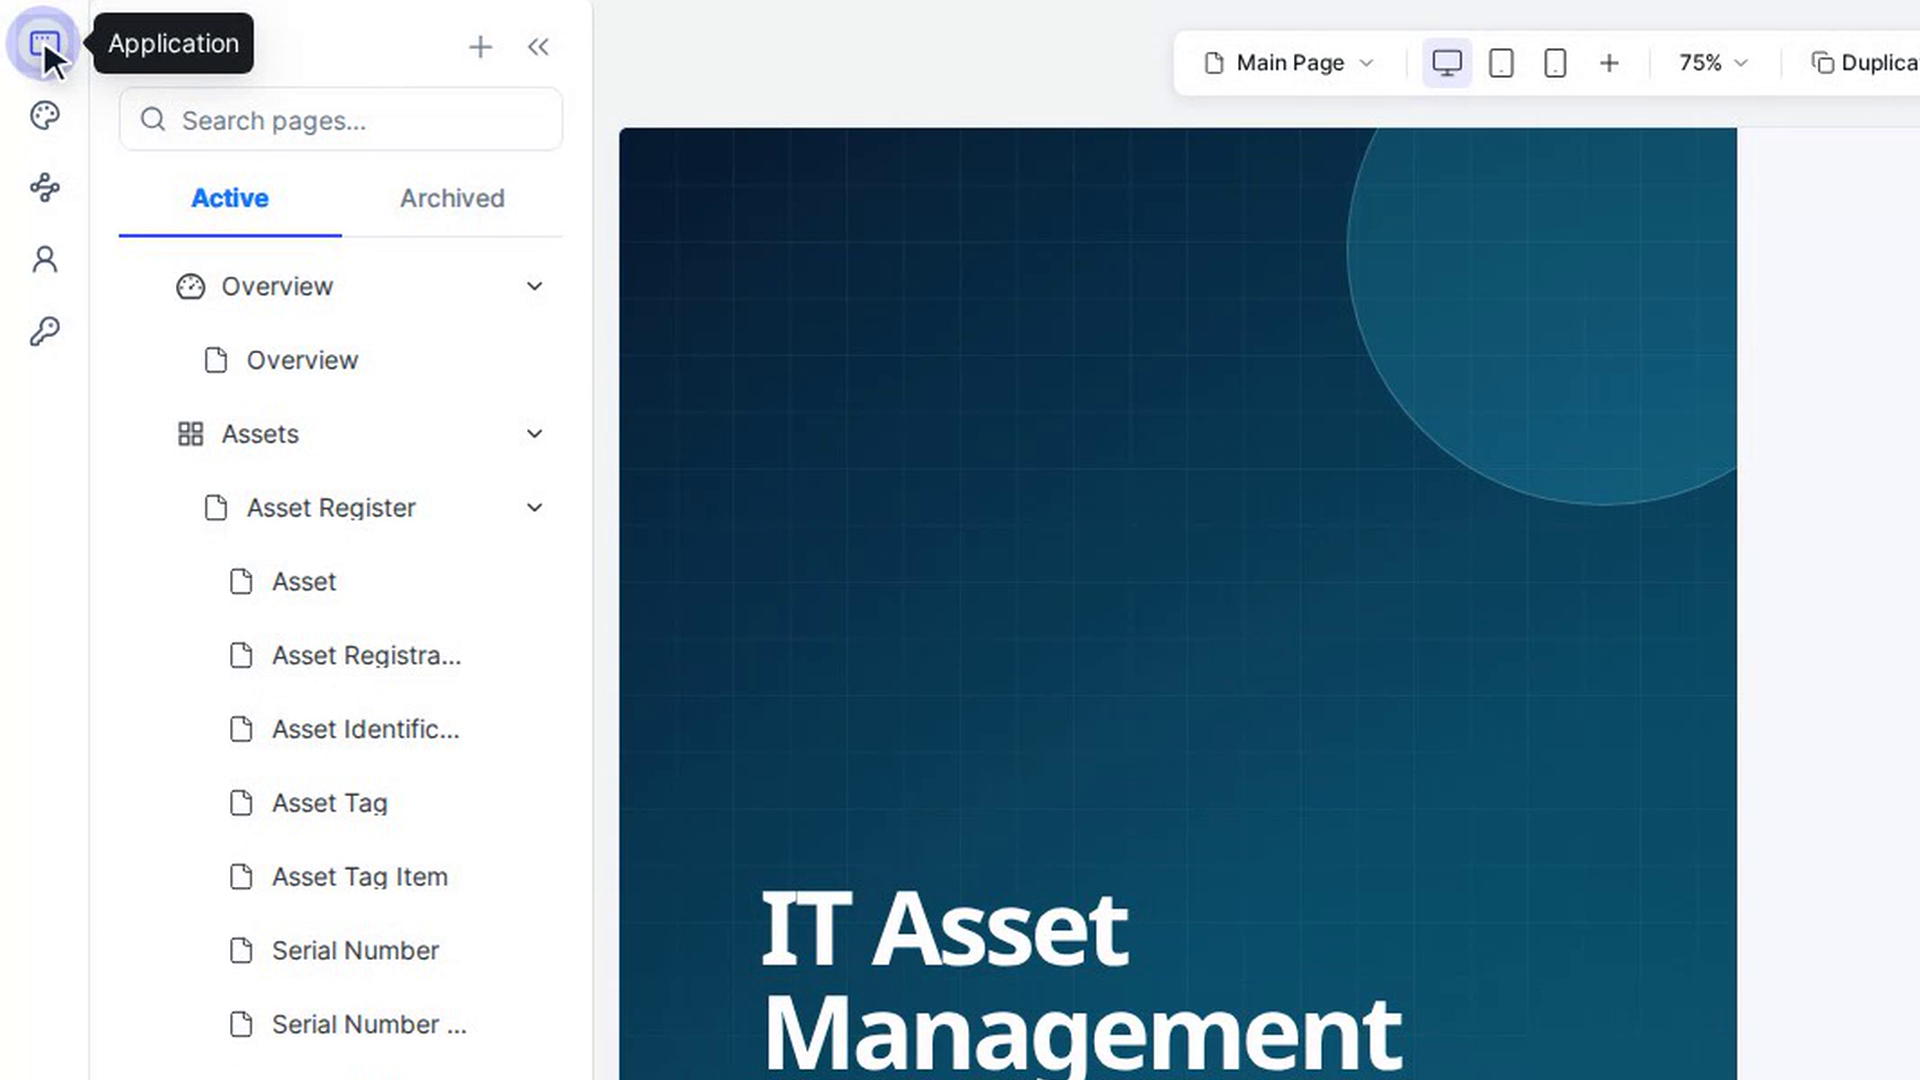
In the editor, select Application on the far-left rail. The Pages panel opens, showing your app's menu on the Active tab. Type in Search pages… to find a page quickly.
Open a page
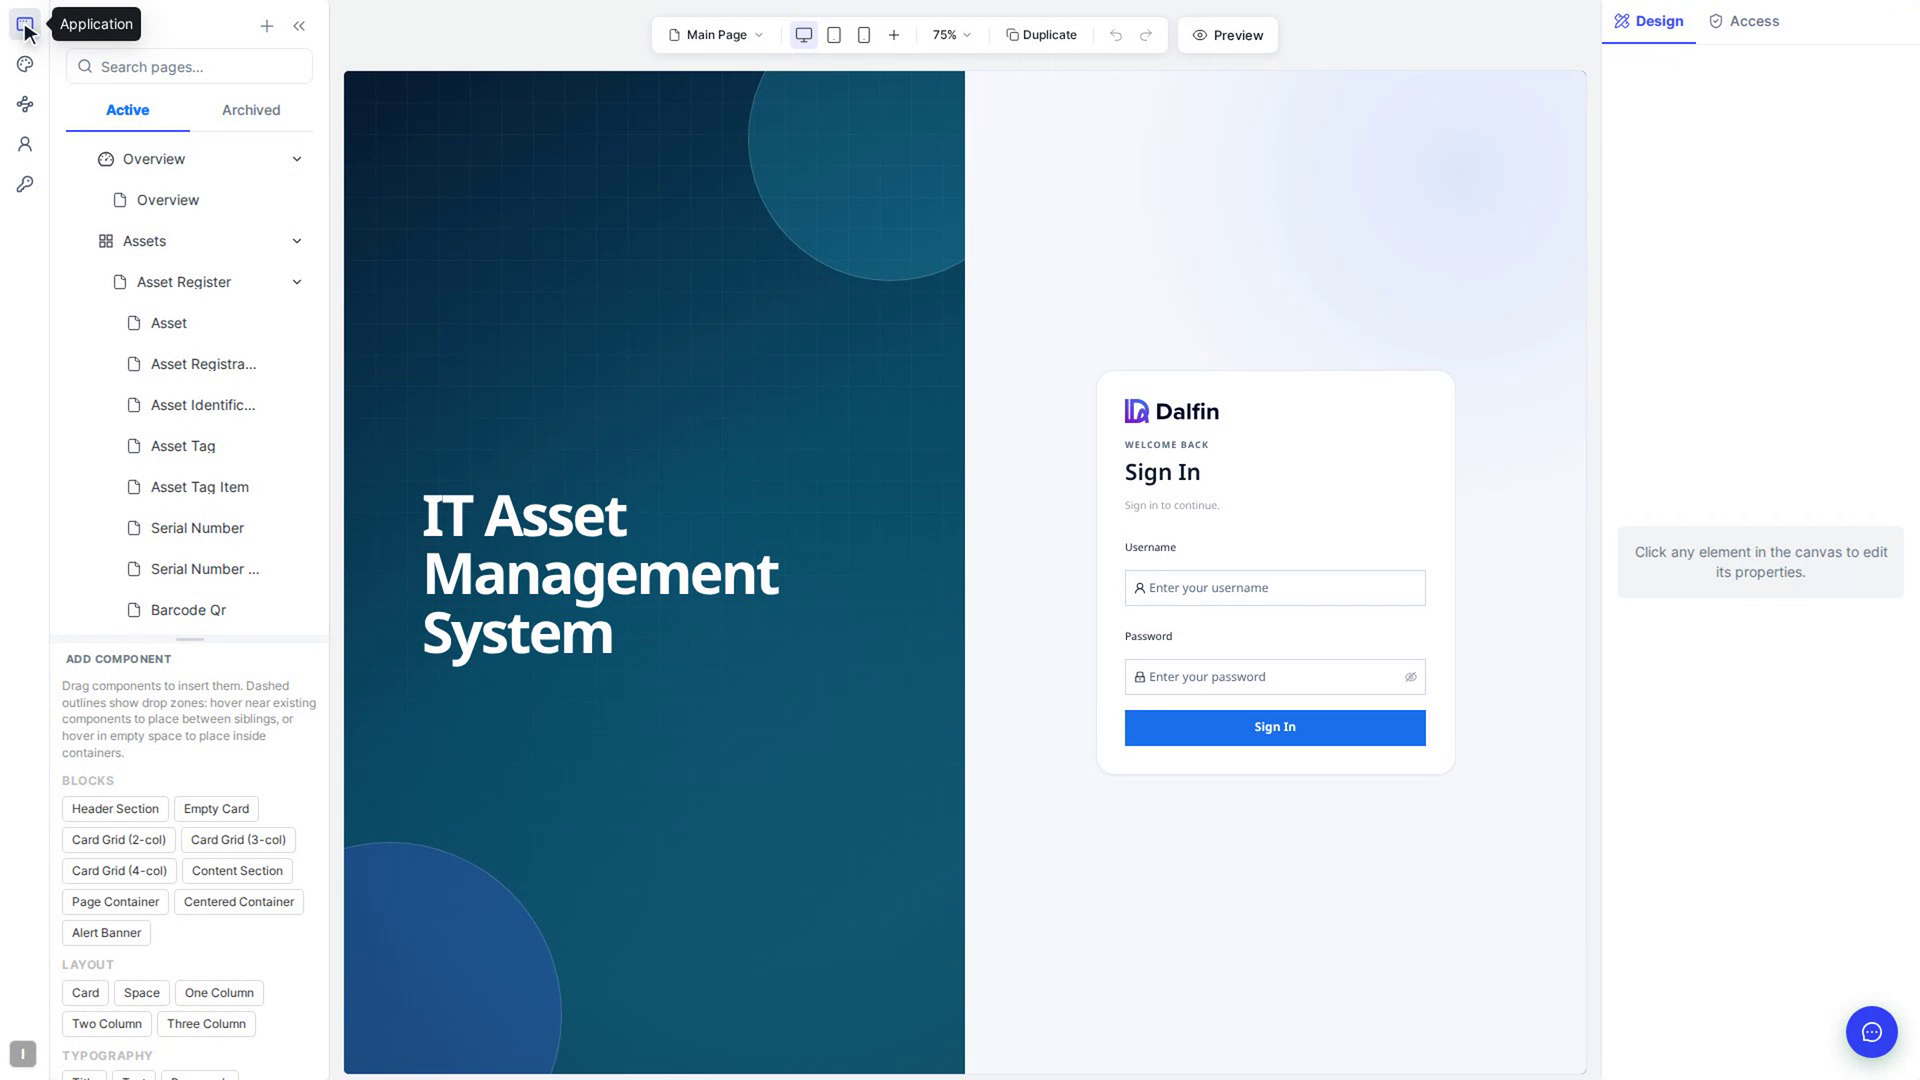
Select a page in the list. It opens on the canvas in the middle of the screen. Selecting a group opens or closes it to show the pages inside.
Add a group to the menu
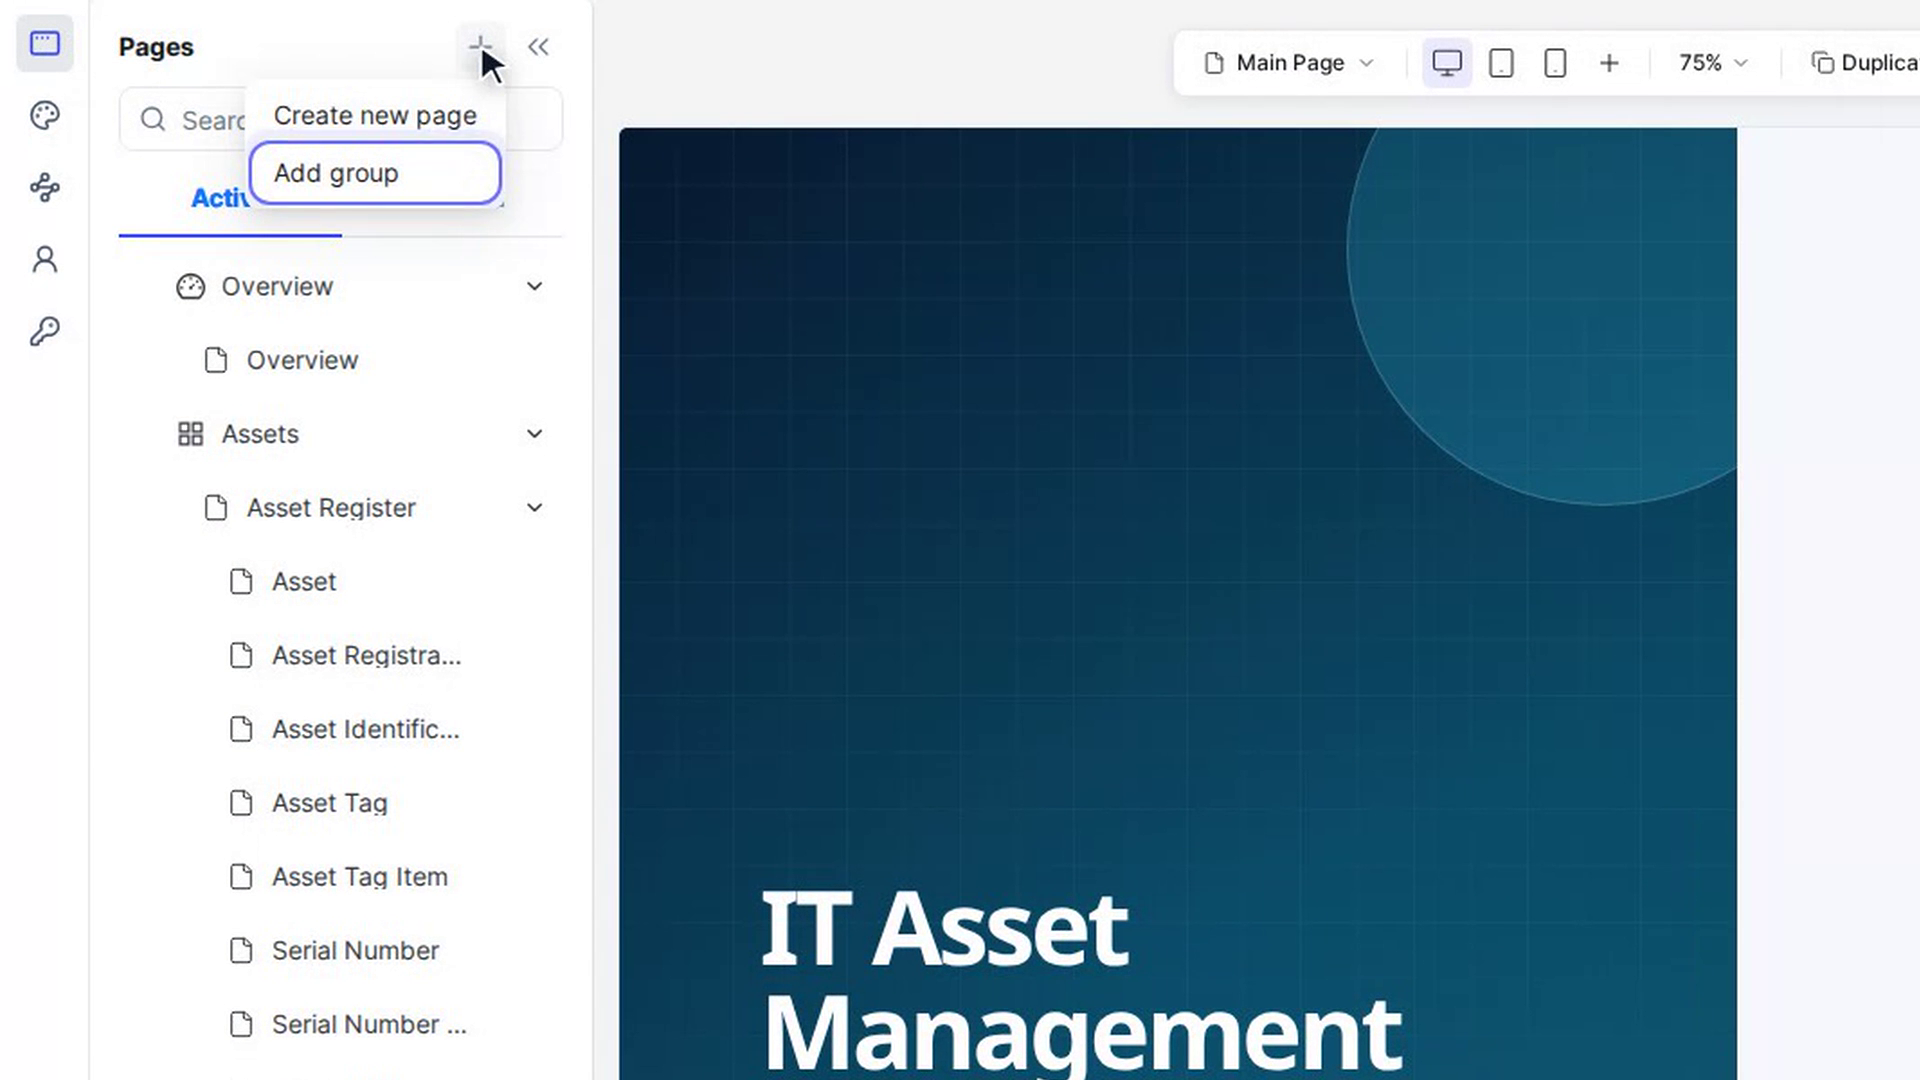
Select the + button (Add page or group) next to Pages, then choose Add group. A group called New Group appears at the bottom of the menu. Drag pages onto it to place them inside.
Rearrange, rename or remove menu items
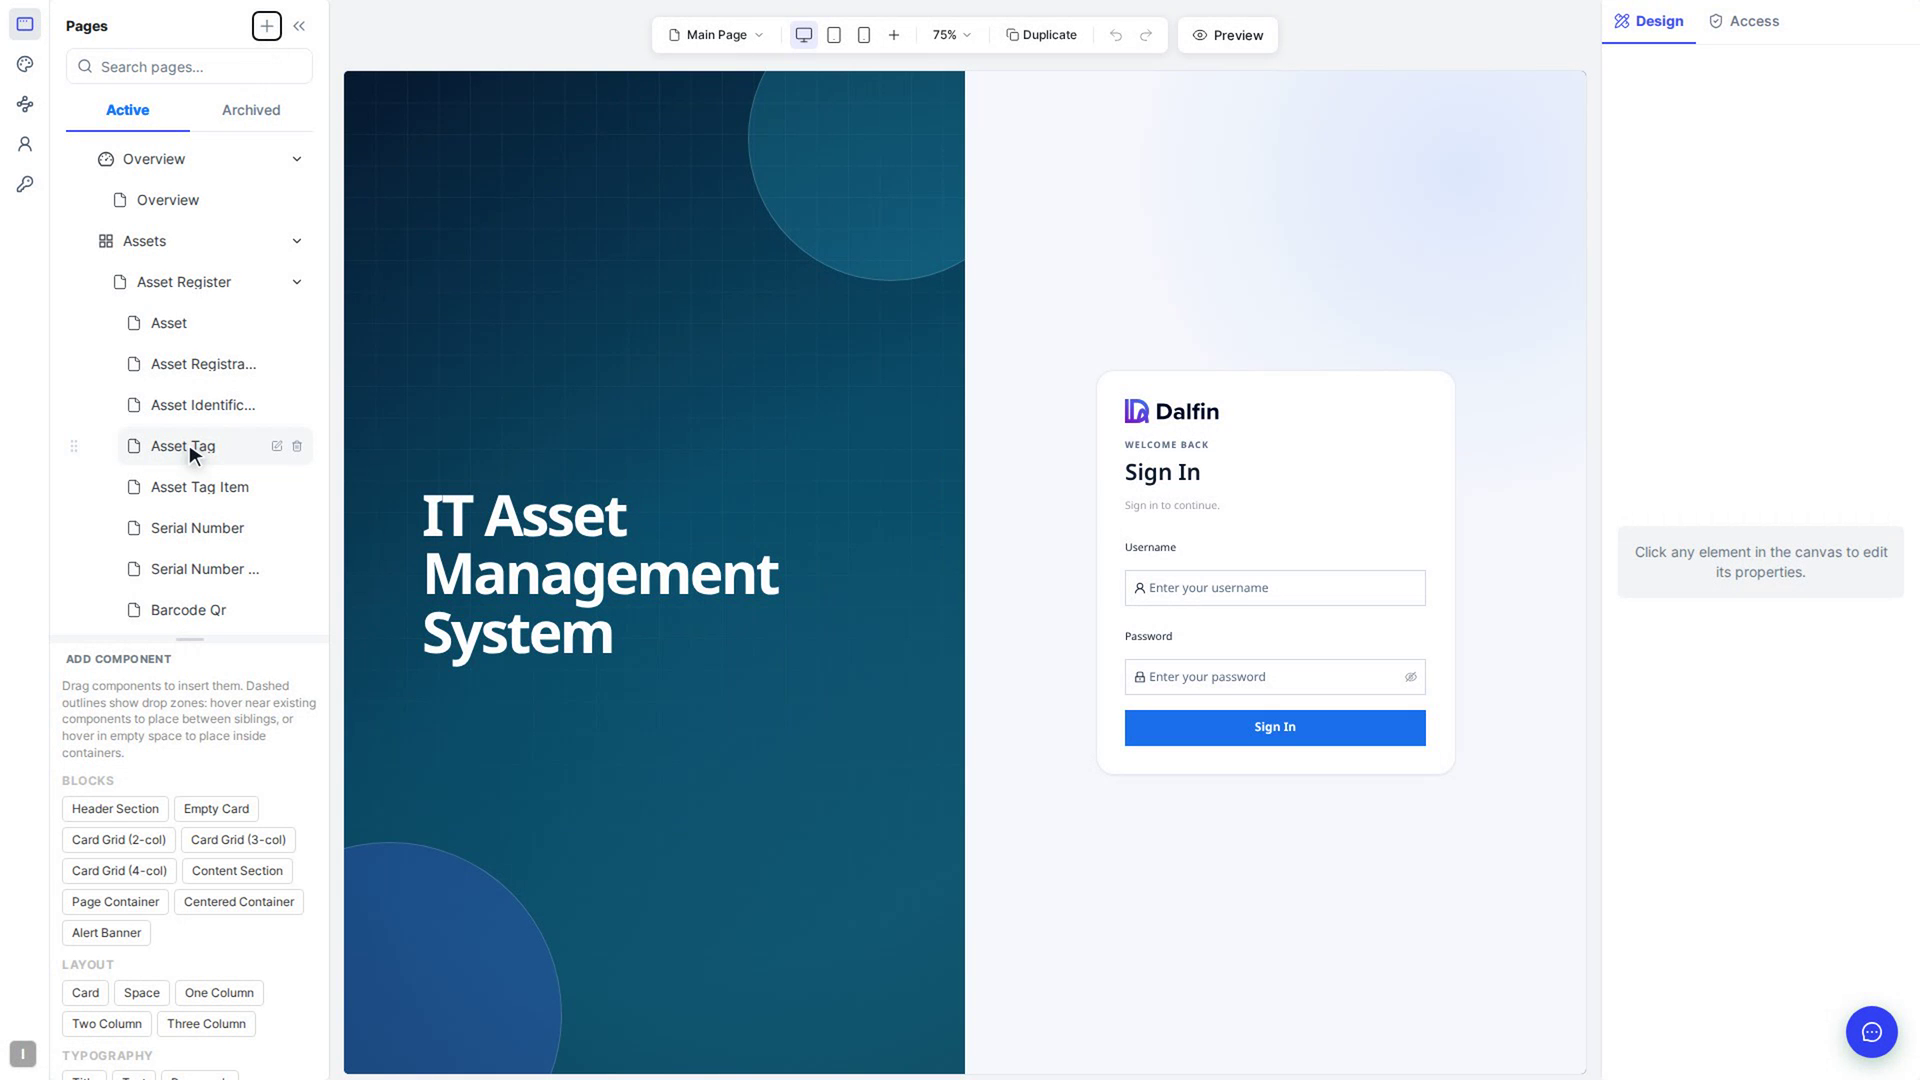
- Rearrange: drag a page or group up or down in the list, or into another group. Dragging is turned off while you are searching.
- Rename or change the icon: hover over an item and select the pencil icon (Edit (label, icon, show icon)). In Edit menu item (or Edit group), change the Label, choose an Icon, switch Show icon on or off, and select Save.
- Remove: hover over an item and select the bin icon (Remove from the menu). A removed page moves to the Archived tab. Removing a group moves its pages to Archived too.
After each change you see Navigation saved — rebuilding MFE… while the app updates.
Bring back an archived page
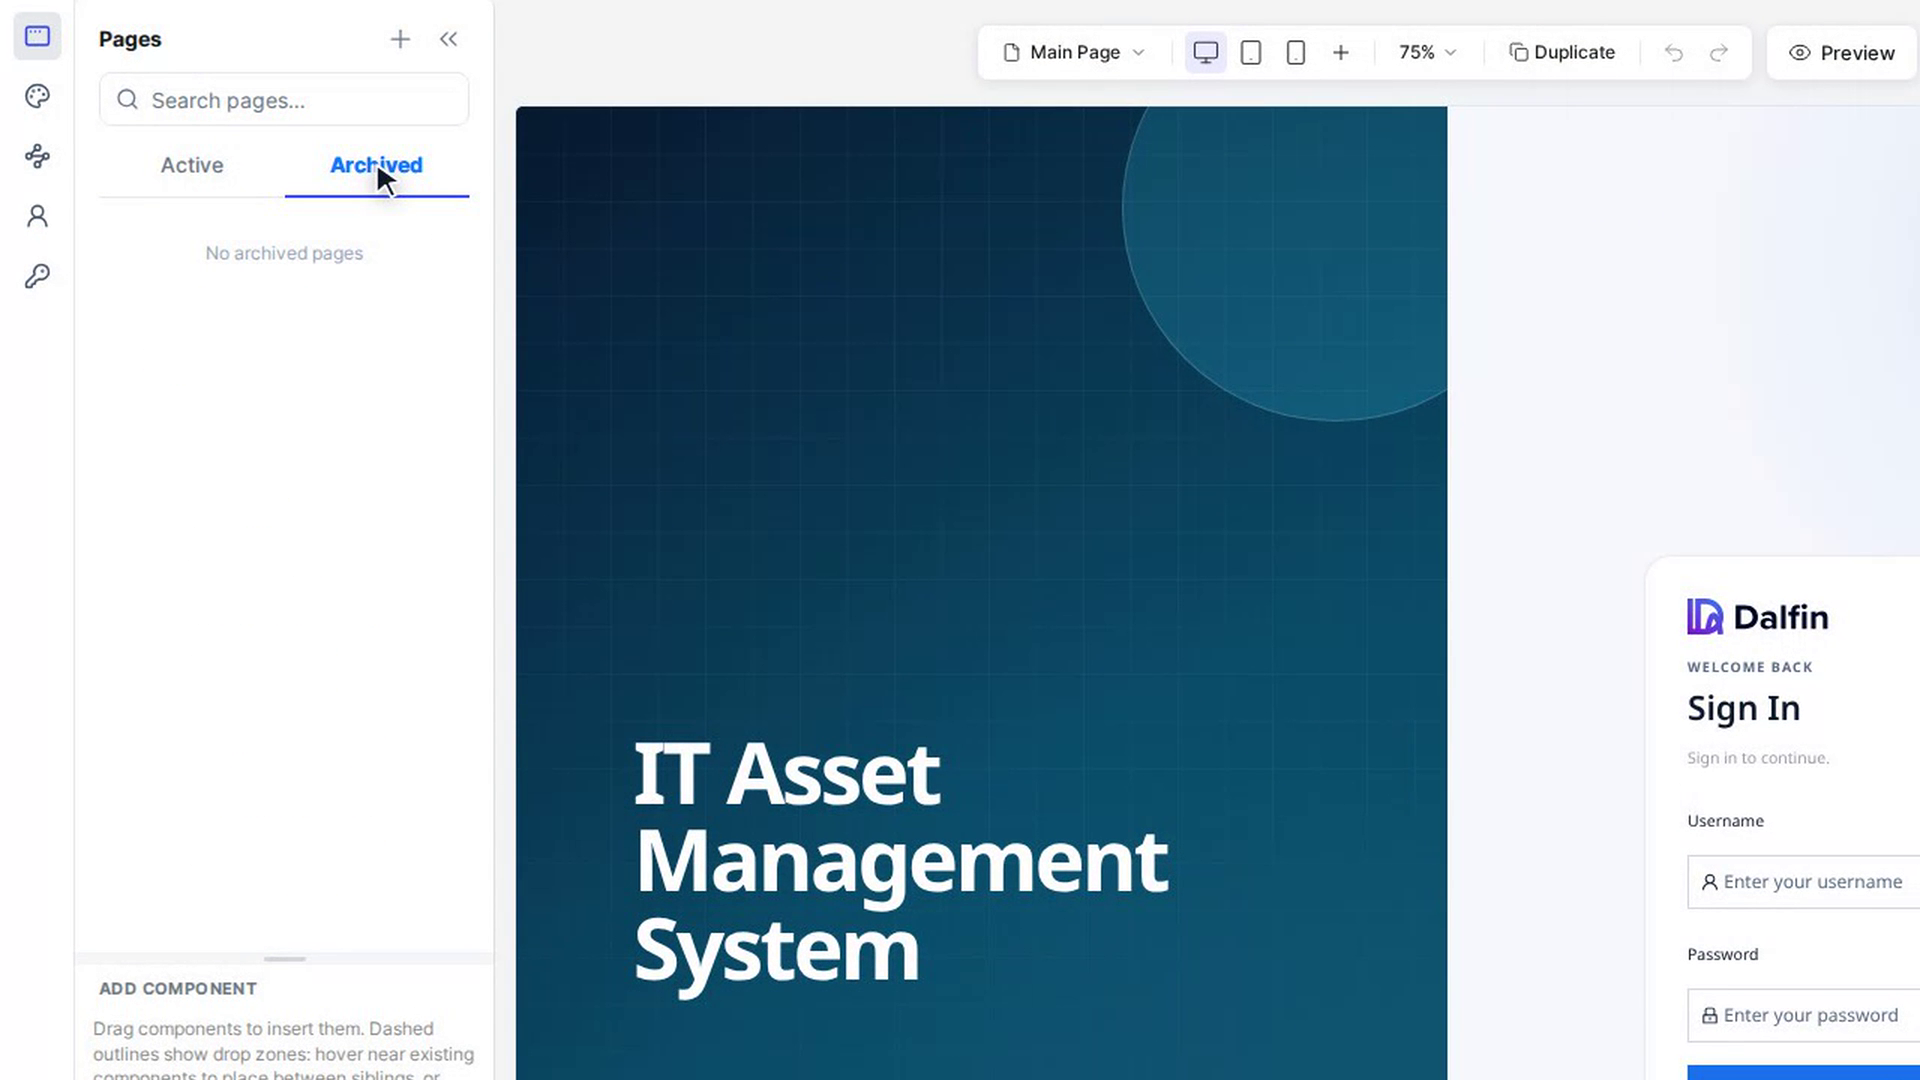
Open the Archived tab and select the restore icon (Restore to the menu) next to the page. It goes back to the Active list.
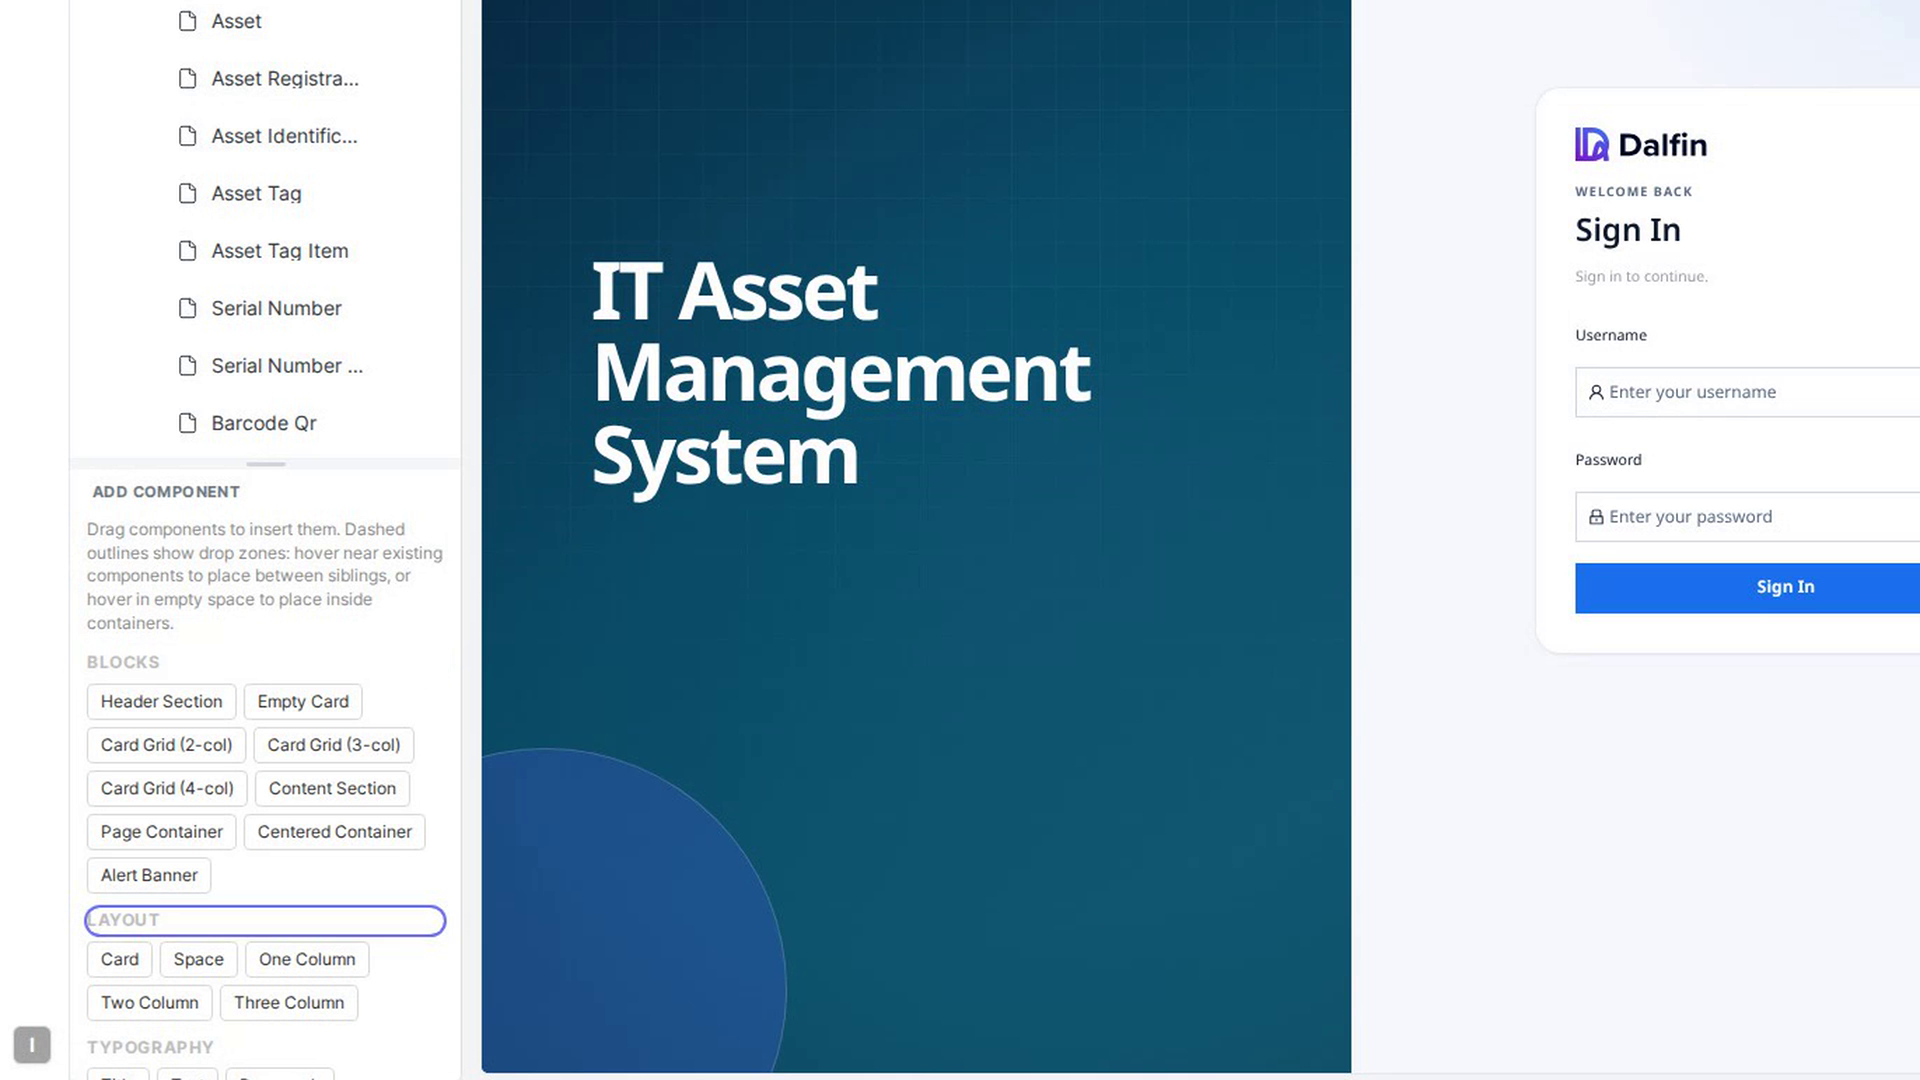
Add a component to the page
Under Add Component, below the page list, components are grouped into Blocks, Layout, Typography, Display, Navigation, Feedback, Input, Form and Overlay. Drag a tile onto the canvas. Dashed outlines show where it can go: hover near an existing component to place it beside it, or over empty space to place it inside a container.
When you let go, you see a message such as Card inserted — rebuilding MFE…, followed by Changes saved — MFE reloaded once the new component appears on the page.
Select and adjust a component
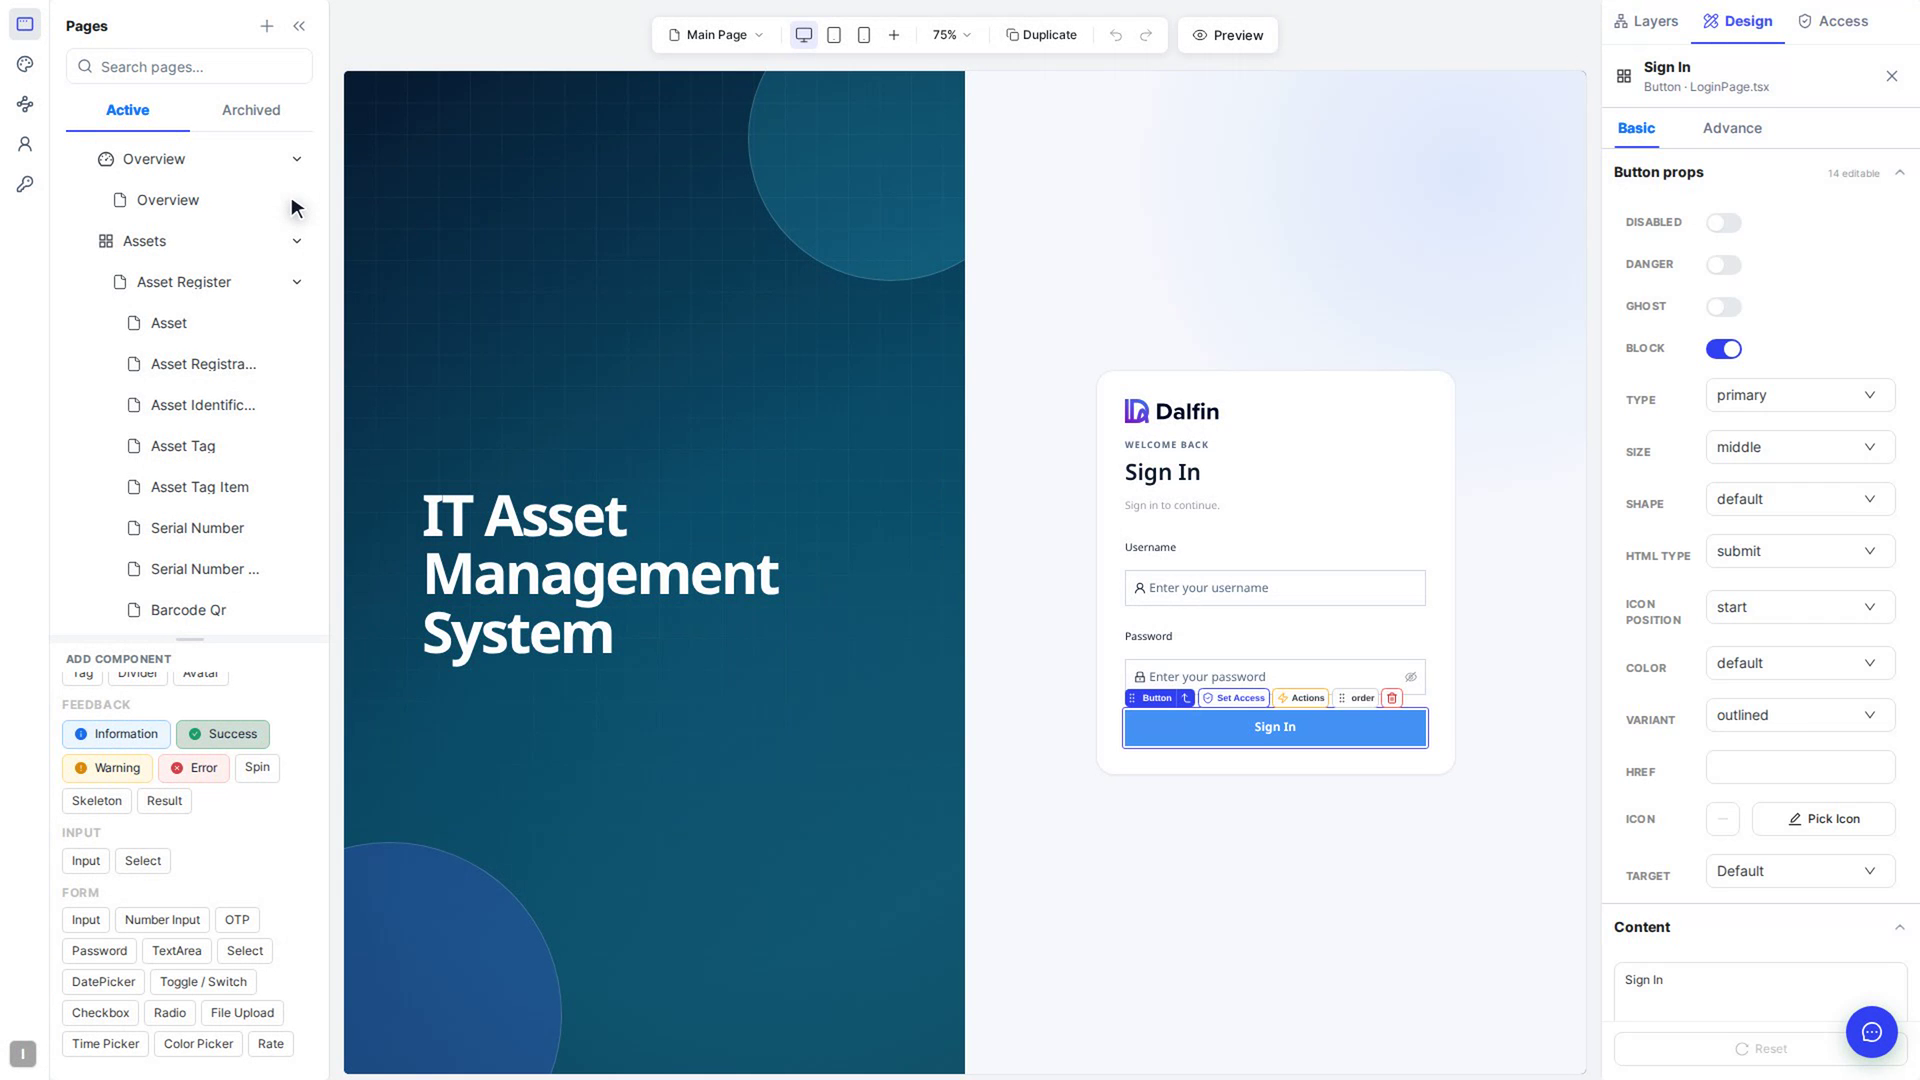
Click a component on the canvas to select it. A small toolbar appears above it where you can drag it to a new spot (Drag to move), select the container around it (Select parent container), or remove it (Delete element). The right panel's Design tab then shows its settings.
Use the Layers tab
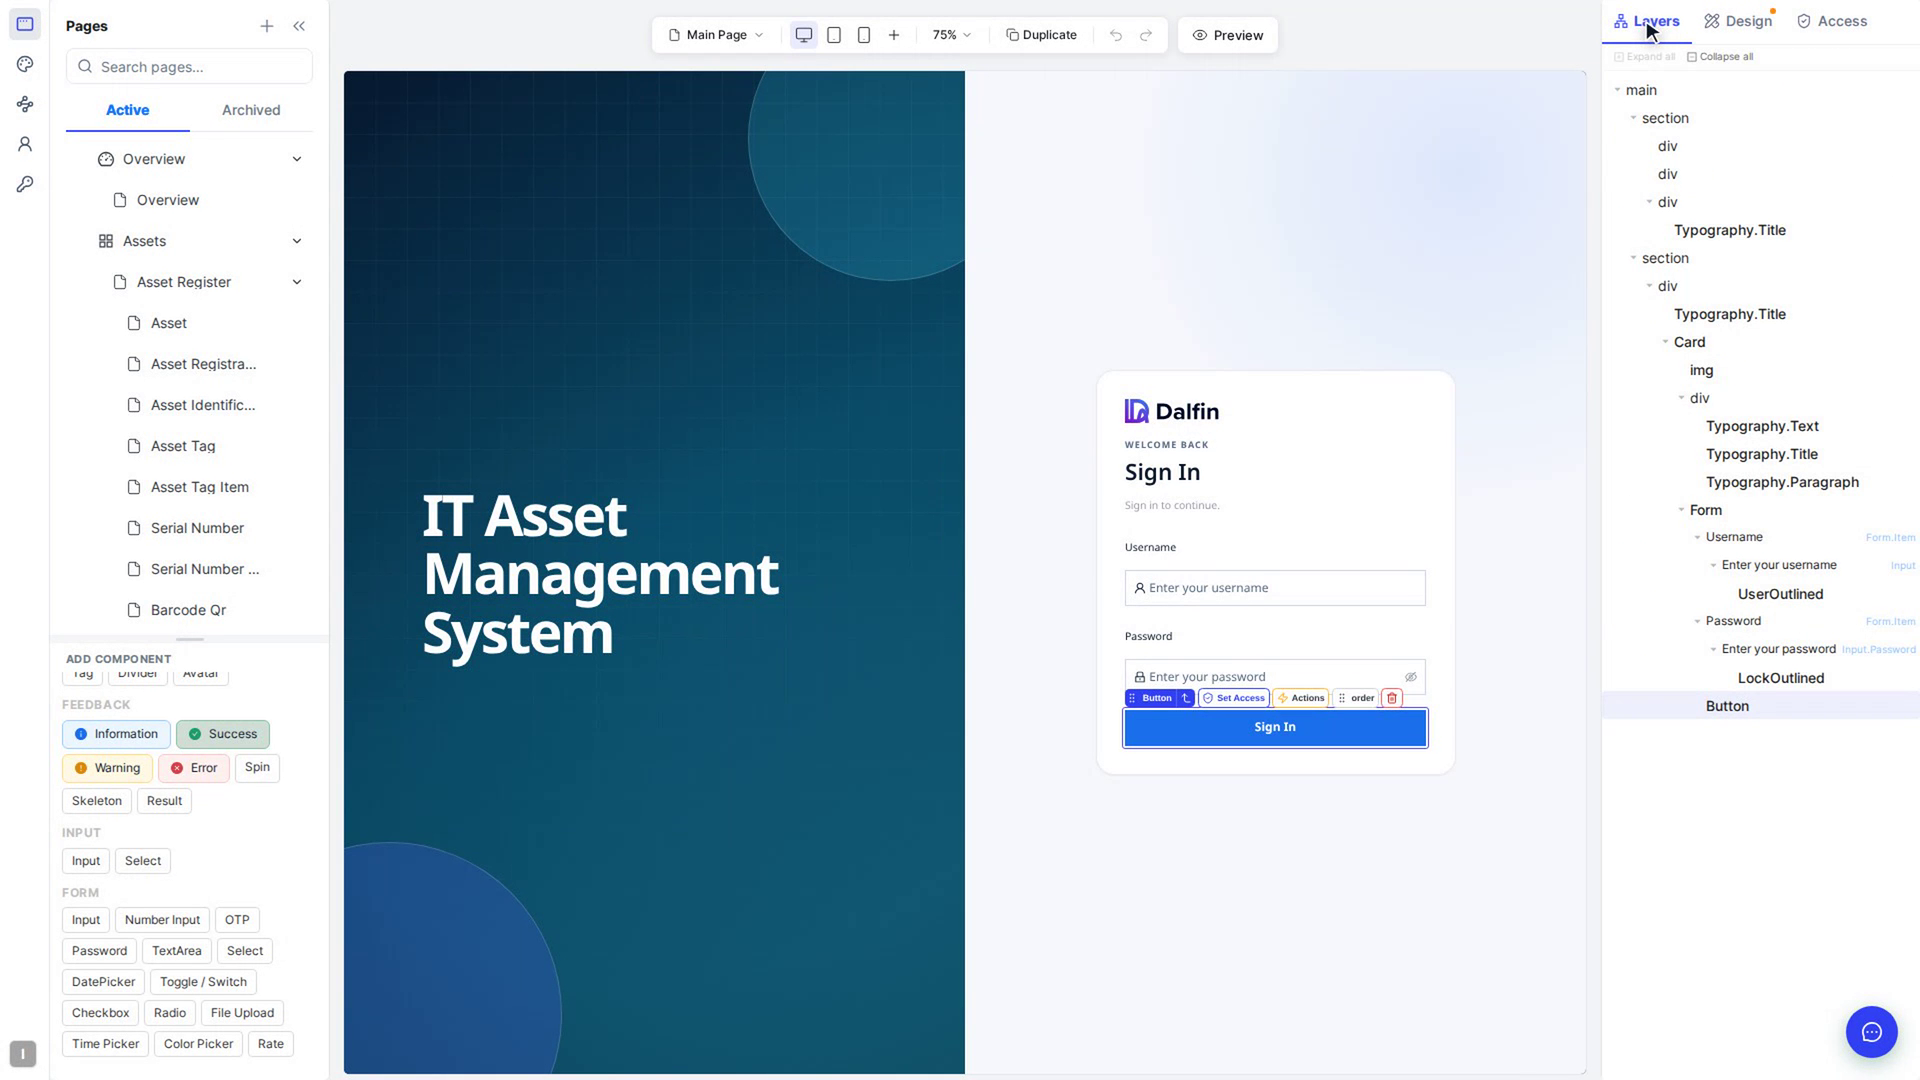
When you select a single element inside a container, a Layers tab appears in the right panel. It lists the elements on the page; hover over a row to Move up, Move down, Duplicate, Ungroup (for containers) or Delete it. Use Expand all and Collapse all to open or close the whole list.
Resize the page list and palette
Drag the divider between the page list and Add Component (Drag to resize) to give either one more room. Use Collapse sidebar to hide the panel and Expand sidebar to bring it back.
Screenshots
Step 1: Open the page list
Step 2: Open a page
Step 3: Add a group to the menu
Step 4: Rearrange, rename or remove menu items
Step 5: Bring back an archived page
Step 6: Add a component to the page
Step 7: Select and adjust a component
Step 8: Use the Layers tab
Step 9: Resize the page list and palette

Watch how
Tip: Components can't be added while the right panel's Access tab is open. Switch to Design first.
Adding a component rebuilds your app, which can take a few seconds. Wait until you see Changes saved — MFE reloaded before making the next change.