Connect a custom domain to an app
Give one app a friendlier Dalfin address, or connect a domain you already own (for example app.yourcompany.com), so people can open the app at an address you choose.
Before you start
- This is usually done by a team admin, because you'll need access to your domain's DNS settings or registrar.
- To connect your own domain, you need to own it and be able to add DNS records or change its nameservers.
Steps
Open the app's Settings
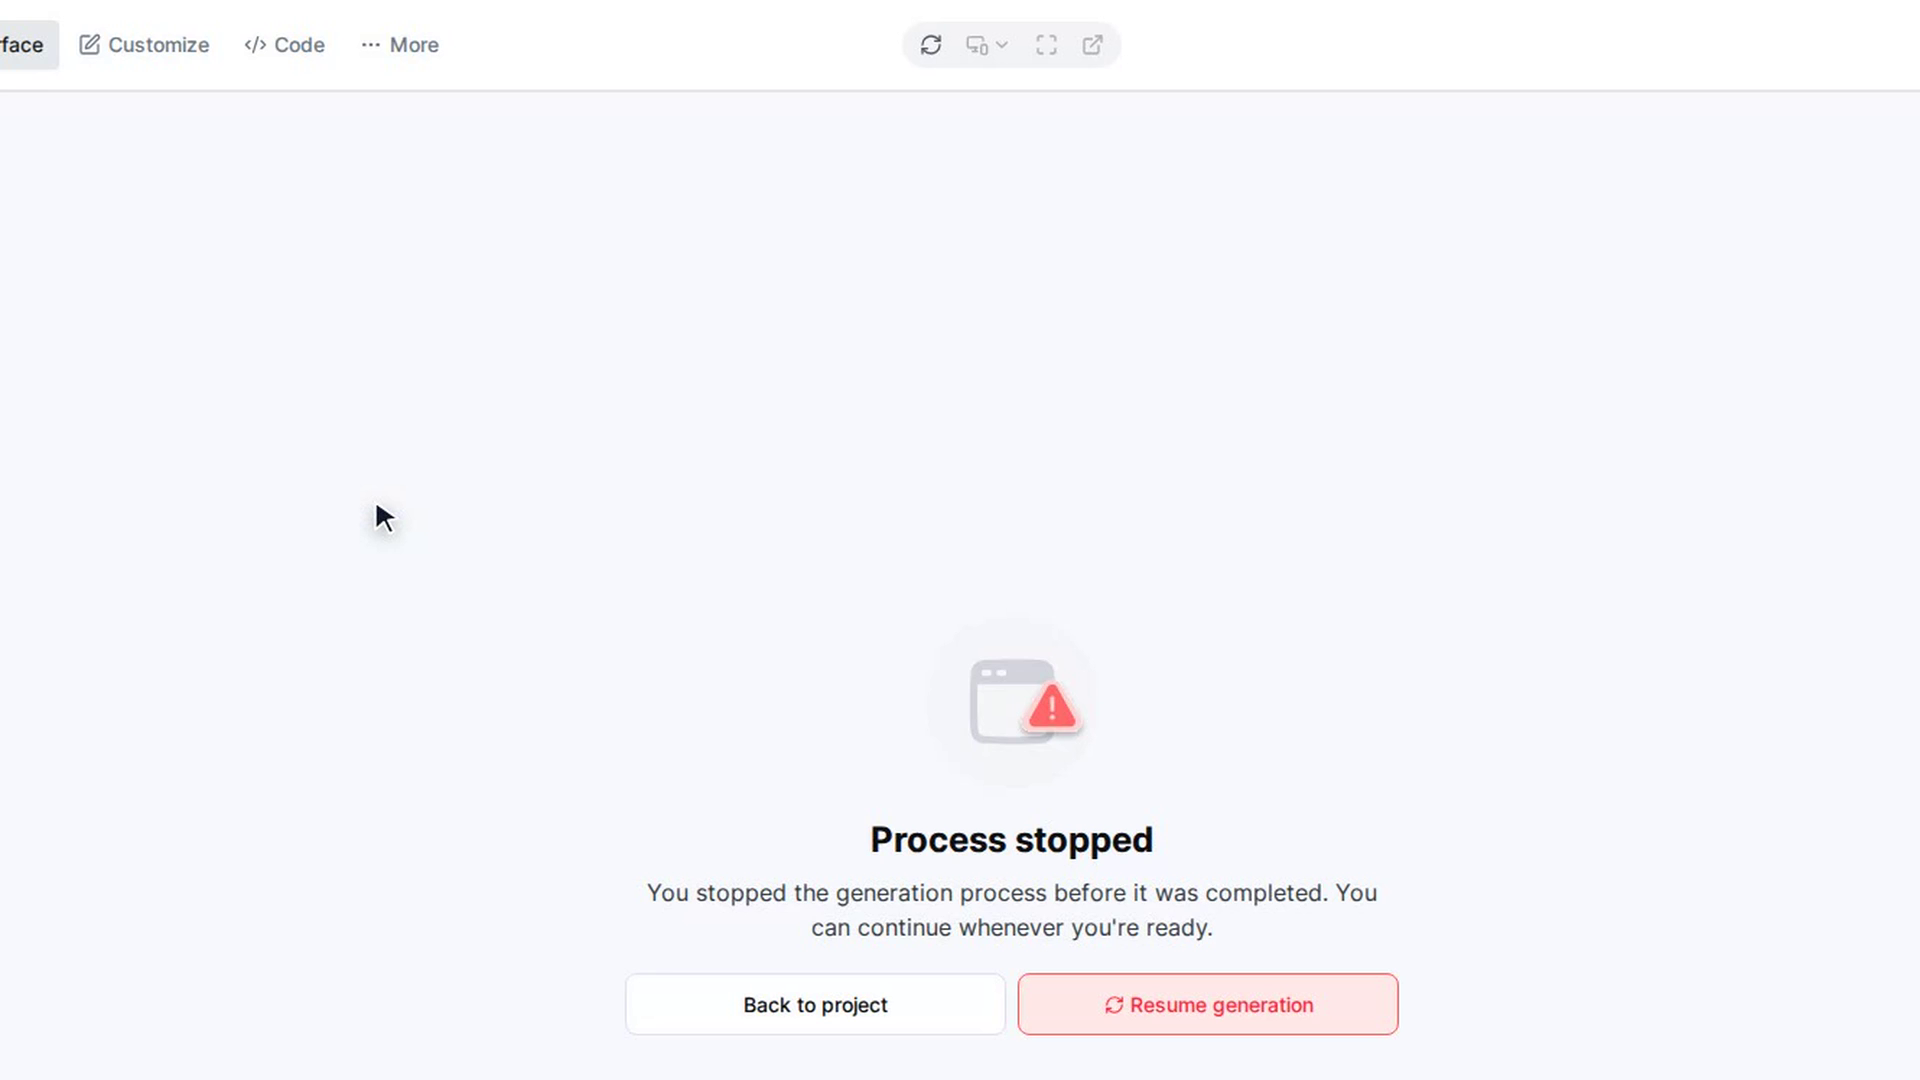
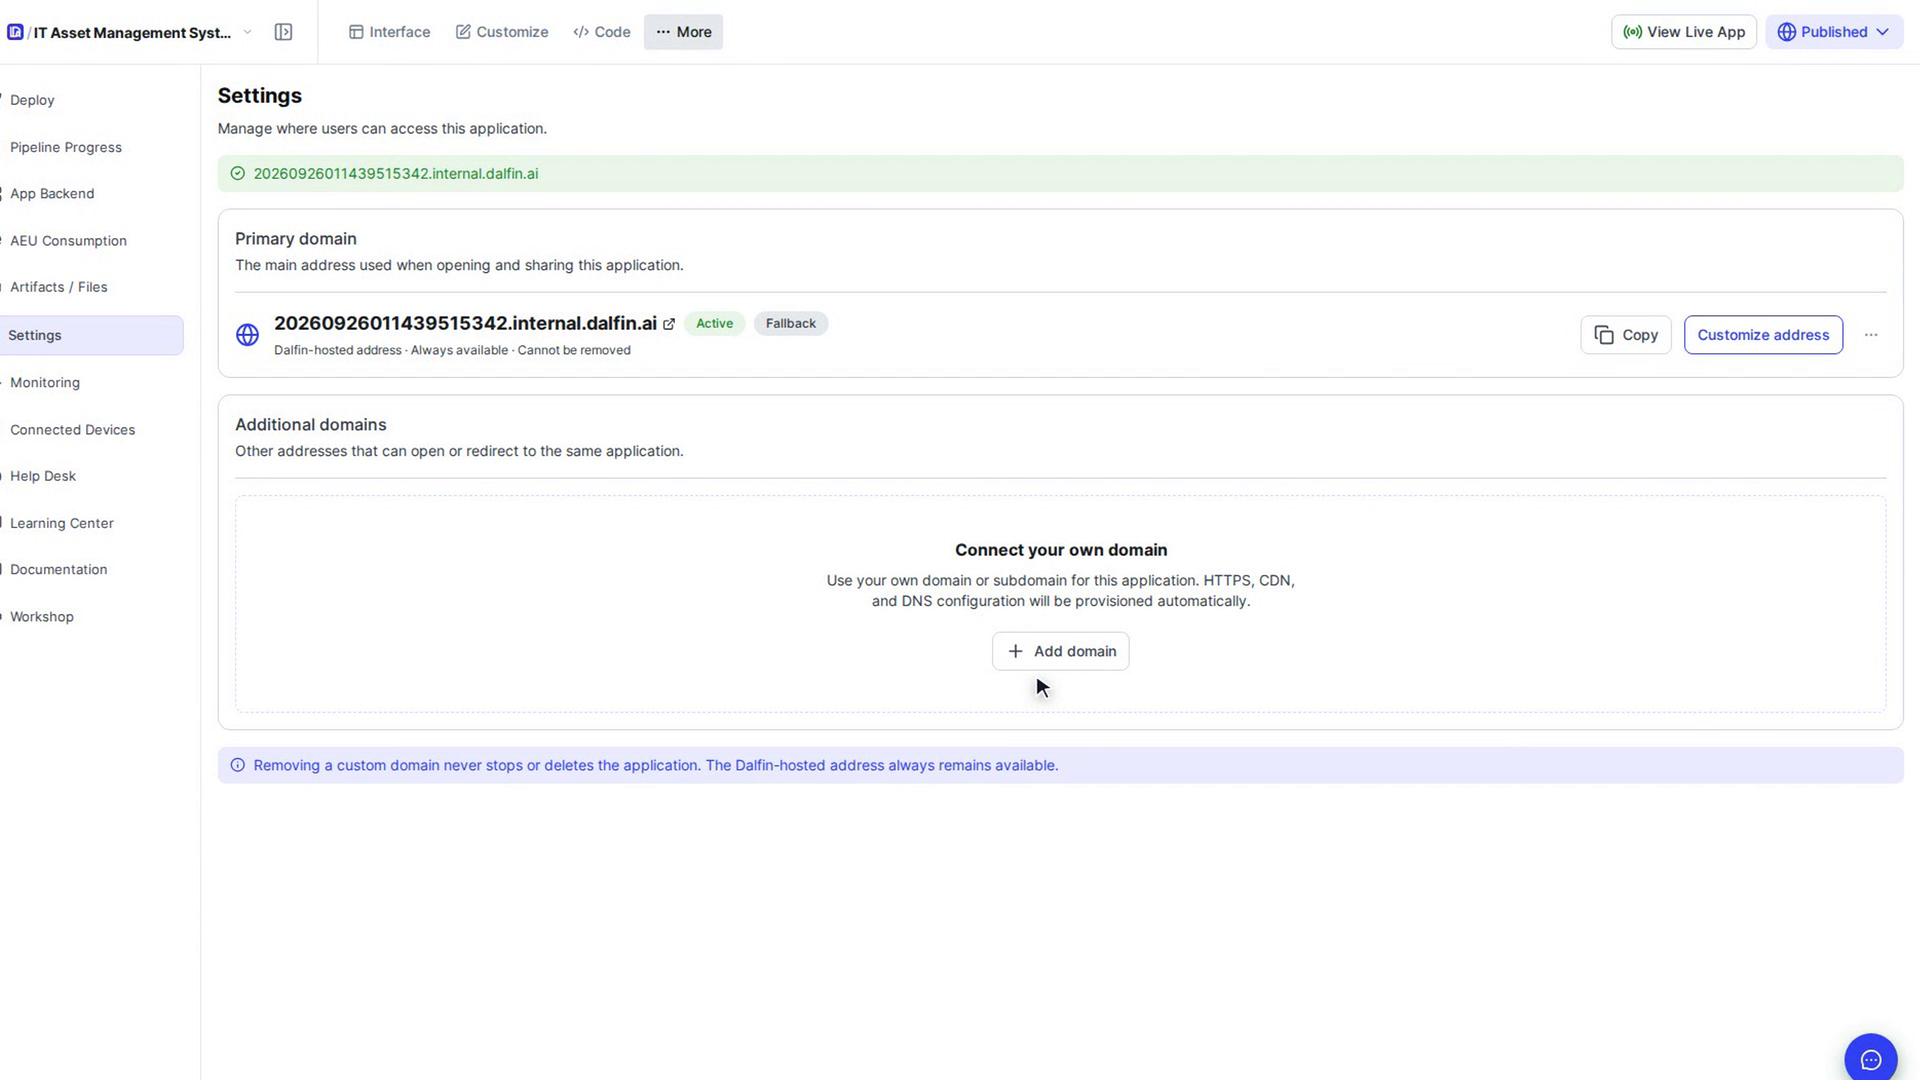
Open the app, select More in the top bar, then choose Settings. The page says Manage where users can access this application. It has two cards: Primary domain, the main address used to open and share the app, and Additional domains.
Change the Dalfin address (optional)
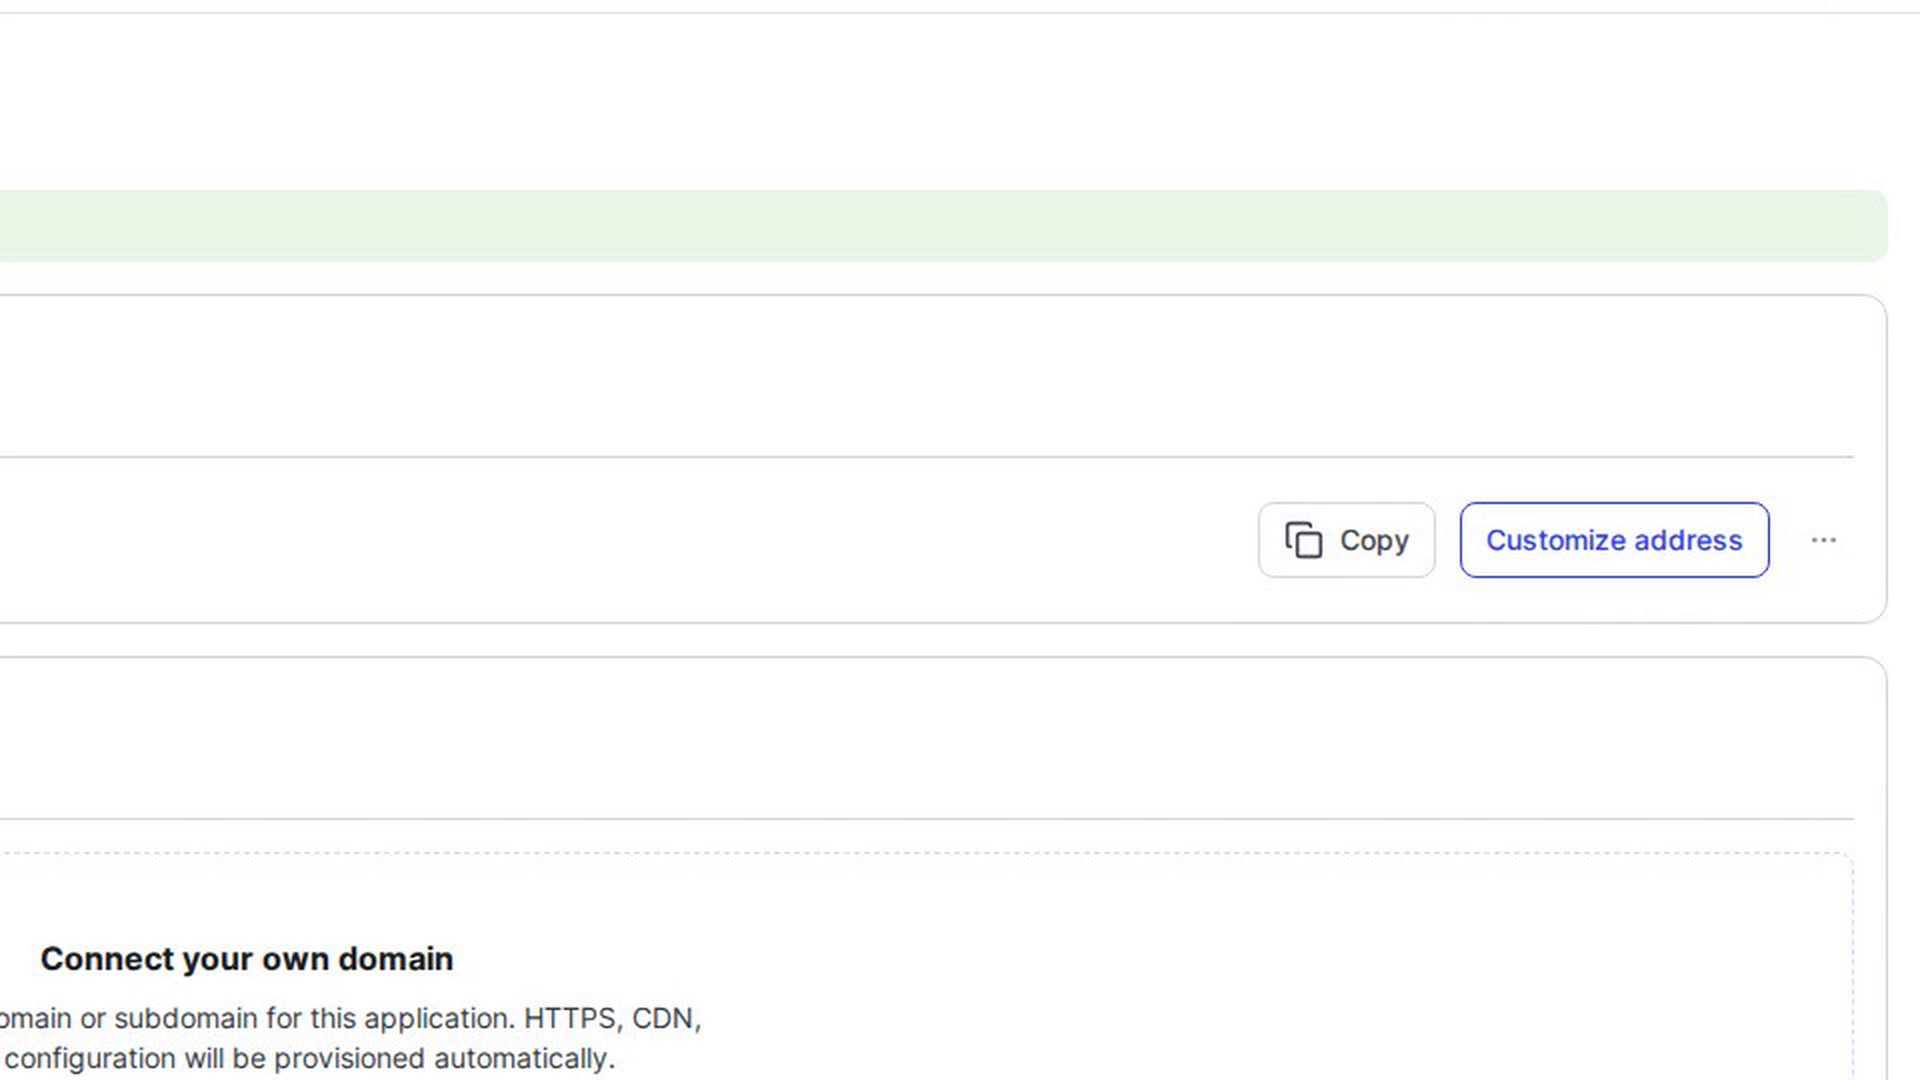
To pick a friendlier Dalfin address, select Customize address on the Primary domain card (or Add Primary Domain if there isn't one yet). In Customize default address, type a name in Address, using lowercase letters, numbers and hyphens. Dalfin checks the name as you type and tells you if it's available. Select Update to save it.
Start connecting your own domain
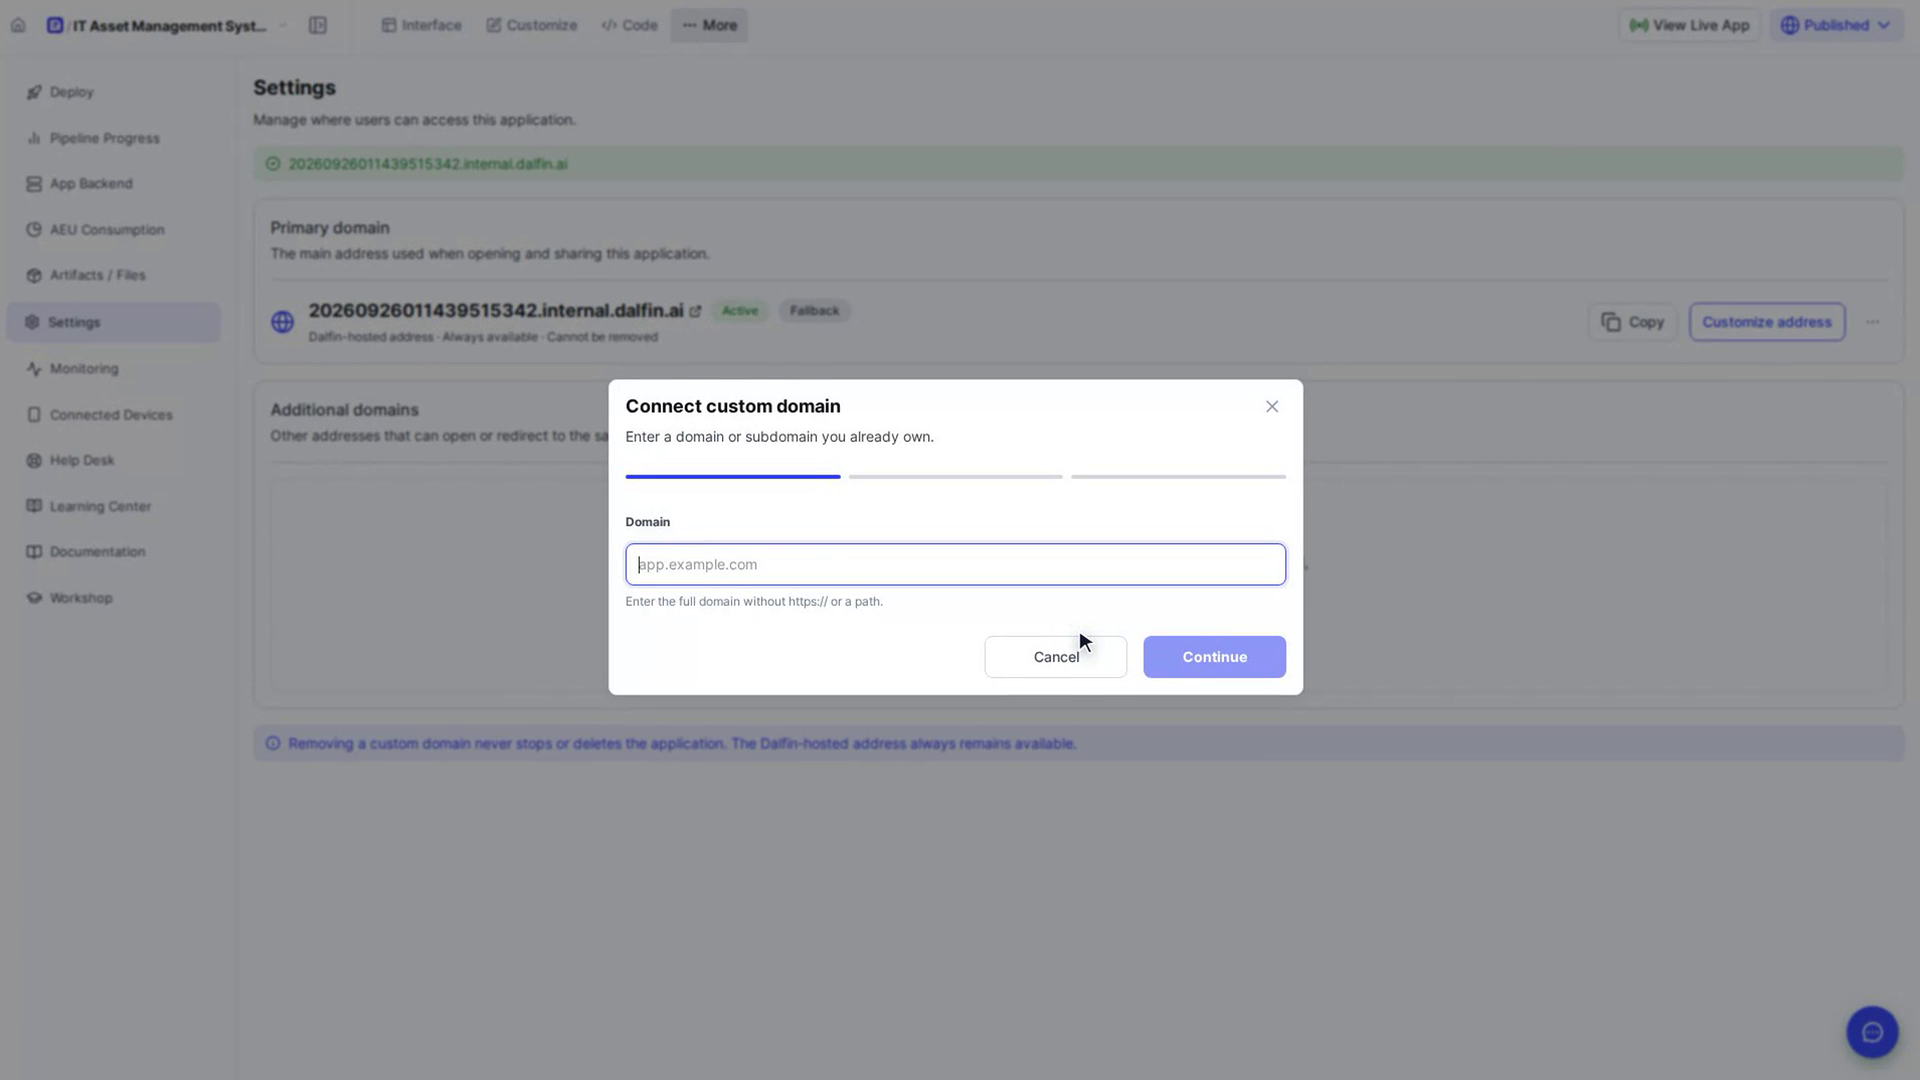
On the Additional domains card, select Add domain. The Connect custom domain window opens. In Domain, type the full domain without https:// or a path, for example app.example.com, then select Continue.
Choose how to set up DNS
Pick one option, then select Continue:
- Bring Your Own Domain: keep DNS at your current provider and add a couple of records.
- Bring Your Own Domain (via Nameservers): point your domain's nameservers to Dalfin at your registrar, and the rest is set up for you.
Add the DNS records
The window lists what you need to add. For your own DNS, you'll see each record's Type, Name and Value. For nameservers, you'll see a list of Nameservers. Use the copy buttons to copy each value, then add them at your DNS provider or registrar. If the list says Preparing DNS records, wait a moment for it to fill in.
Verify the connection
Select Verify connection. If the records can't be seen yet, you get a message saying DNS changes can take a while to spread. Try again in a few minutes. If you need to come back later, select Do this later. Your domain stays on the Settings page as Waiting for DNS.
Wait for setup to finish
Once the records are found, Dalfin sets up the domain and HTTPS and shows the progress. If setup fails, select Retry. When it's done you see Domain Connected.
Choose the primary domain and finish
Under What should happen next?, choose Keep the current primary domain to add this as another active address, or Make this the primary domain to use it when opening and sharing the app. Select Finish.
Manage your domains later
Back on Settings, each domain has buttons for what you can do next:
- Verify re-checks DNS for a domain that is still waiting. Dalfin also re-checks it by itself every 30 seconds.
- Set as primary makes an active additional domain the main address.
- Copy copies the primary address.
- The ⋯ menu always has View DNS Setup. On a domain you added it can also show View DNS Details (once DNS records exist for it) and Remove. On the Dalfin-hosted address it shows only View DNS Setup: you can't remove the primary domain or the always-available Dalfin address.
Screenshots
Step 1: Open the app's Settings
Step 2: Change the Dalfin address (optional)
Step 3: Start connecting your own domain
Step 4: Manage your domains later
Watch how
Tip: Removing a custom domain never stops or deletes the app. The Dalfin-hosted address always stays available.
If you choose Bring Your Own Domain (via Nameservers), Dalfin takes over DNS for that domain. Check the DNS records you already have before you switch nameservers.