User management in the editor
Add the people who use your app, give them roles and departments, reset their passwords, and archive them when they leave, all without leaving the editor. The User Management screen has two tabs: Users and User Departments.
Before you start
- You need access to your app's Customize tab (usually a team admin).
- To give someone a role, the role must already exist. Roles are set up under Roles and Permissions in the editor's left icon bar.
- To put someone in a department, create the department first on the User Departments tab (see the last steps below).
Steps
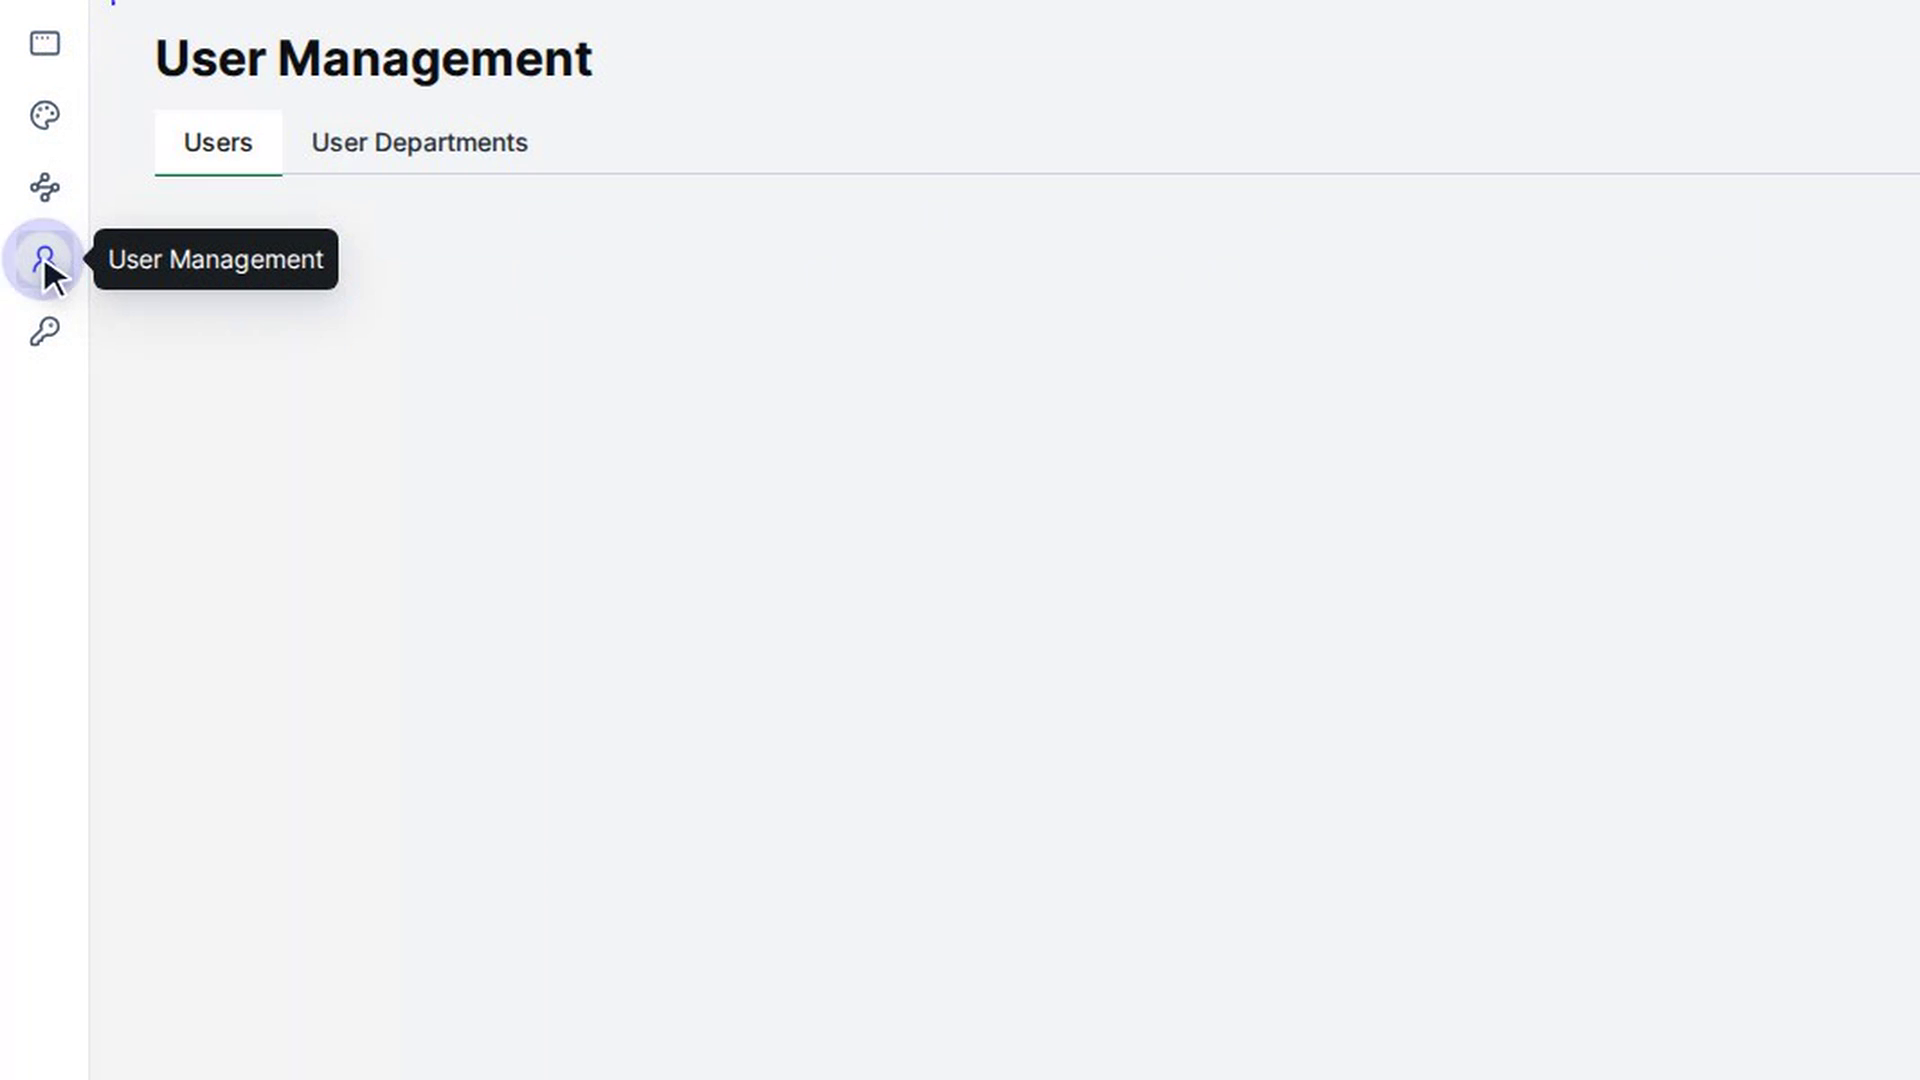
Open User Management
In your app, open the Customize tab. In the narrow icon bar on the far left of the editor, select User Management (the person icon).
The User Management screen opens on the Users tab. The table lists each user's Full Name, Email, Role, User Department, Country and Status. Status shows a green Active or red Inactive badge.
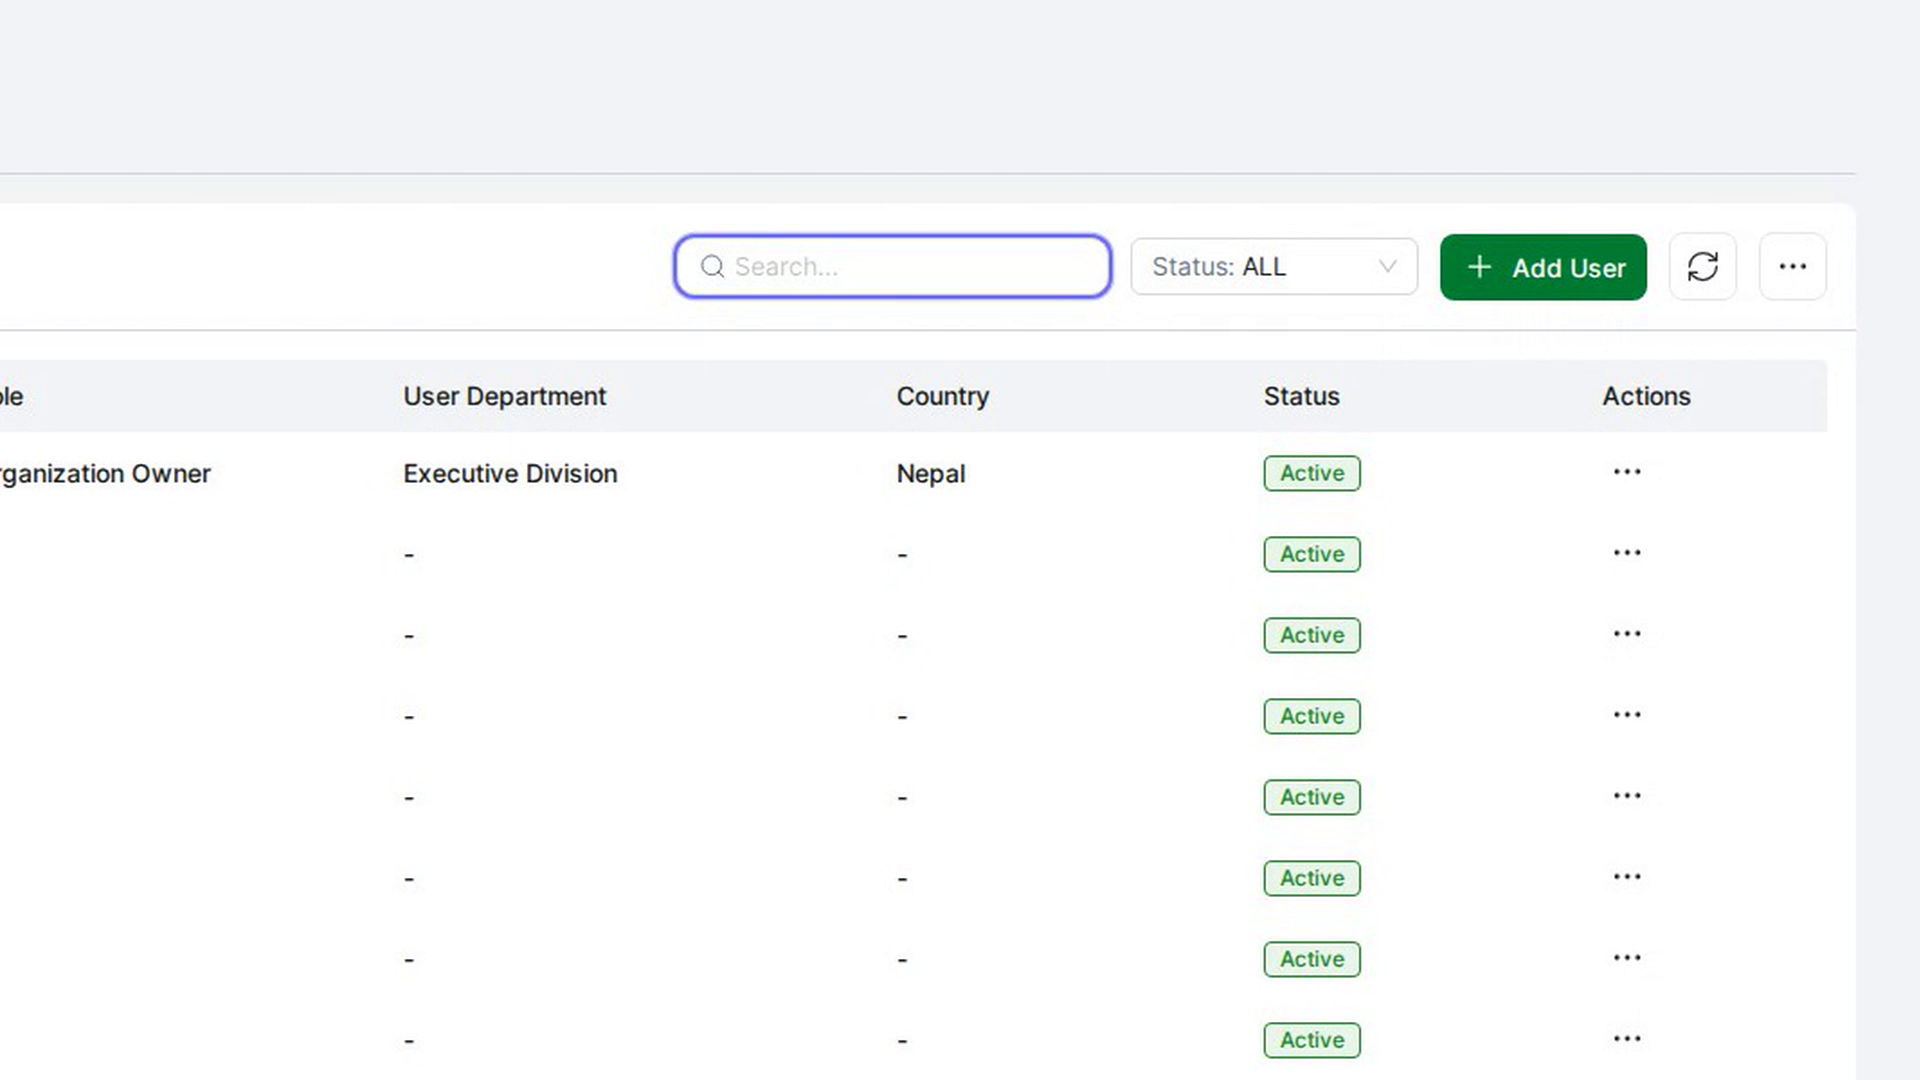
Find a user
Type in the Search... box to narrow the list. To show only some users, open the Status list and choose ALL, Active or Inactive. Select the refresh button (the circular arrows) to load the latest list.
Select any row to open View Details. As well as the columns in the table, it shows whether the person Is Builder User (Yes or No), when they were created (Created At) and who created them (Created By).
Add a user
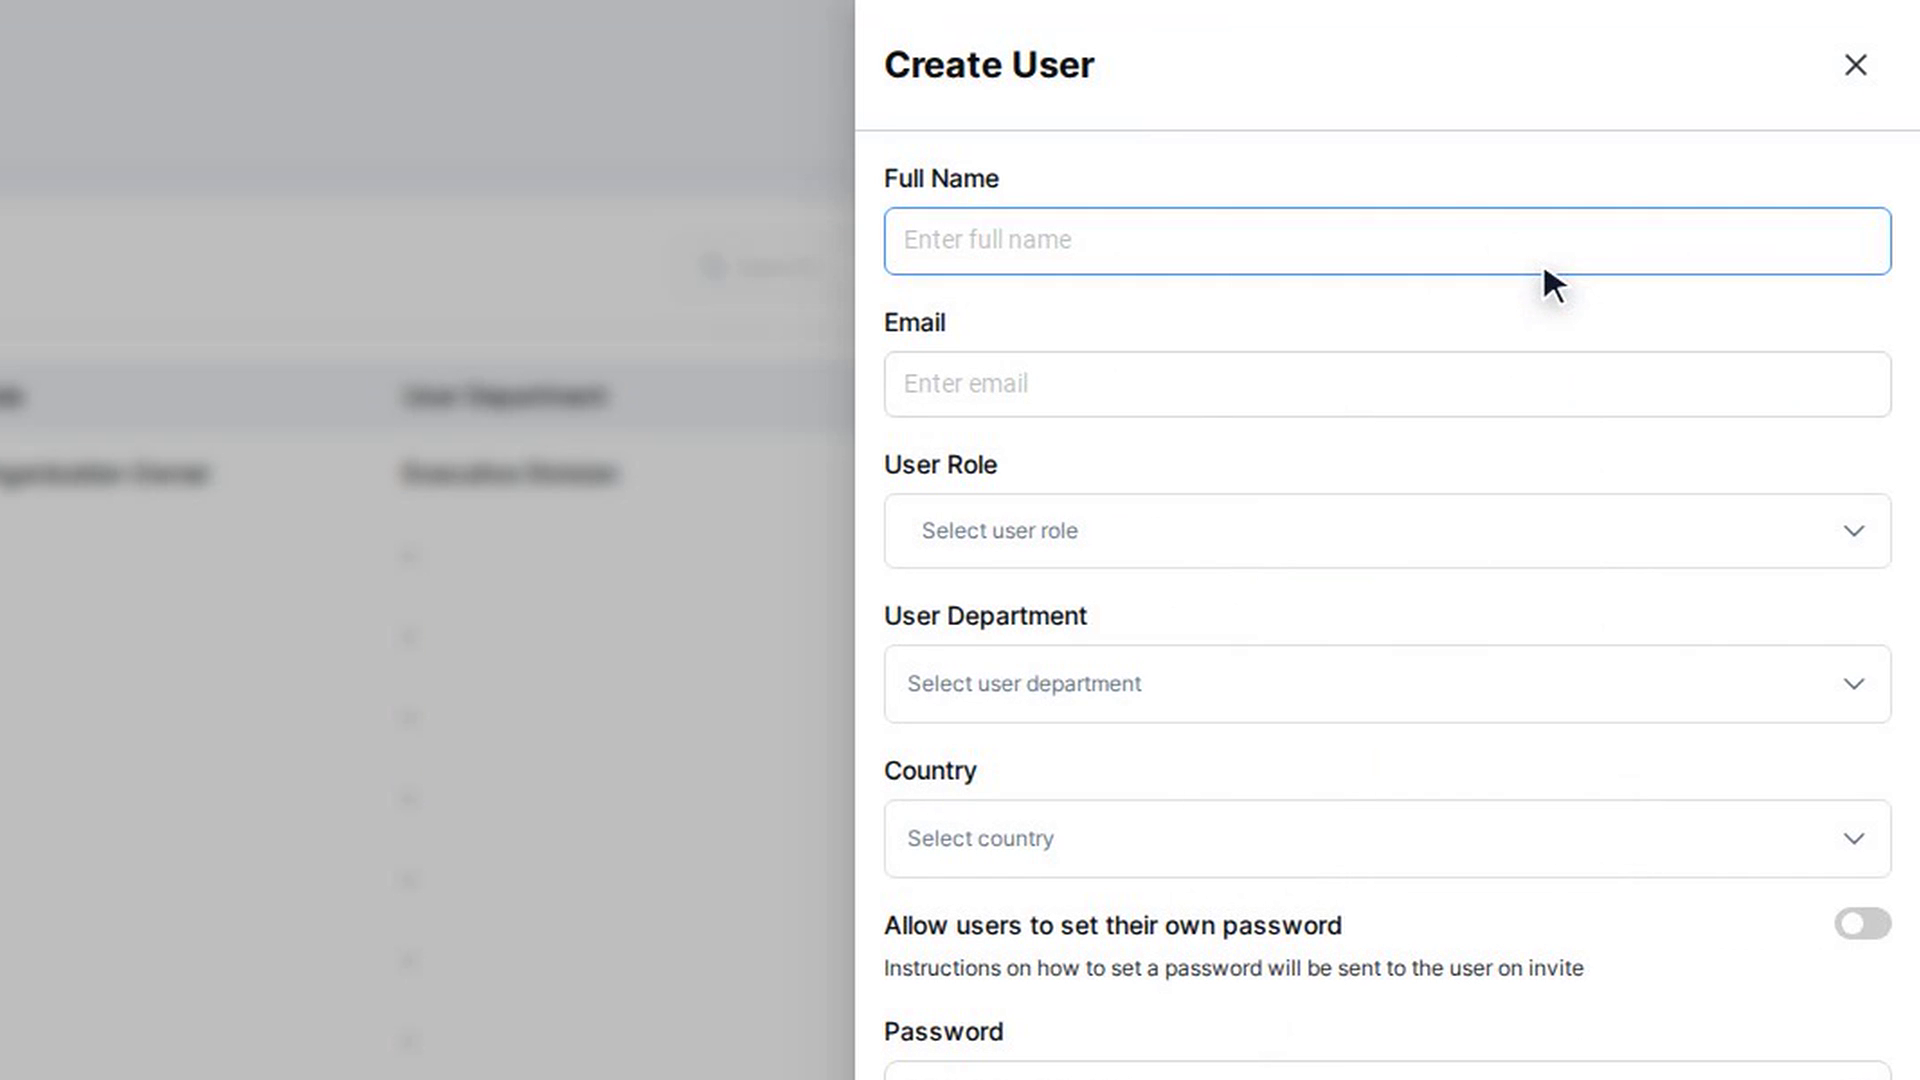
Select Add User. The Create User panel slides in from the right. Fill in:
- Full Name
- Email: the person signs in with this address.
- User Role: choose one or more roles.
- User Department
- Country
Then decide how the person gets a password:
- Leave Allow users to set their own password off and type a Password and Confirm Password for them. The password needs at least 8 characters, with at least one letter, one number, one special character, one uppercase and one lowercase letter. The user is created as Active and can sign in straight away.
- Turn Allow users to set their own password on. The password fields disappear, and instructions on how to set a password are sent to the user when they're invited. The user shows as Inactive until they have set their password.
Save becomes available once the required fields are valid. Select Save. The panel closes and the new user appears in the list.
Edit a user
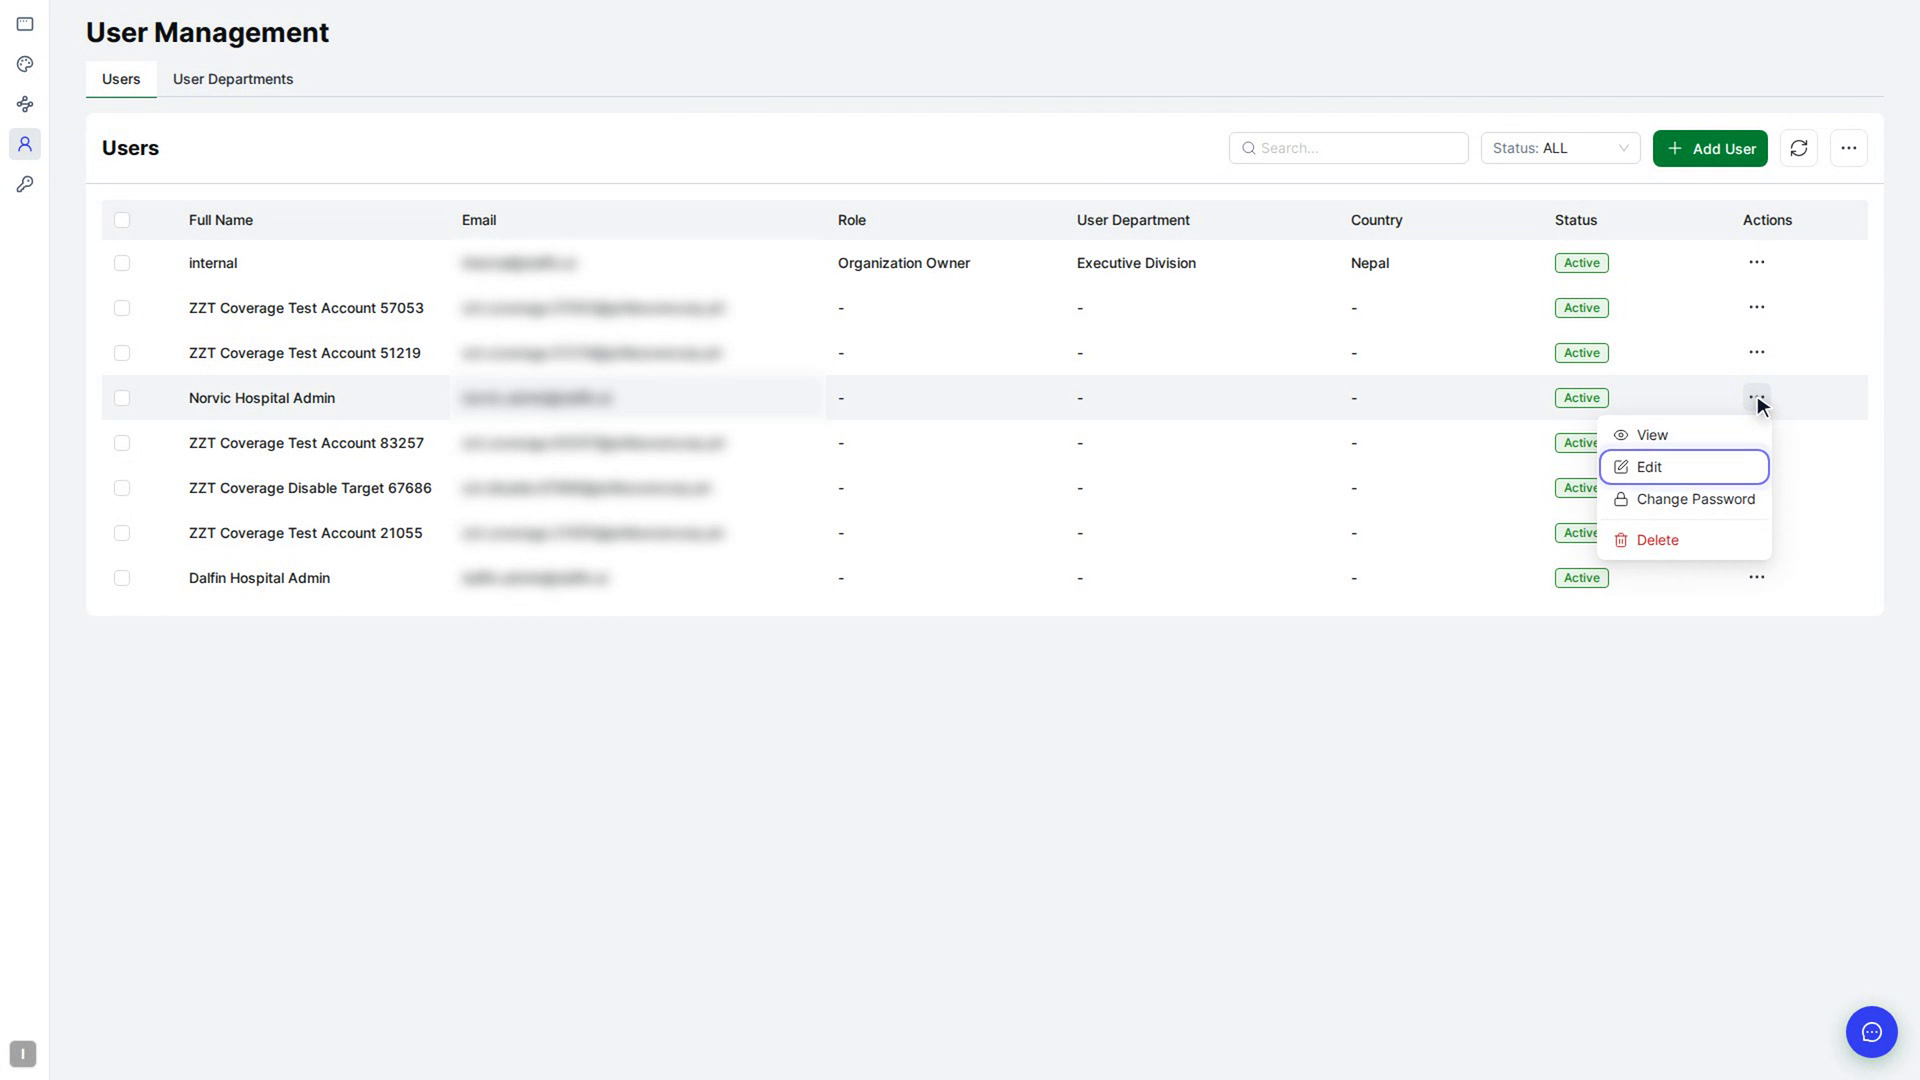
Open the ⋯ menu at the end of the user's row and select Edit. The Edit User panel opens with the person's details filled in.
Change the name, roles, department or country and select Save. The Email can't be changed once a user exists.
Change a user's password
Open the row's ⋯ menu and select Change Password. The Change Password window gives you two options:
- Select Send email to reset password. The person receives password reset instructions at the email address shown under the button, and the window closes.
- Or, under OR, type a New Password and repeat it in Confirm New Password. The requirements under the field are crossed out as you meet them: at least one letter, one number, one special character, one uppercase and one lowercase letter, and at least 8 characters. Tick Email this new password to the user. if you want them to receive it by email. Select Change Password.
A message confirms that the password was changed.
Archive (delete) users
Open the row's ⋯ menu and select Delete. In Delete System User, select Delete to confirm, or Cancel to keep the user.
To remove several users at once, tick the boxes at the start of their rows (or the box in the header to select all). A bar appears showing how many users are selected. Select Delete in that bar and confirm in Delete System Users. Select Clear to undo the selection instead.
Deleted users aren't removed permanently. They move to the archive and disappear from the main list.
Restore archived users
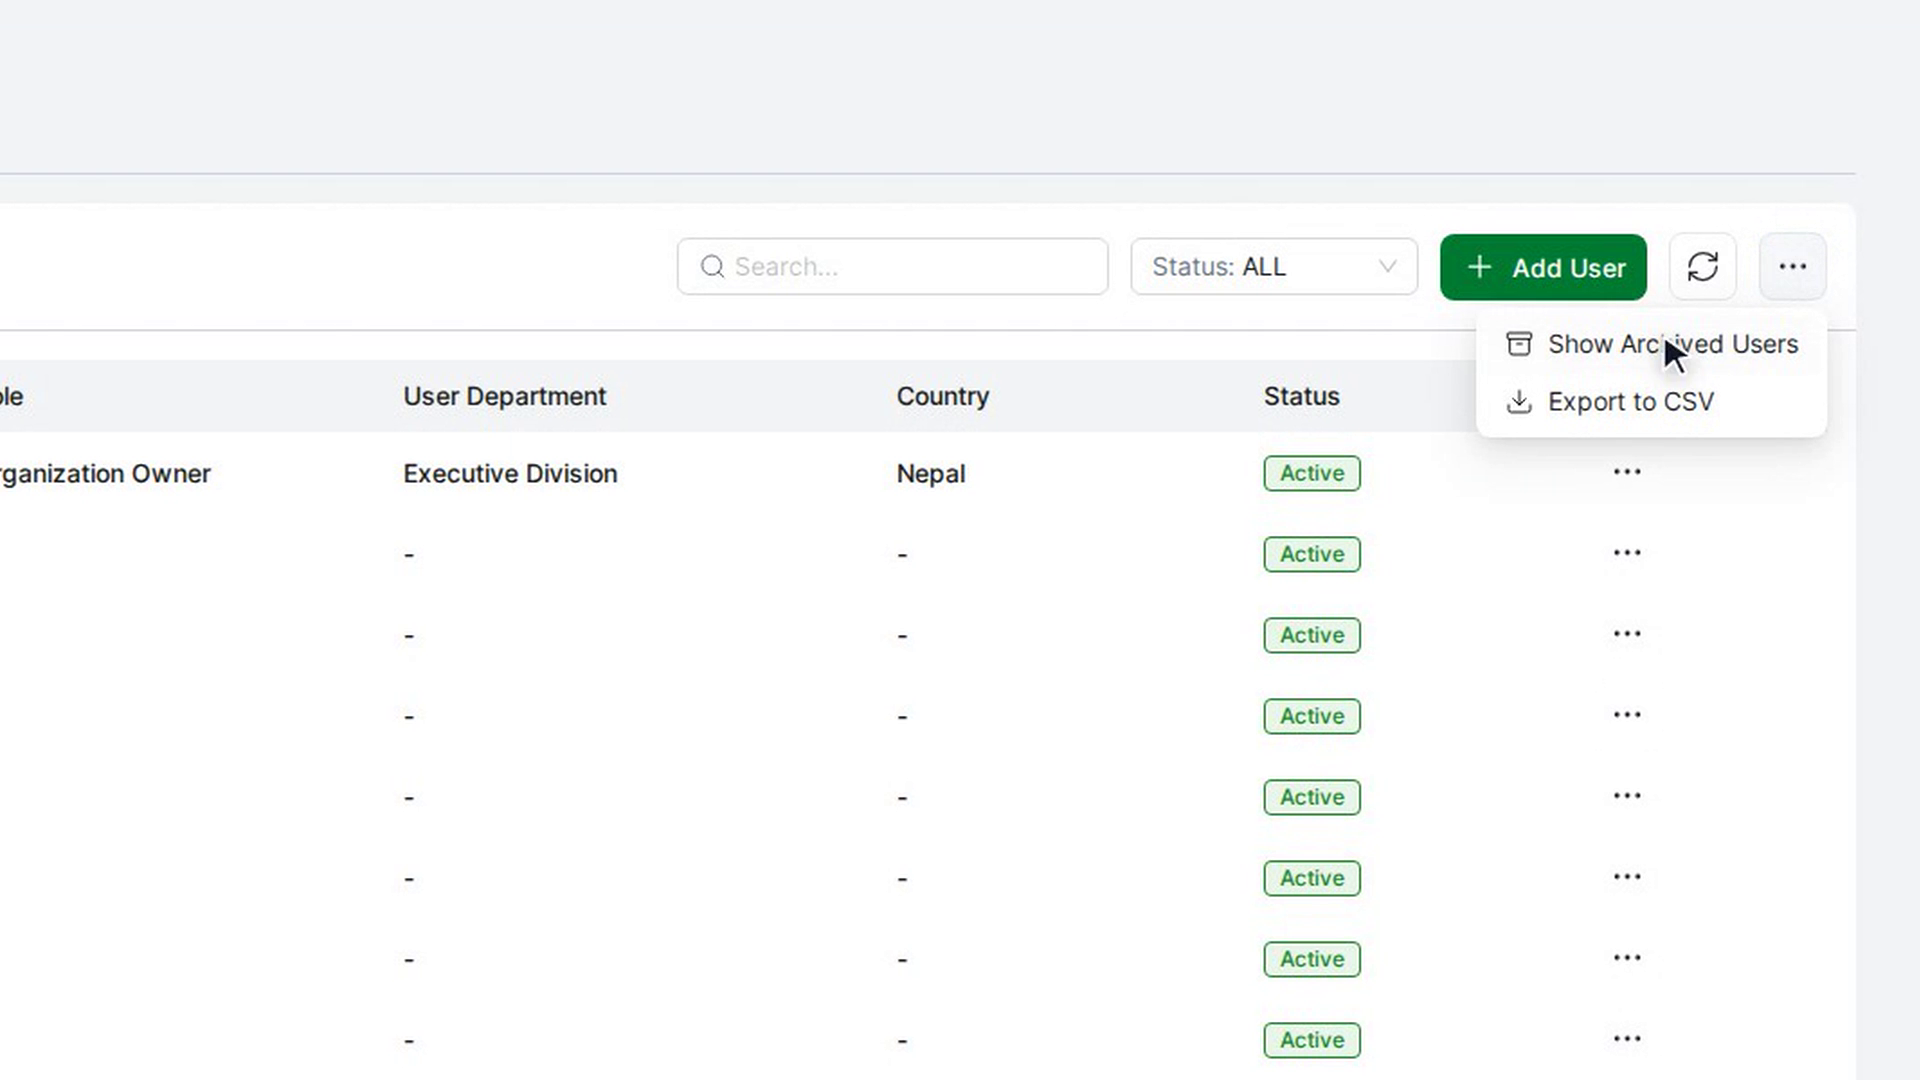
Open the More actions menu (the ⋯ button next to refresh) and select Show Archived Users. The number in brackets tells you how many users are archived. The button turns into a highlighted archive icon and the table now lists archived users only.
To bring a user back, open their row menu and select Restore. To restore several, tick them and select Restore in the bar that appears. Restored users go back to the main list.
To return to the main list, select the highlighted archive button, or choose Show Archived Users again.
Export users to CSV
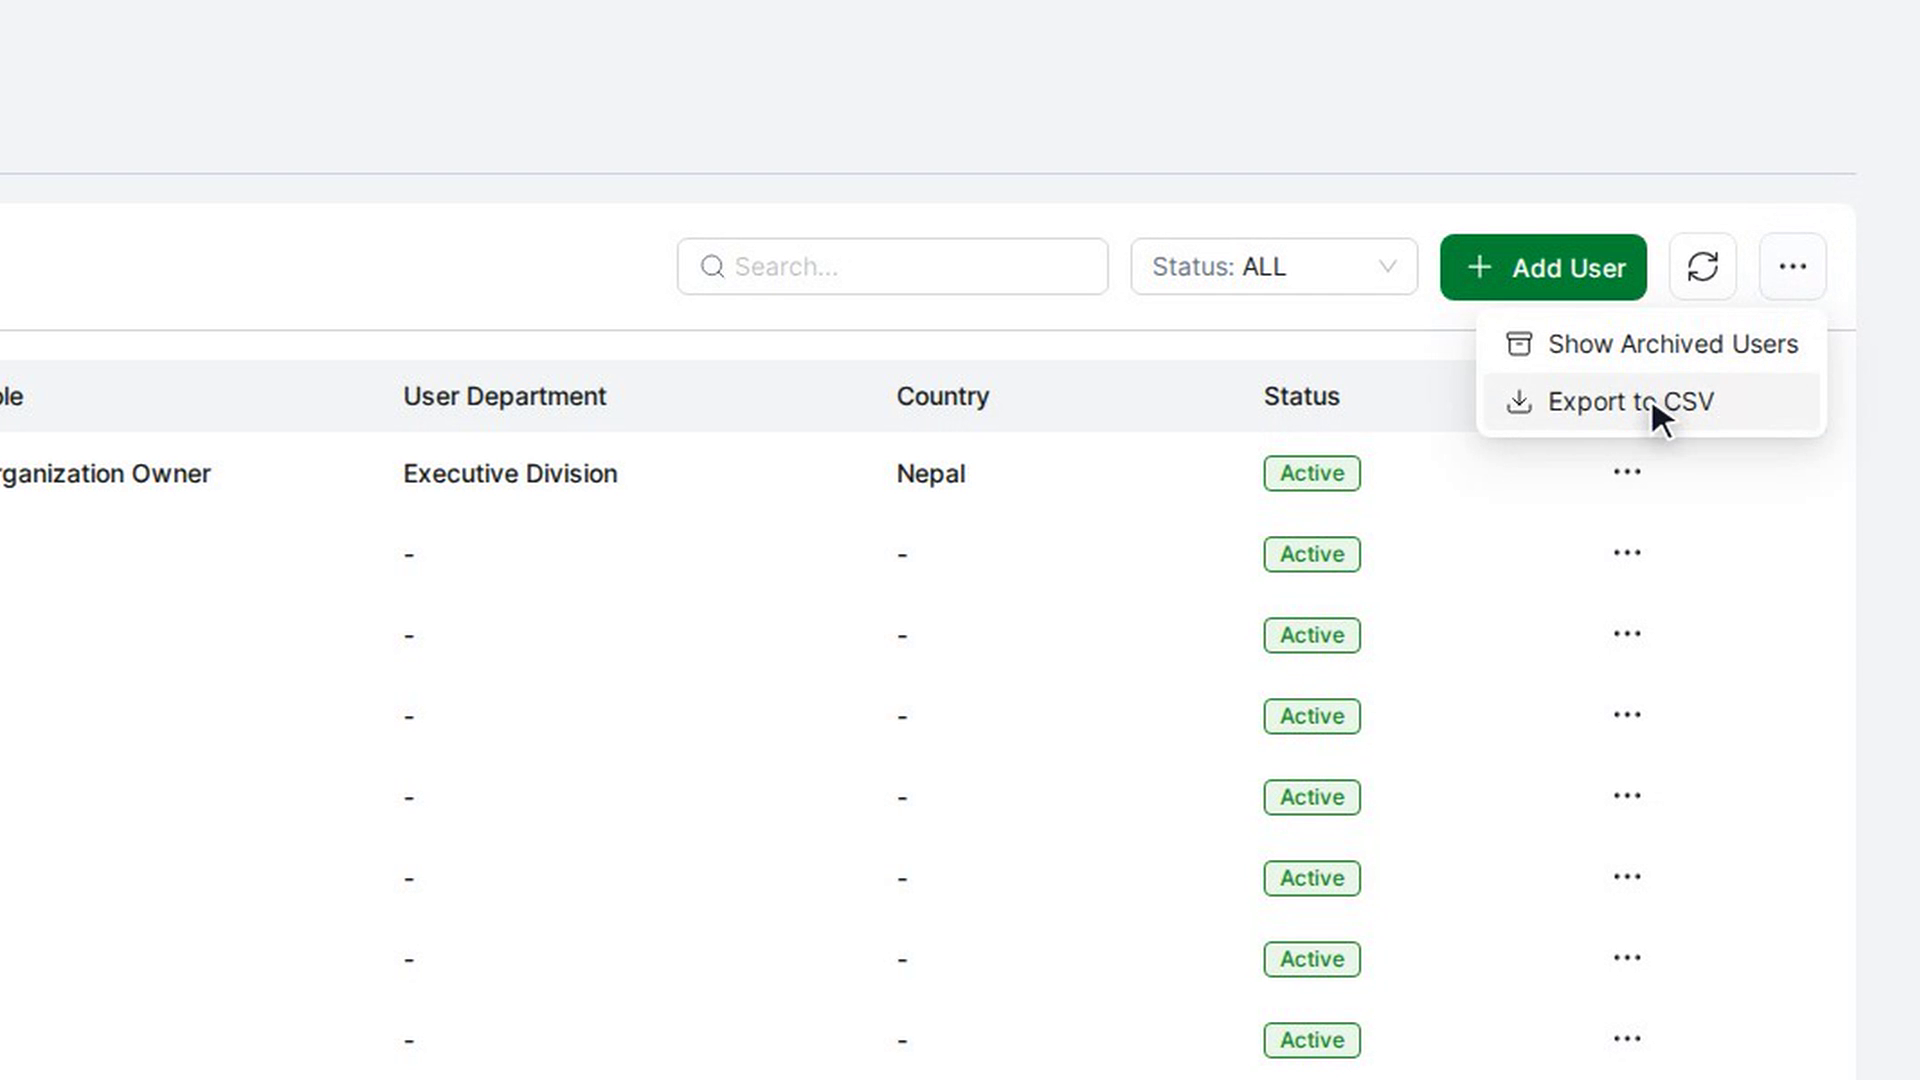
Open the More actions menu and select Export to CSV. The Download CSV window lists the columns, all ticked. Untick any you don't want and select Download.
The file contains the users currently shown in the table, so any search, Status filter or archive view you have applied is used. It is saved as users.csv, or users-archived.csv when you're viewing the archive.
Add a user department
Select the User Departments tab, then Add User Department. In the Create User Department panel, enter a Department Name (required) and, if you like, a Description of up to 300 characters. Select Save.
The department appears in the list and can now be chosen in the User Department field when you add or edit a user.
Manage departments
The User Departments tab works like the Users tab:
- Use Search... to find a department, and select a row to see View Details.
- Use the row's ⋯ menu to Edit or Delete a department. Deleted departments go to the archive.
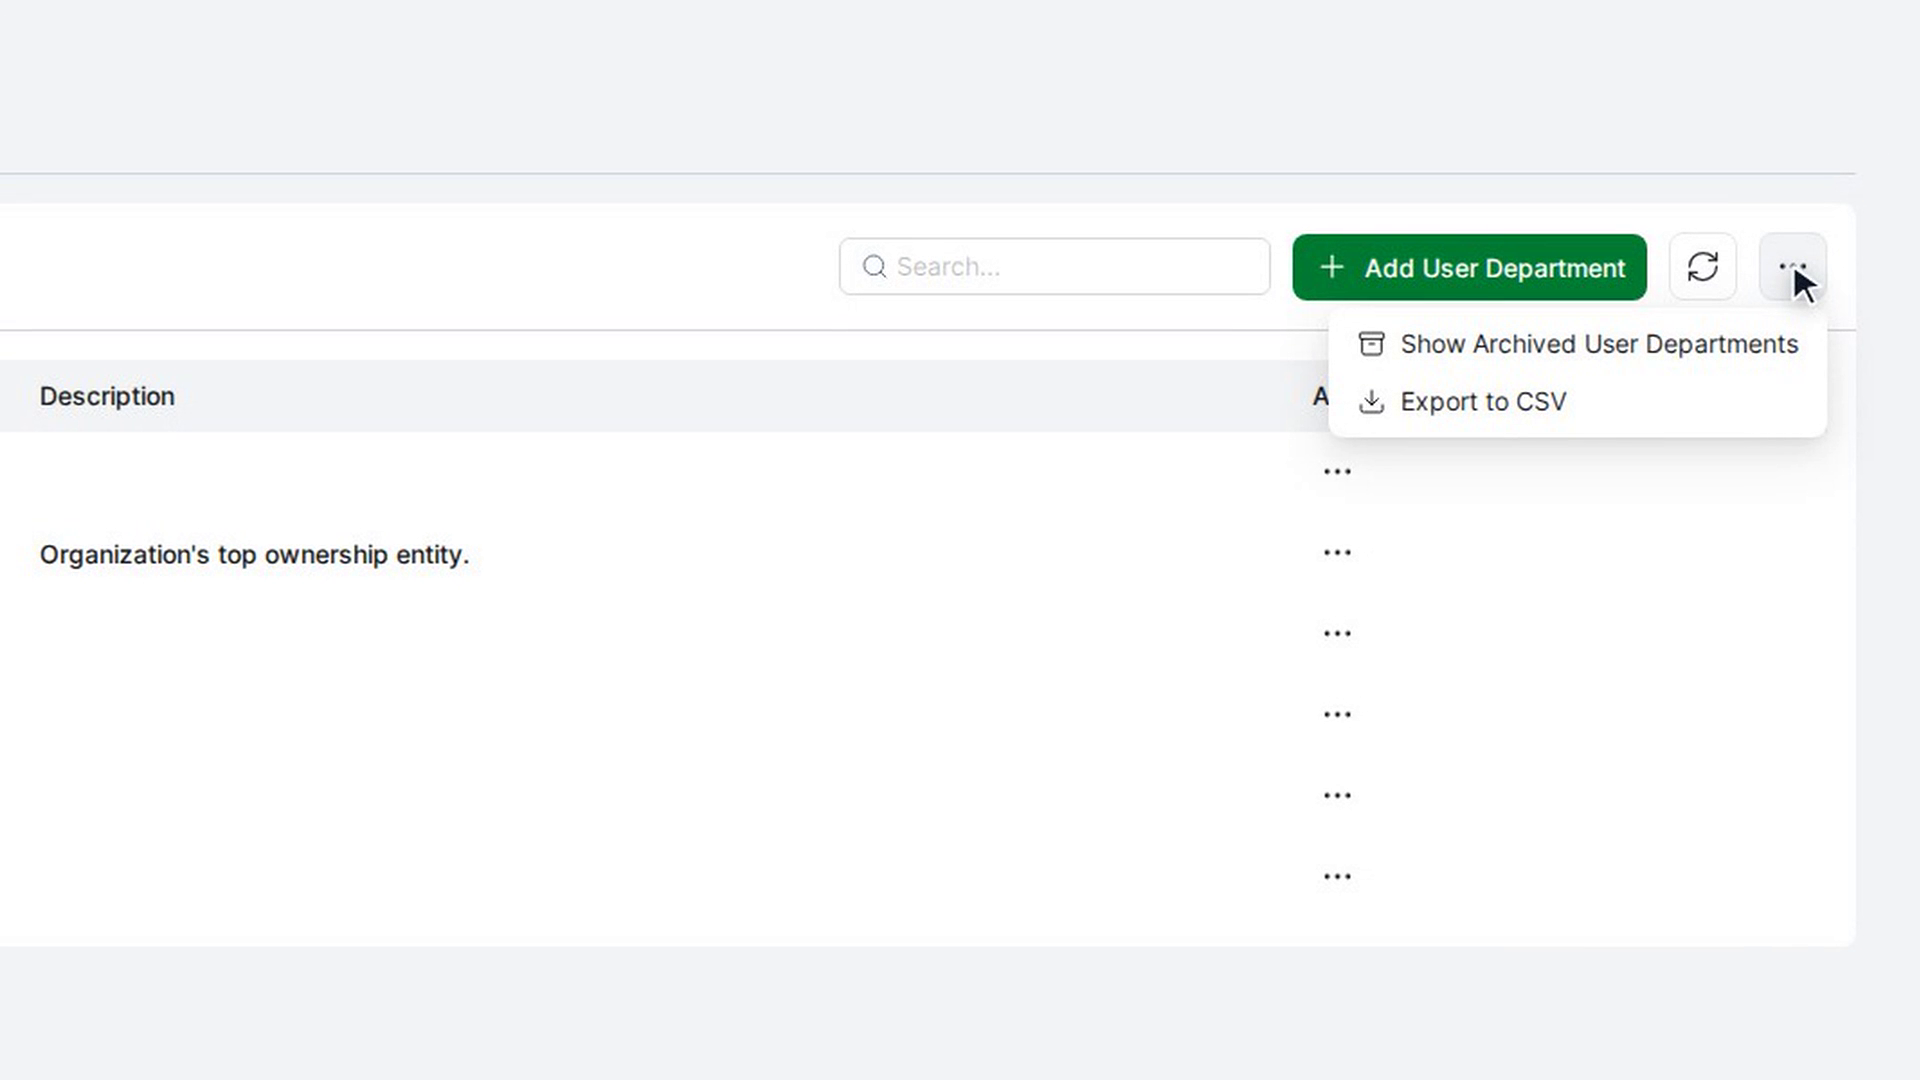
- Open More actions and select Show Archived User Departments to see archived departments and Restore them.
- Open More actions and select Export to CSV to download the department Name and Description.
Screenshots
Step 1: Open User Management
Step 2: Find a user
Step 3: Add a user
Step 4: Edit a user
Step 5: Change a user's password
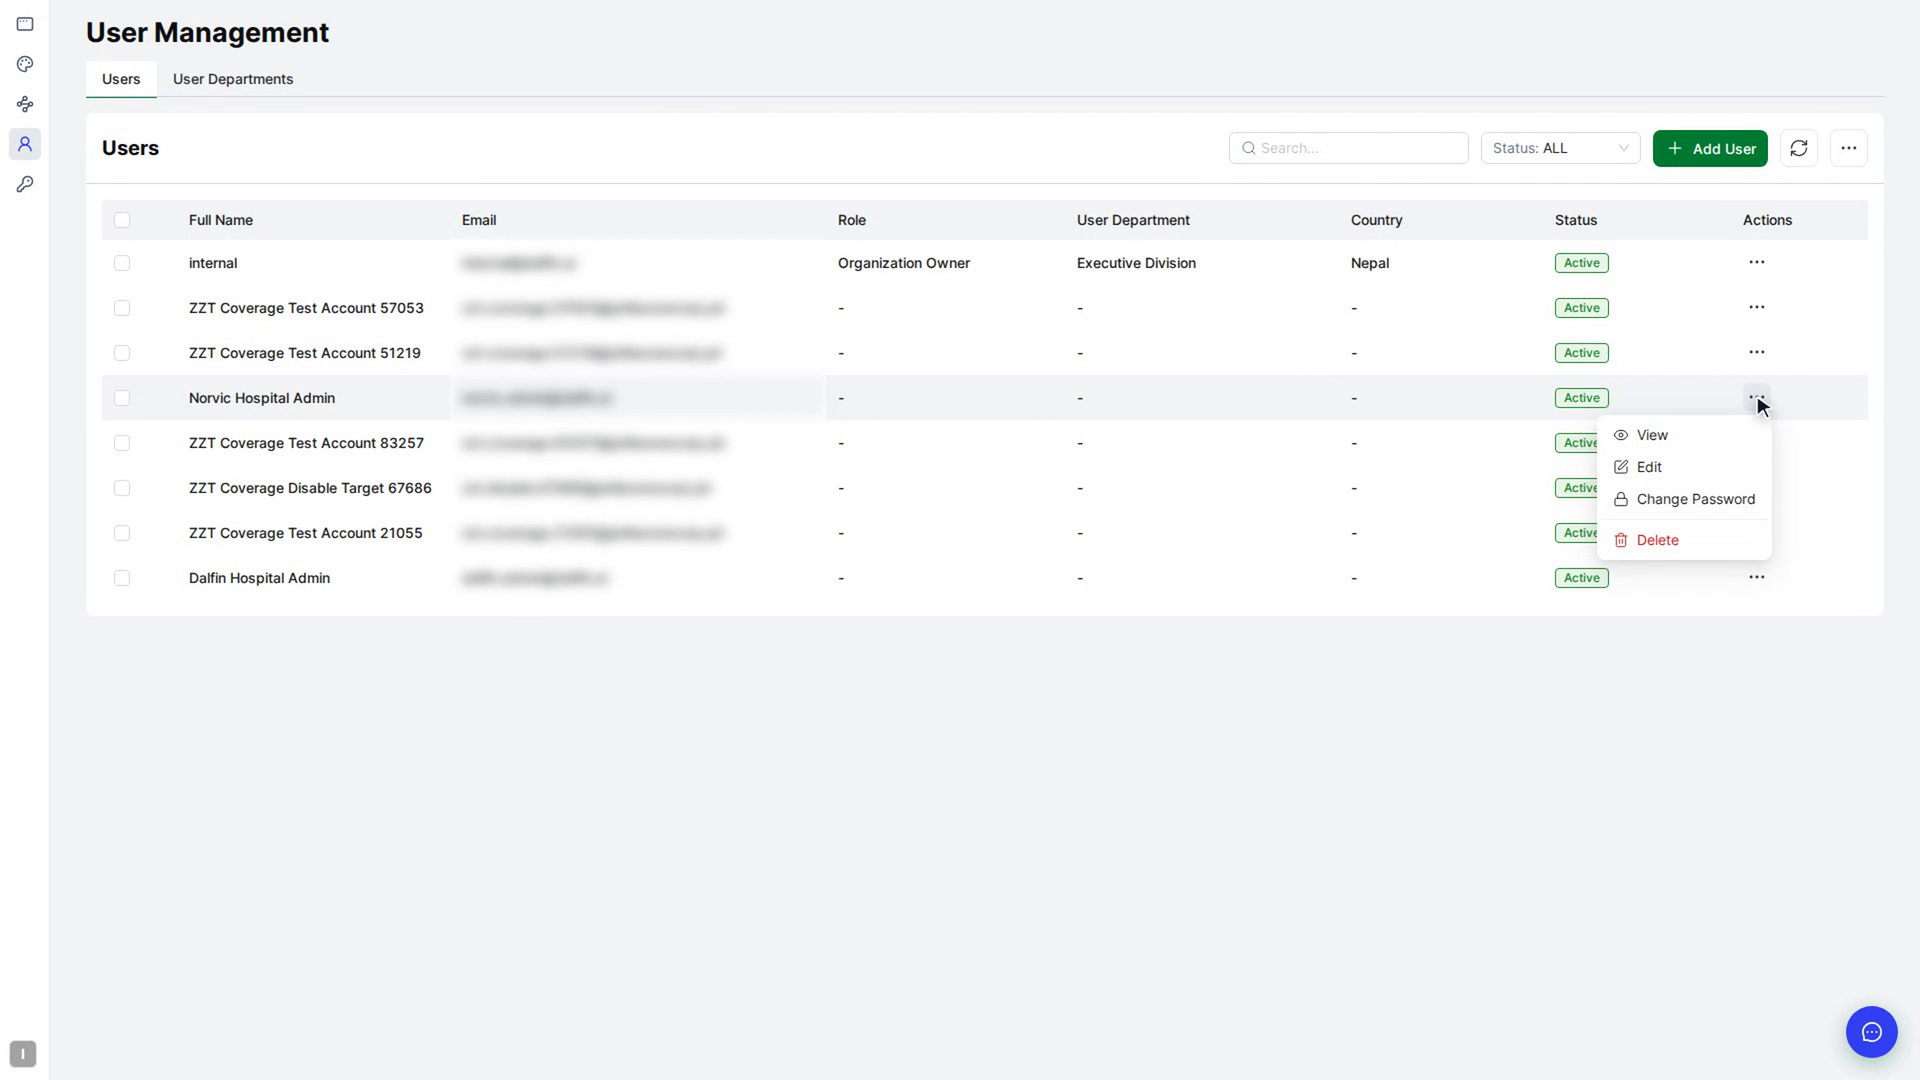
Step 6: Archive (delete) users
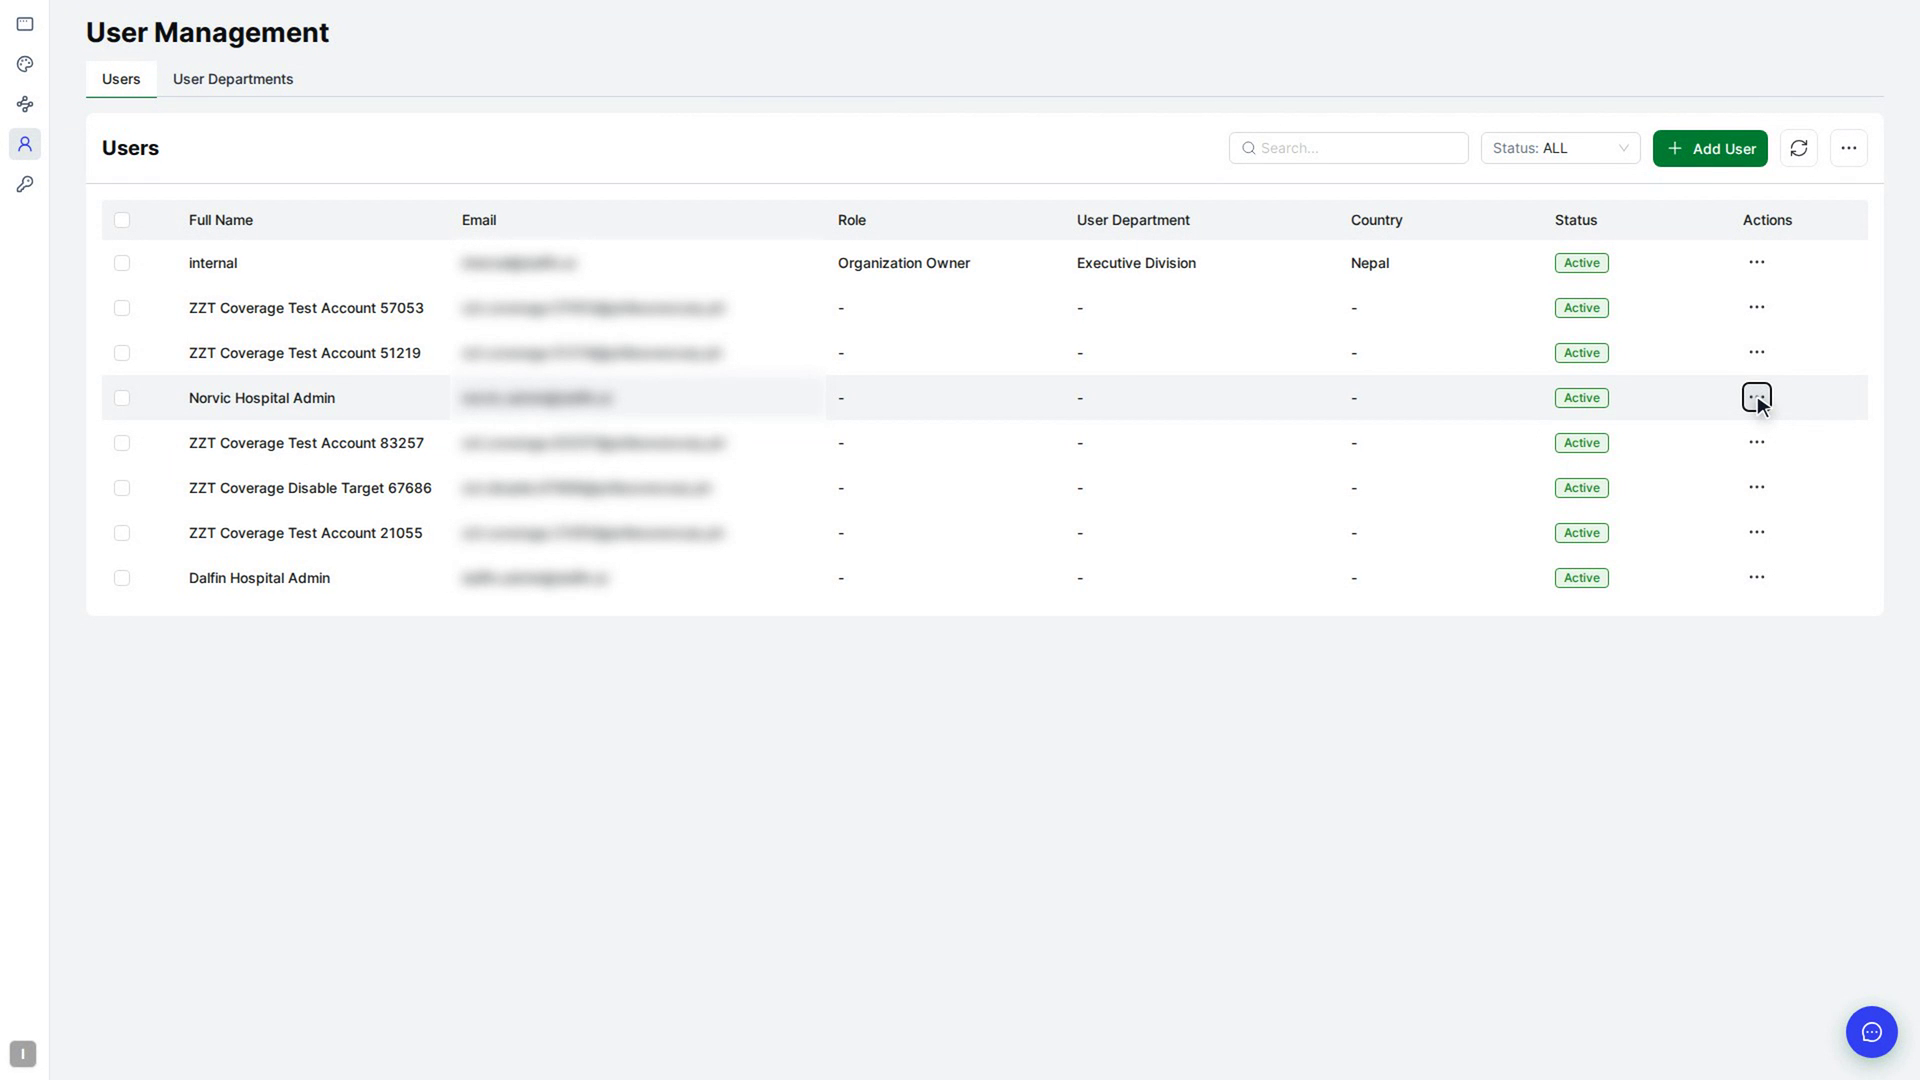
Step 7: Restore archived users
Step 8: Export users to CSV
Step 9: Add a user department
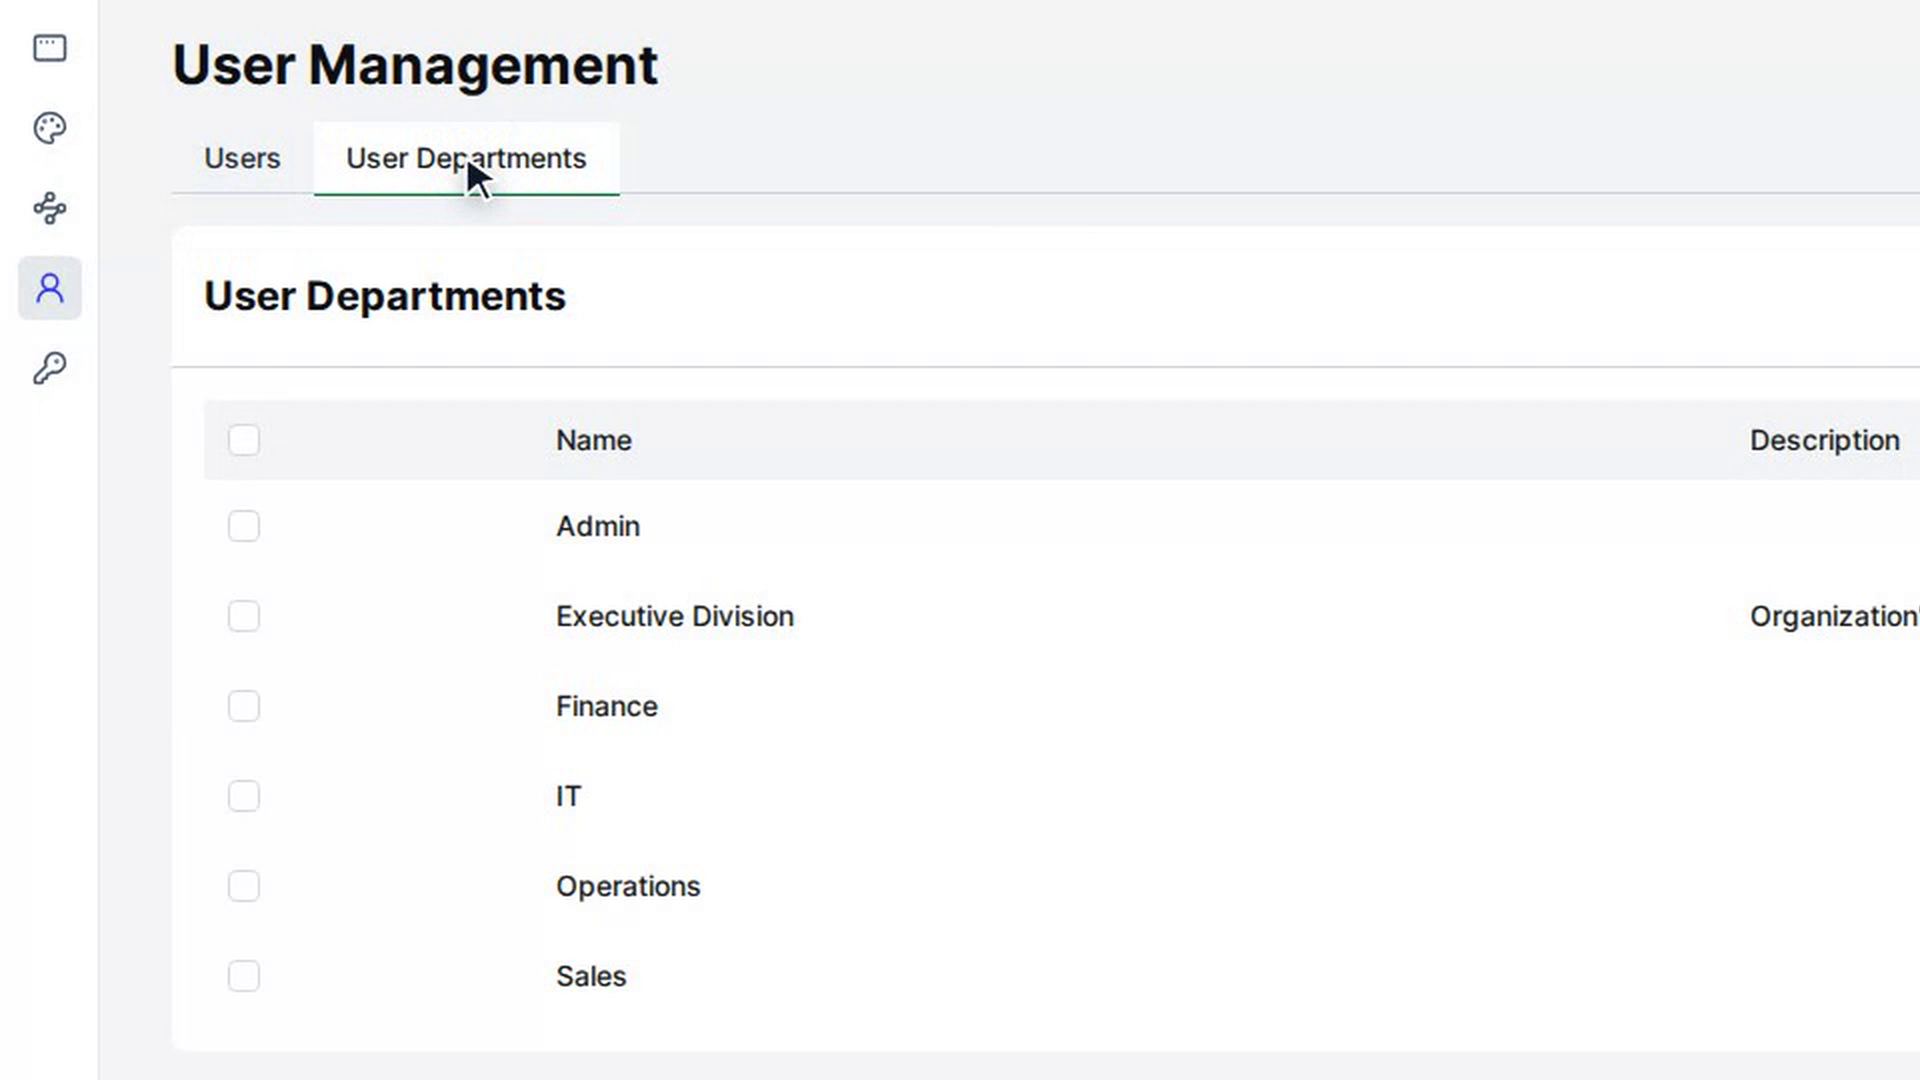
Step 10: Manage departments
Watch how
Tip: Some users are created automatically by the platform, such as the Organization Owner account. For these, the row menu only offers View. They can't be edited, deleted or given a new password here.
Tip: There's no switch to make a user active or inactive by hand. The status is set automatically: a user who was asked to set their own password stays Inactive until they do. Use the Status filter to find them.
Next steps
- Page and element access: decide what each role can see
- Assign users to systems
- Open the editor and find your way around