Publish your app
Publishing puts your app live so real users can open it. You start it with one button, and Dalfin takes care of building and deploying the app for you.
Before you start
- Anyone who can open the app can publish it.
- The build must have finished all six stages. Until then, Publish is greyed out.
Steps
Start from the ready prompt (first time only)
When a new app finishes building, the Interface tab may ask Ready to deploy your app? Select Deploy now to start publishing straight away and follow the progress on the deployment page. Select Cancel if you want to publish later.
Open the Publish panel
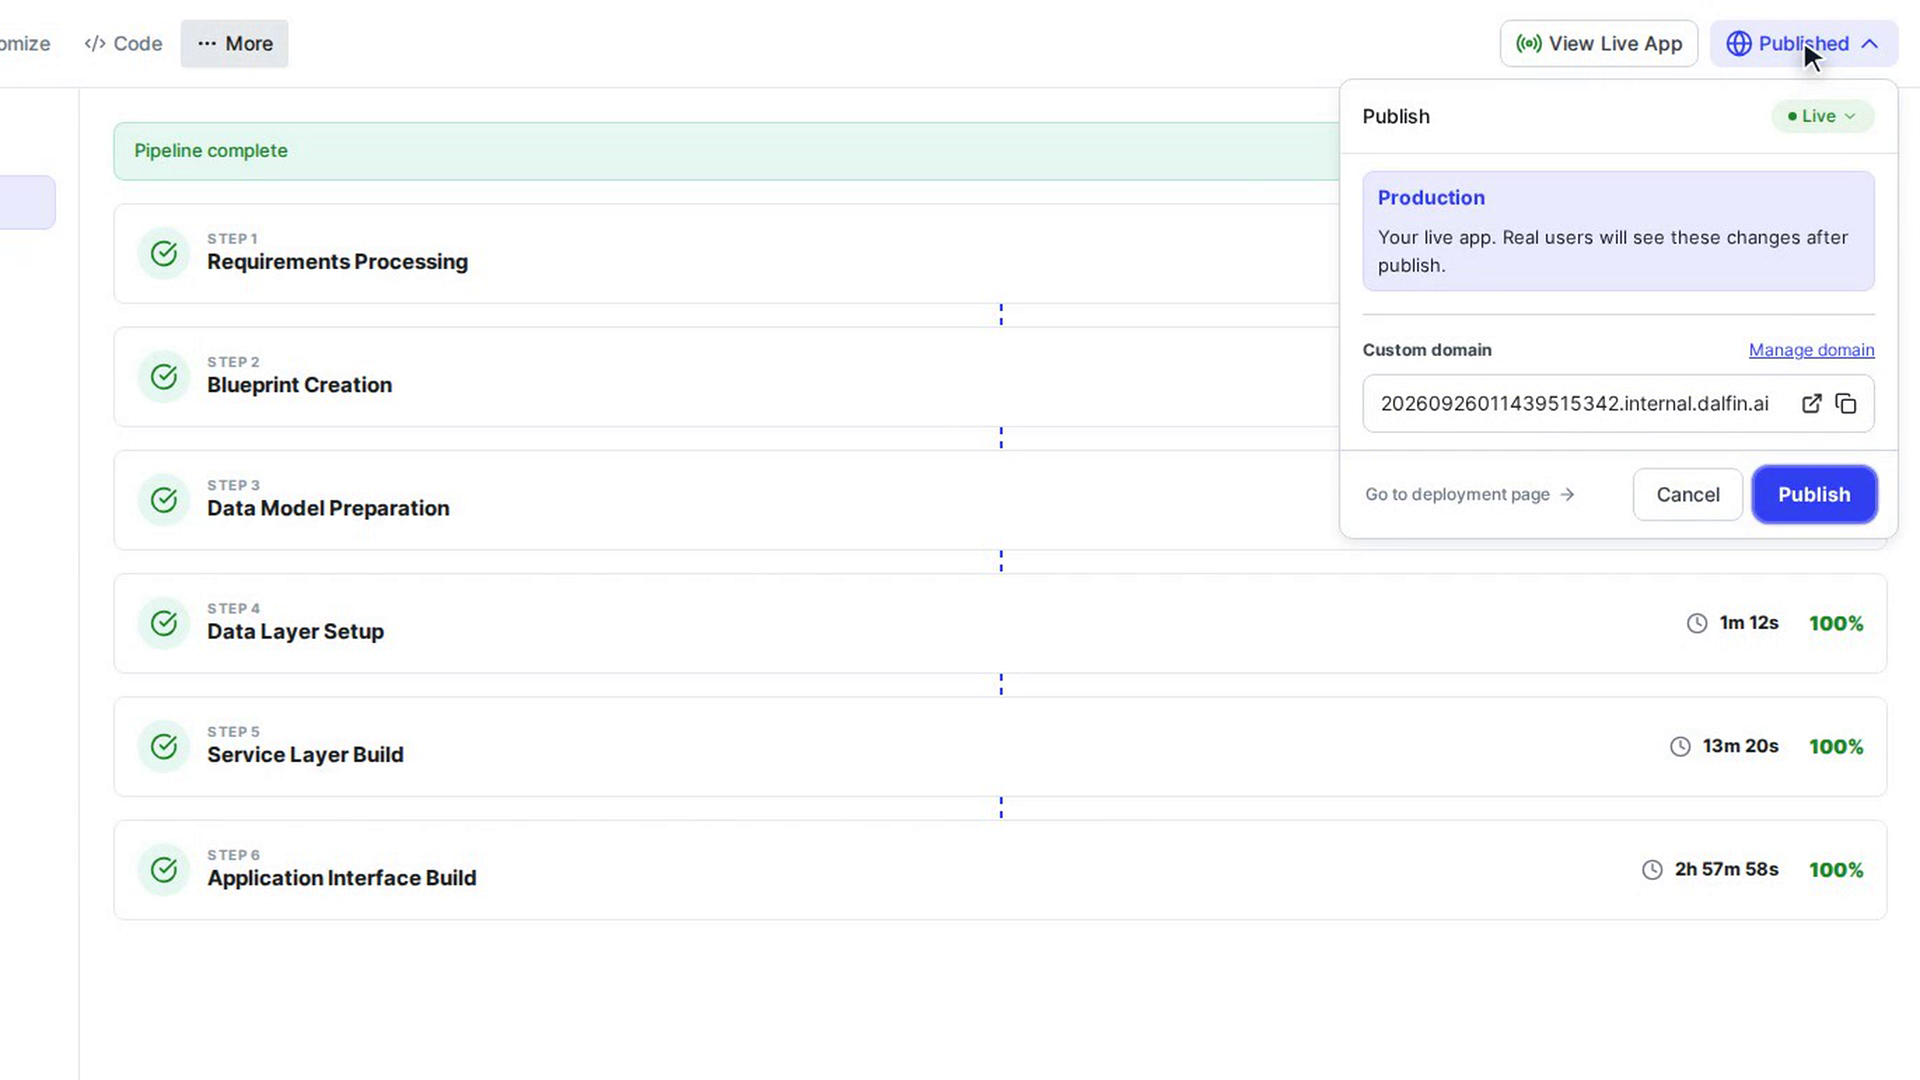
Select Publish at the top right of the screen. A panel opens with a status label: Ready, Publishing, Pending or Live.
Check where the app will go
The panel shows Production: "Your live app. Real users will see these changes after publish." This is the only place your app is published to.
Add a custom domain (optional)
Under Custom domain, select Add custom domain to give your app its own address. If the app already has one, it is shown here, and Manage domain takes you to the app's Settings.
Publish
Select Publish at the bottom of the panel. The panel closes and the top button changes to Publishing…. The first time you publish, Dalfin runs every deployment step. After that, it pushes and deploys your latest changes. The chat shows a Deploy Progress card. Select View Details to see each step.
Open and share your app
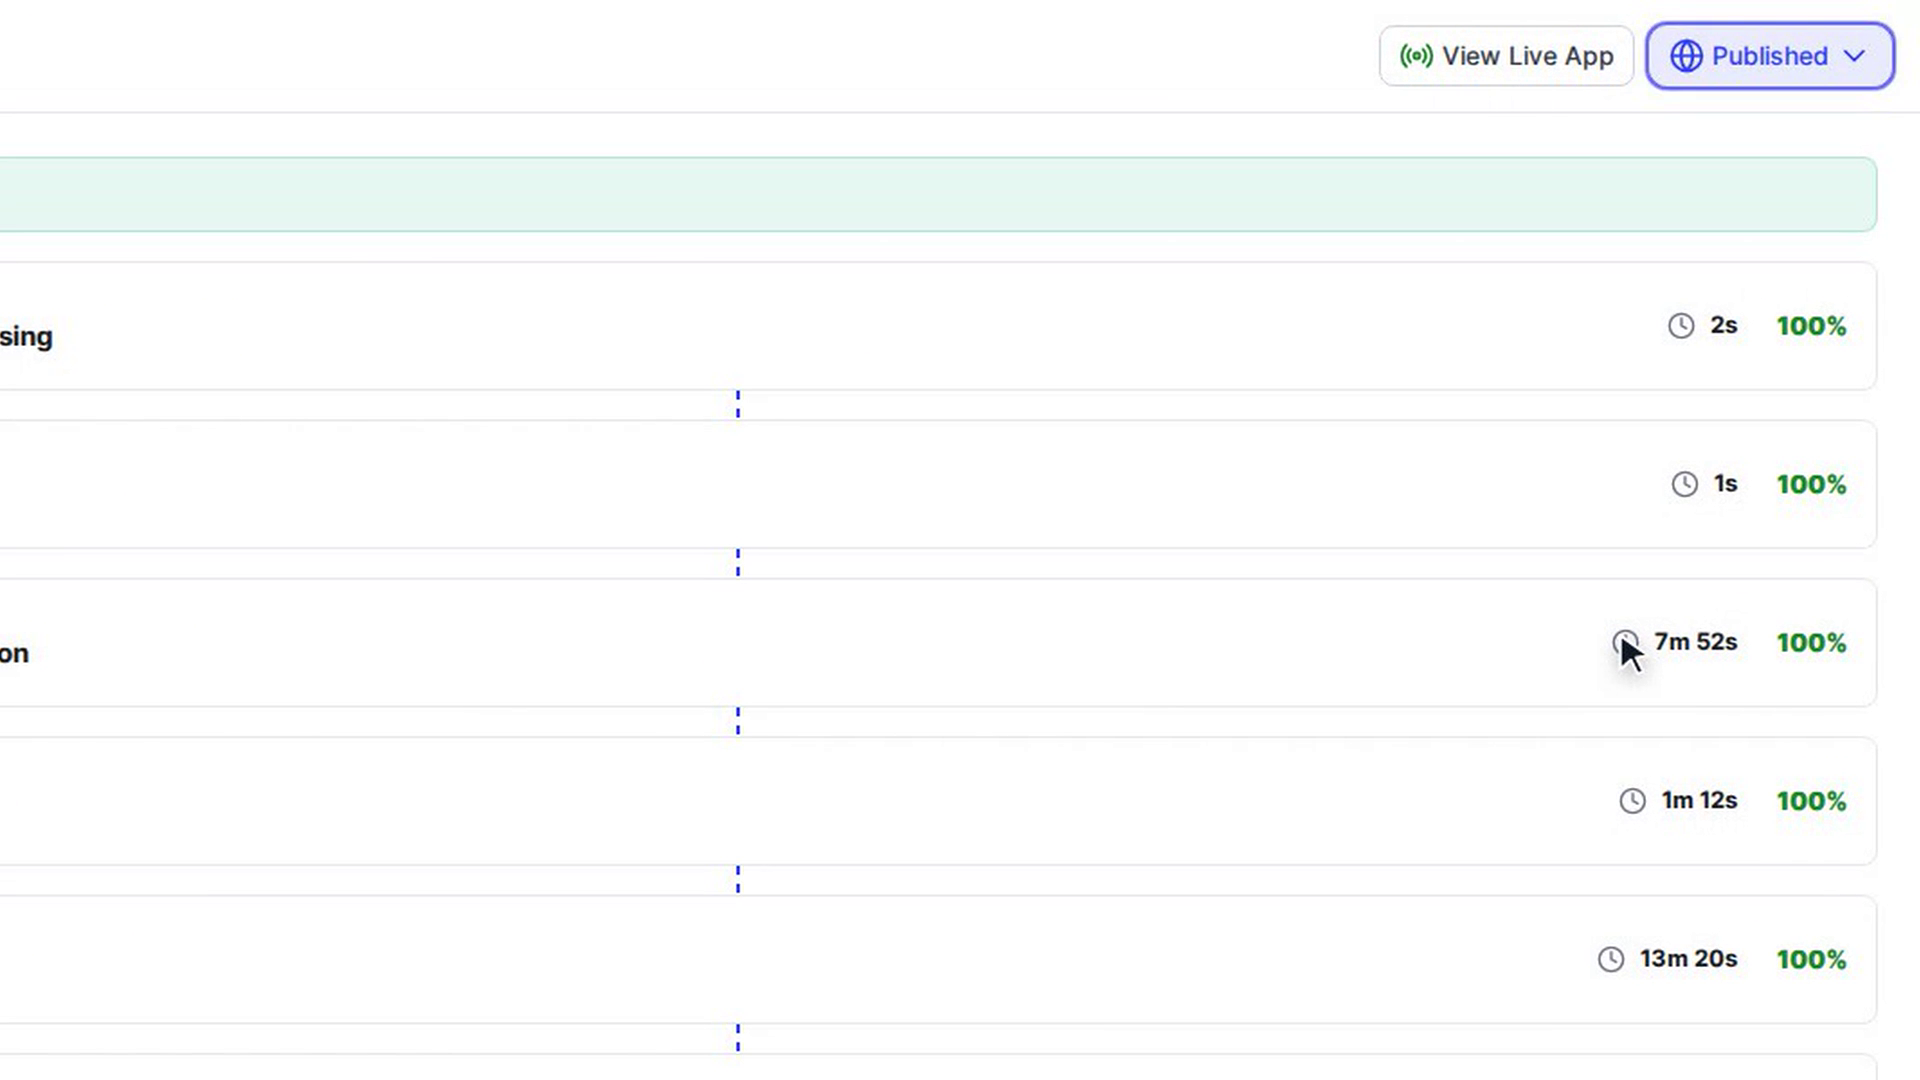
When publishing finishes, the button changes to Published and View Live App appears in the header. Select it to open your app. To share the address, copy it from the browser. If you set up a custom domain, open the Publish panel and use the copy button next to the domain.
Screenshots
Step 1: Start from the ready prompt (first time only)
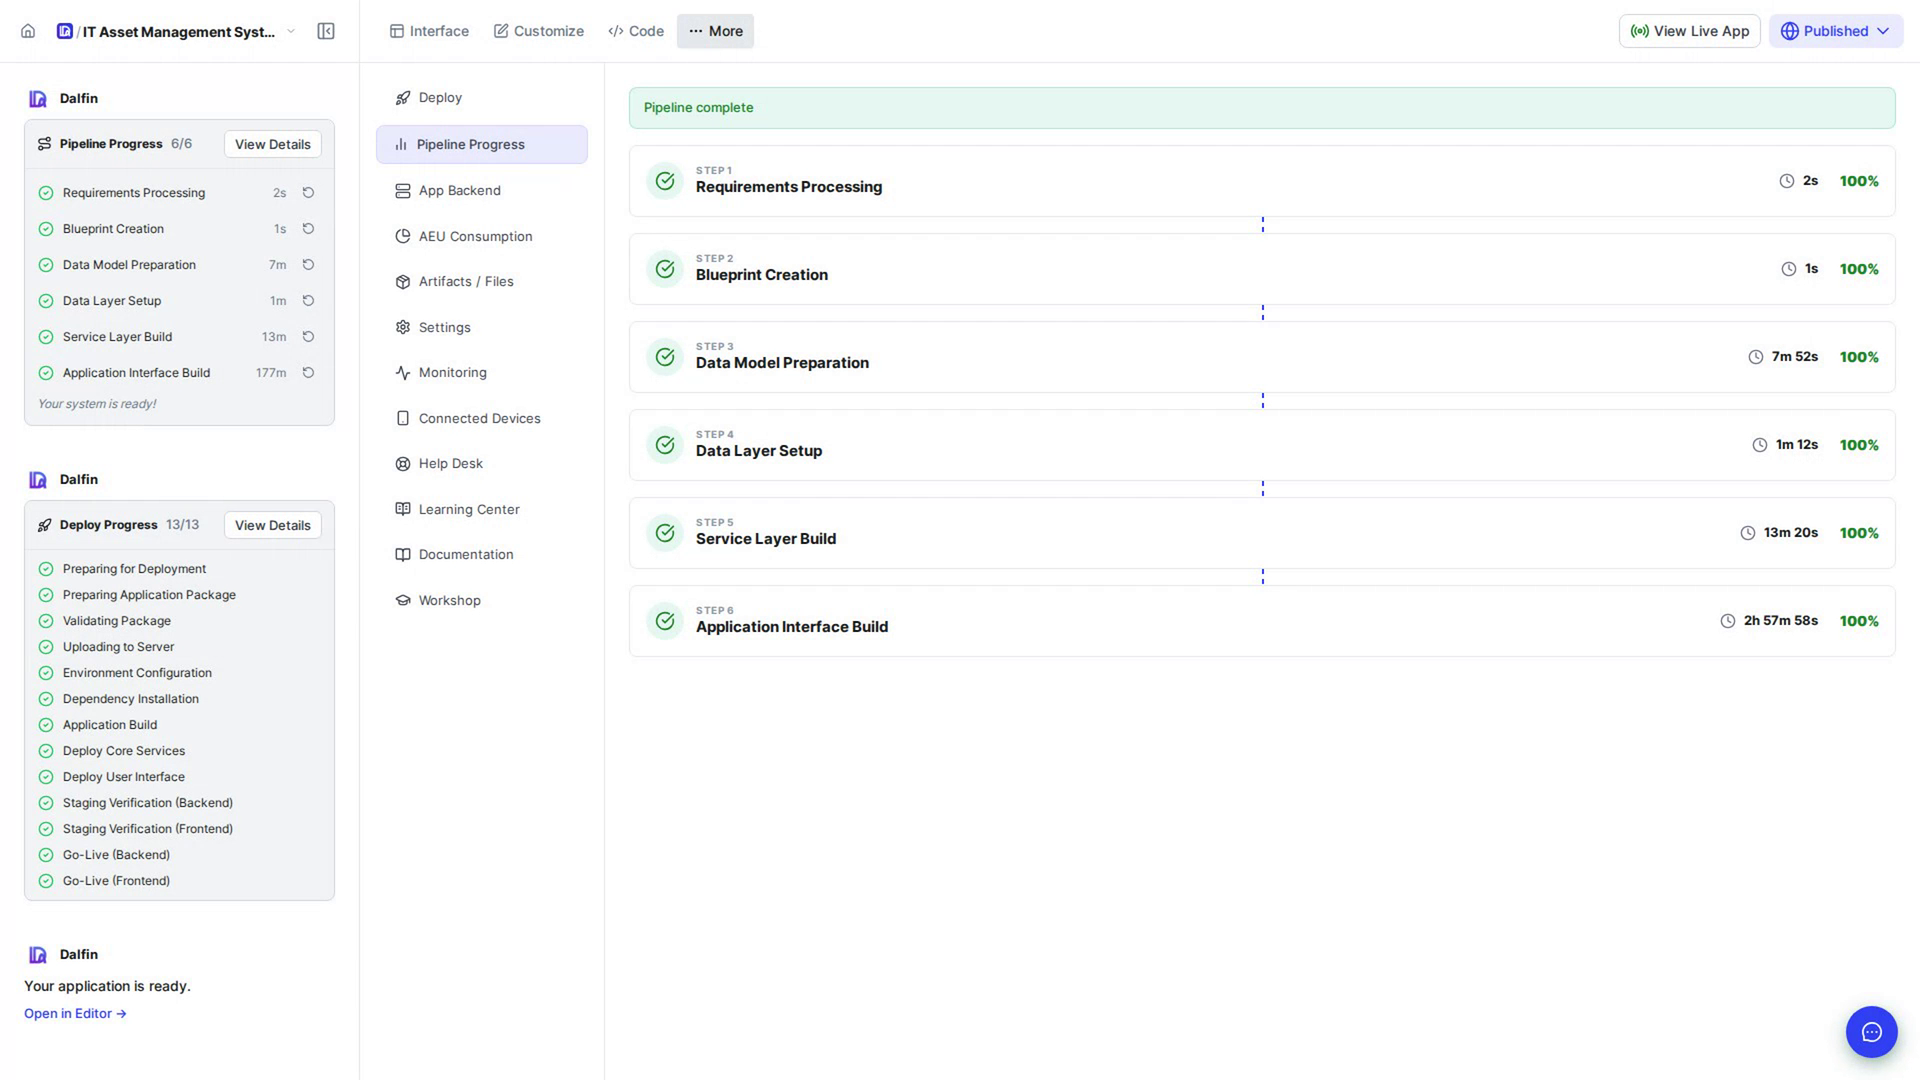
Step 2: Open the Publish panel
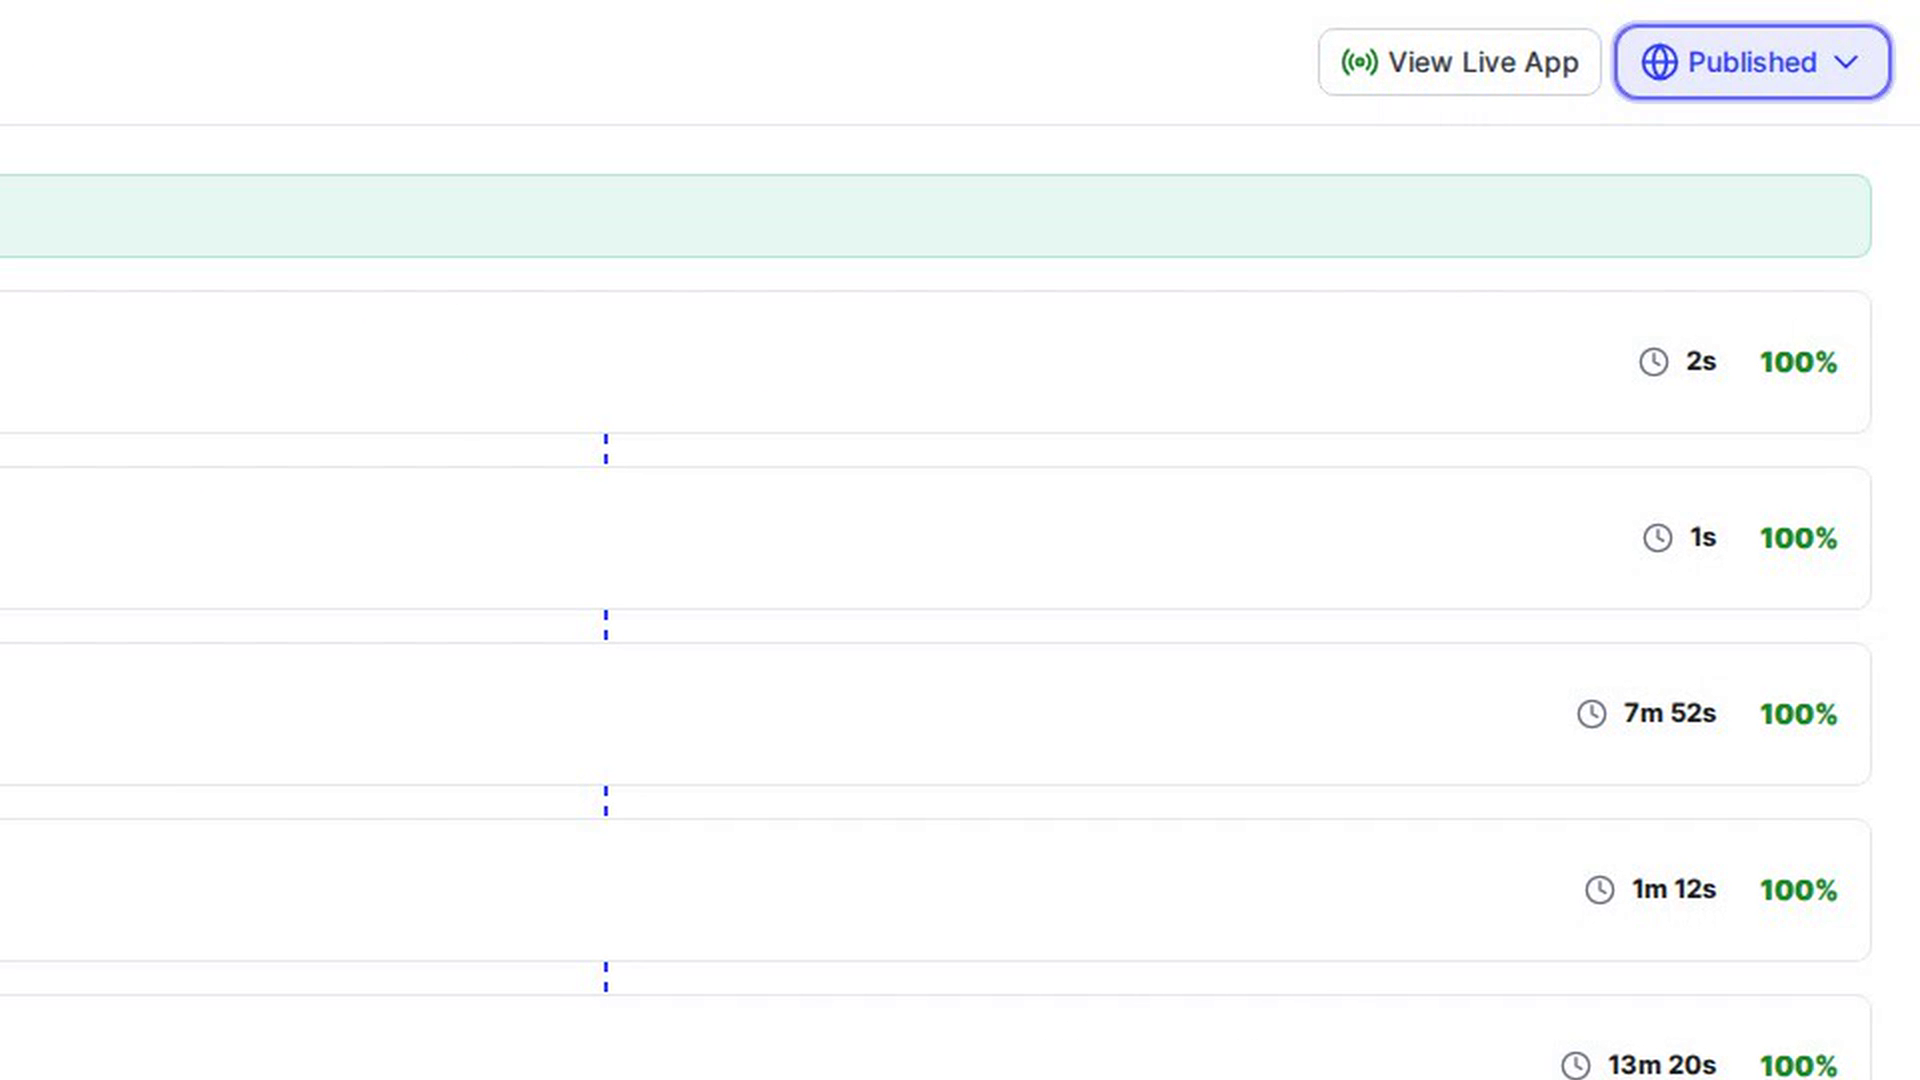
Step 3: Check where the app will go
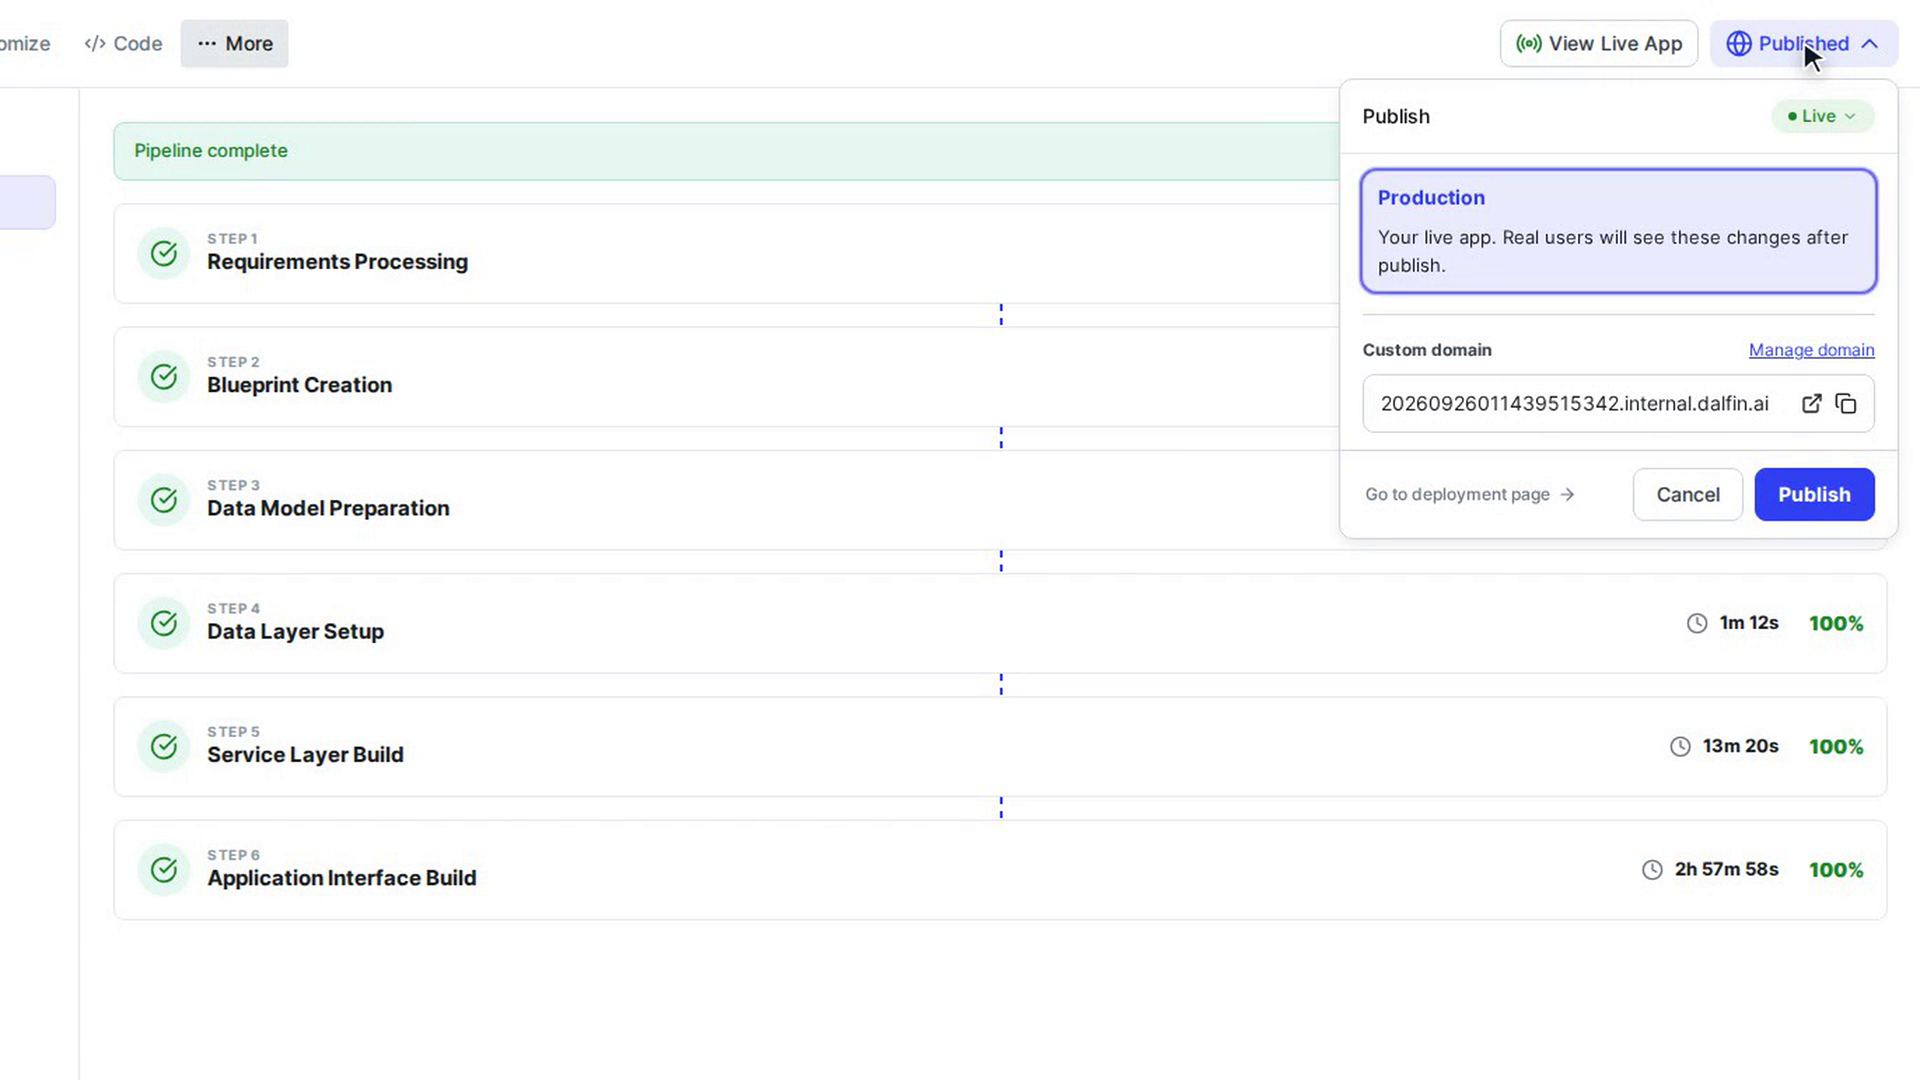
Step 4: Add a custom domain (optional)
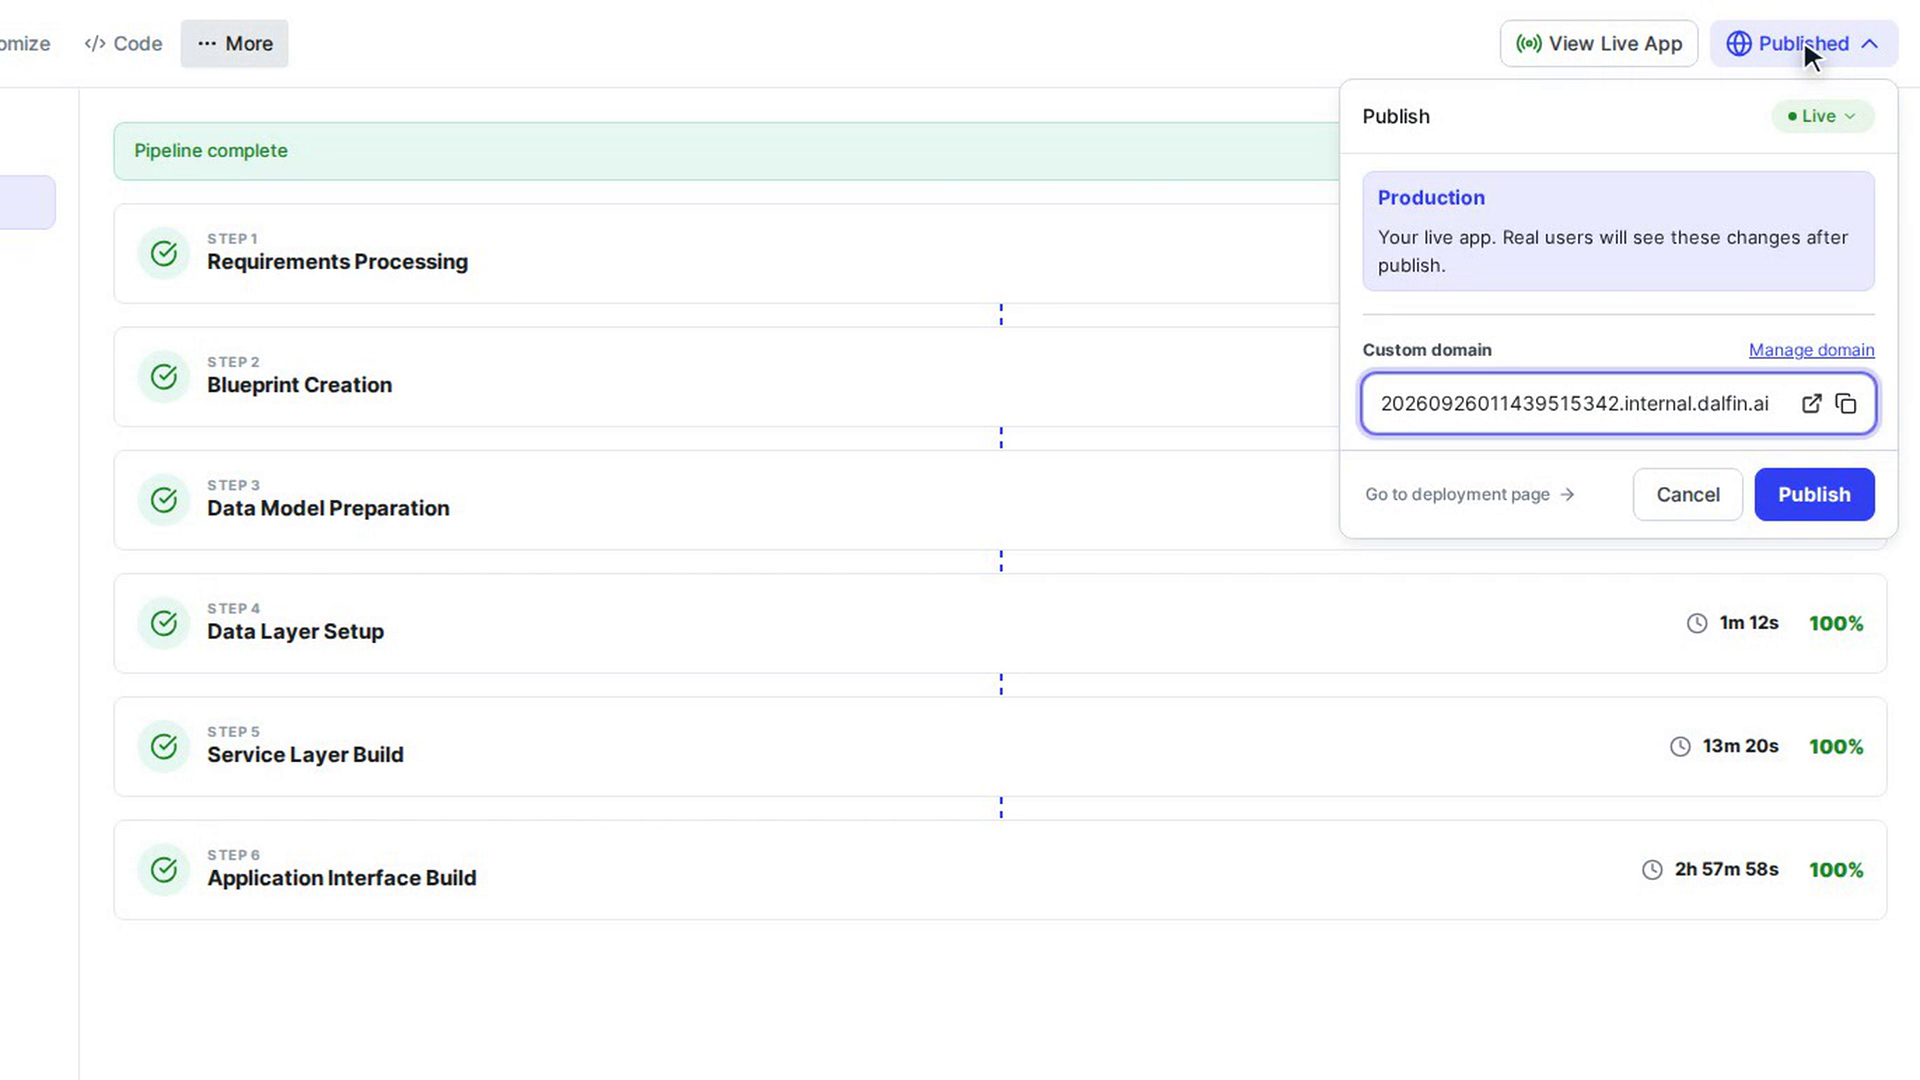
Step 5: Publish
Step 6: Open and share your app
Watch how
Tip: Need to stop? While publishing runs, open the Publish panel and select Abort deploy. Steps that have already finished are not rolled back. To see or re-run individual steps, select Go to deployment page.
Publishing sends your changes to your live app, and real users see them straight away. There is no second confirmation after you select Publish.