Workspaces
The Workspaces page is an operations tool for managing code-server workspaces: create one, start and stop it, clone it, open its monitoring, and delete it when it is no longer needed.
Before you start
- This page is meant for operations staff. It only appears in non-production environments, and there is no separate role check, so anyone who can see the menu entry can use it.
- To clone a workspace, the workspace you copy from must be running.
Steps
Open Workspaces
In the Dalfin sidebar, select Settings at the bottom, then Workspace. The Workspaces page opens: "Manage your code-server workspaces and React deployments." Each workspace is shown as a card with its name, status, URL, Password and Created date. Statuses refresh by themselves every 15 seconds; select Refresh to update them now.
Create a workspace
If there are no workspaces yet, you see "No workspaces yet". Select Create Workspace. In the window, optionally open Advanced Settings to change the CPU, memory, server and storage settings for Code Server, Preview, Registry and Storage, then select Create Workspace. You see "Workspace created".
Find a workspace
Type in Search workspaces… to filter the cards by name.
Open the workspace and get its password
Select the URL on the card to open the workspace in a new tab, or the copy button next to it to copy it. The Password is hidden; select the dots to reveal it, or use the copy button to copy it.
Start or stop a workspace
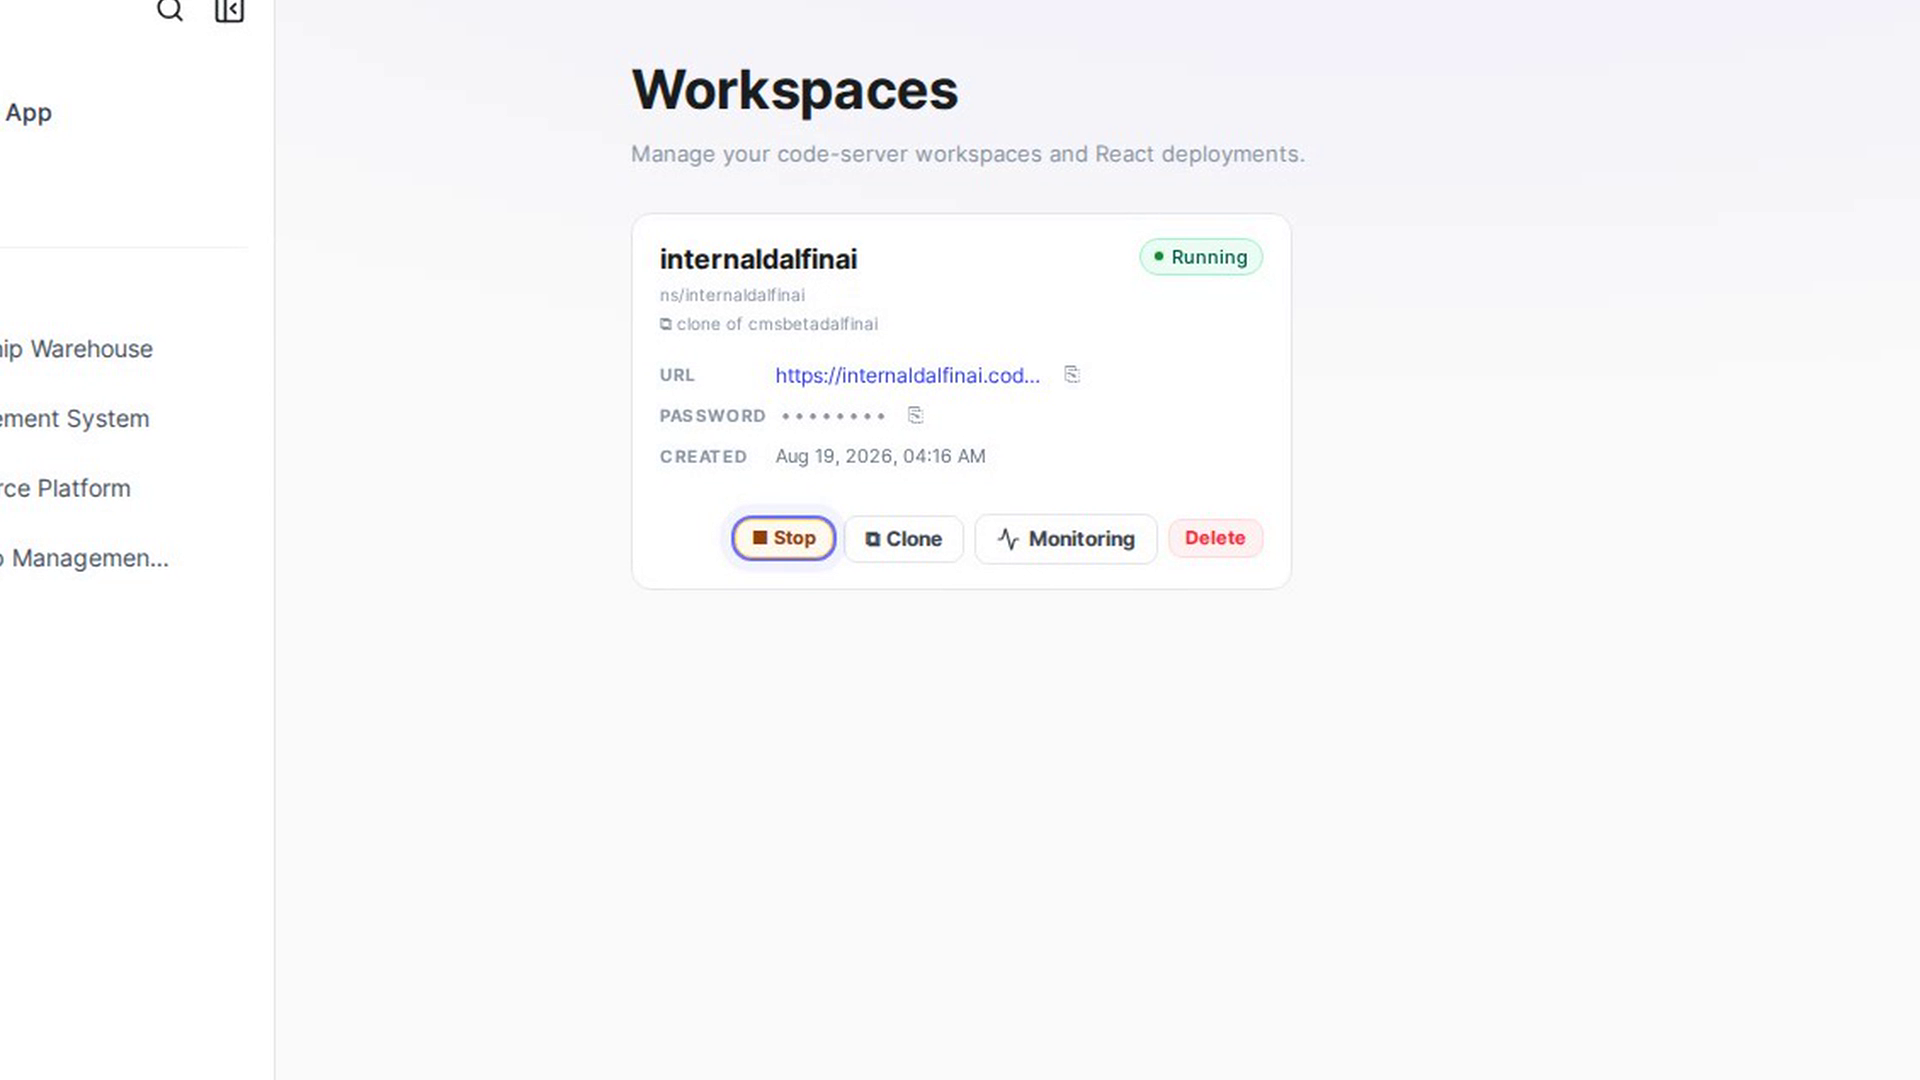
Select ▶ Start on a stopped workspace, or ■ Stop on a running one. Confirm in the window with ▶ Start or ■ Stop. A message confirms the change and the status updates.
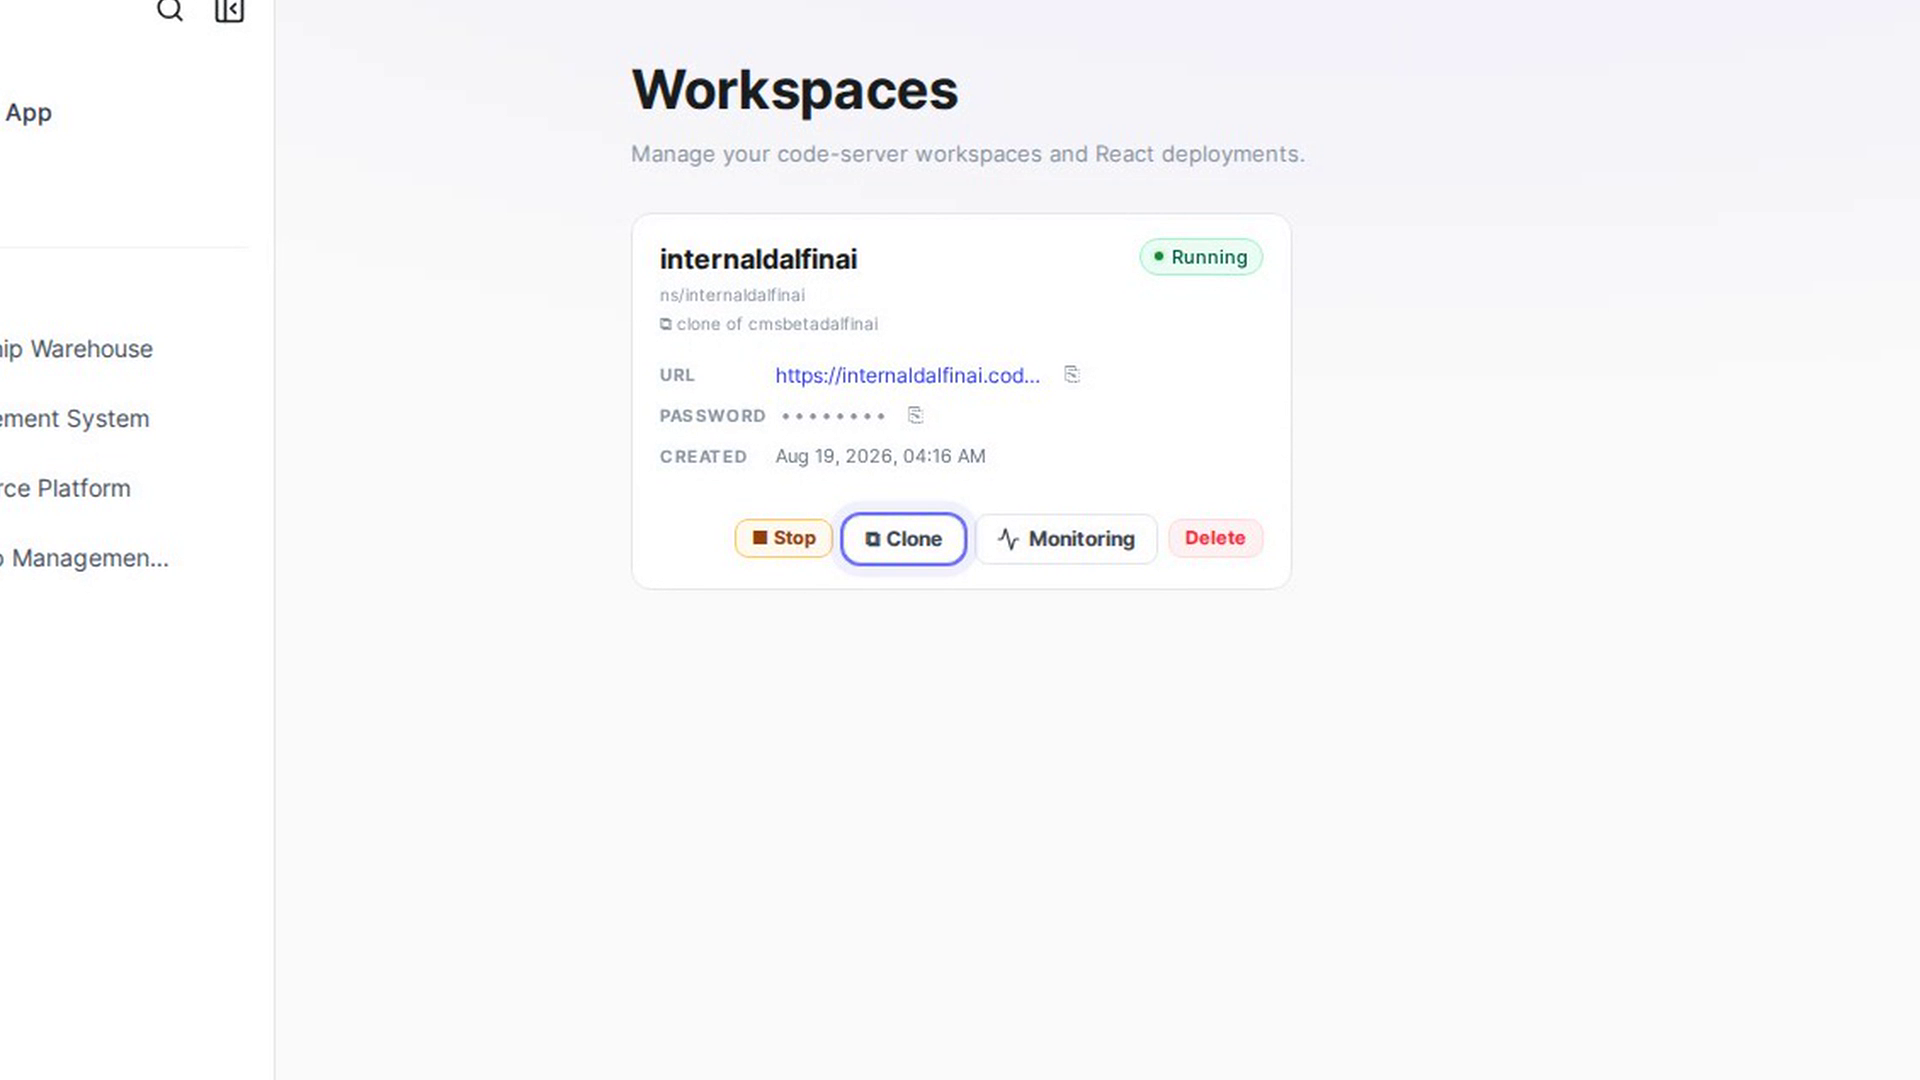
Clone a workspace
Select ⧉ Clone. In Clone Workspace, enter a New workspace name (lowercase letters, numbers and hyphens only, up to 32 characters, and not already in use). Optionally set Advanced Settings, then select ⧉ Clone Workspace. The new card shows "clone of" the original.
Open monitoring
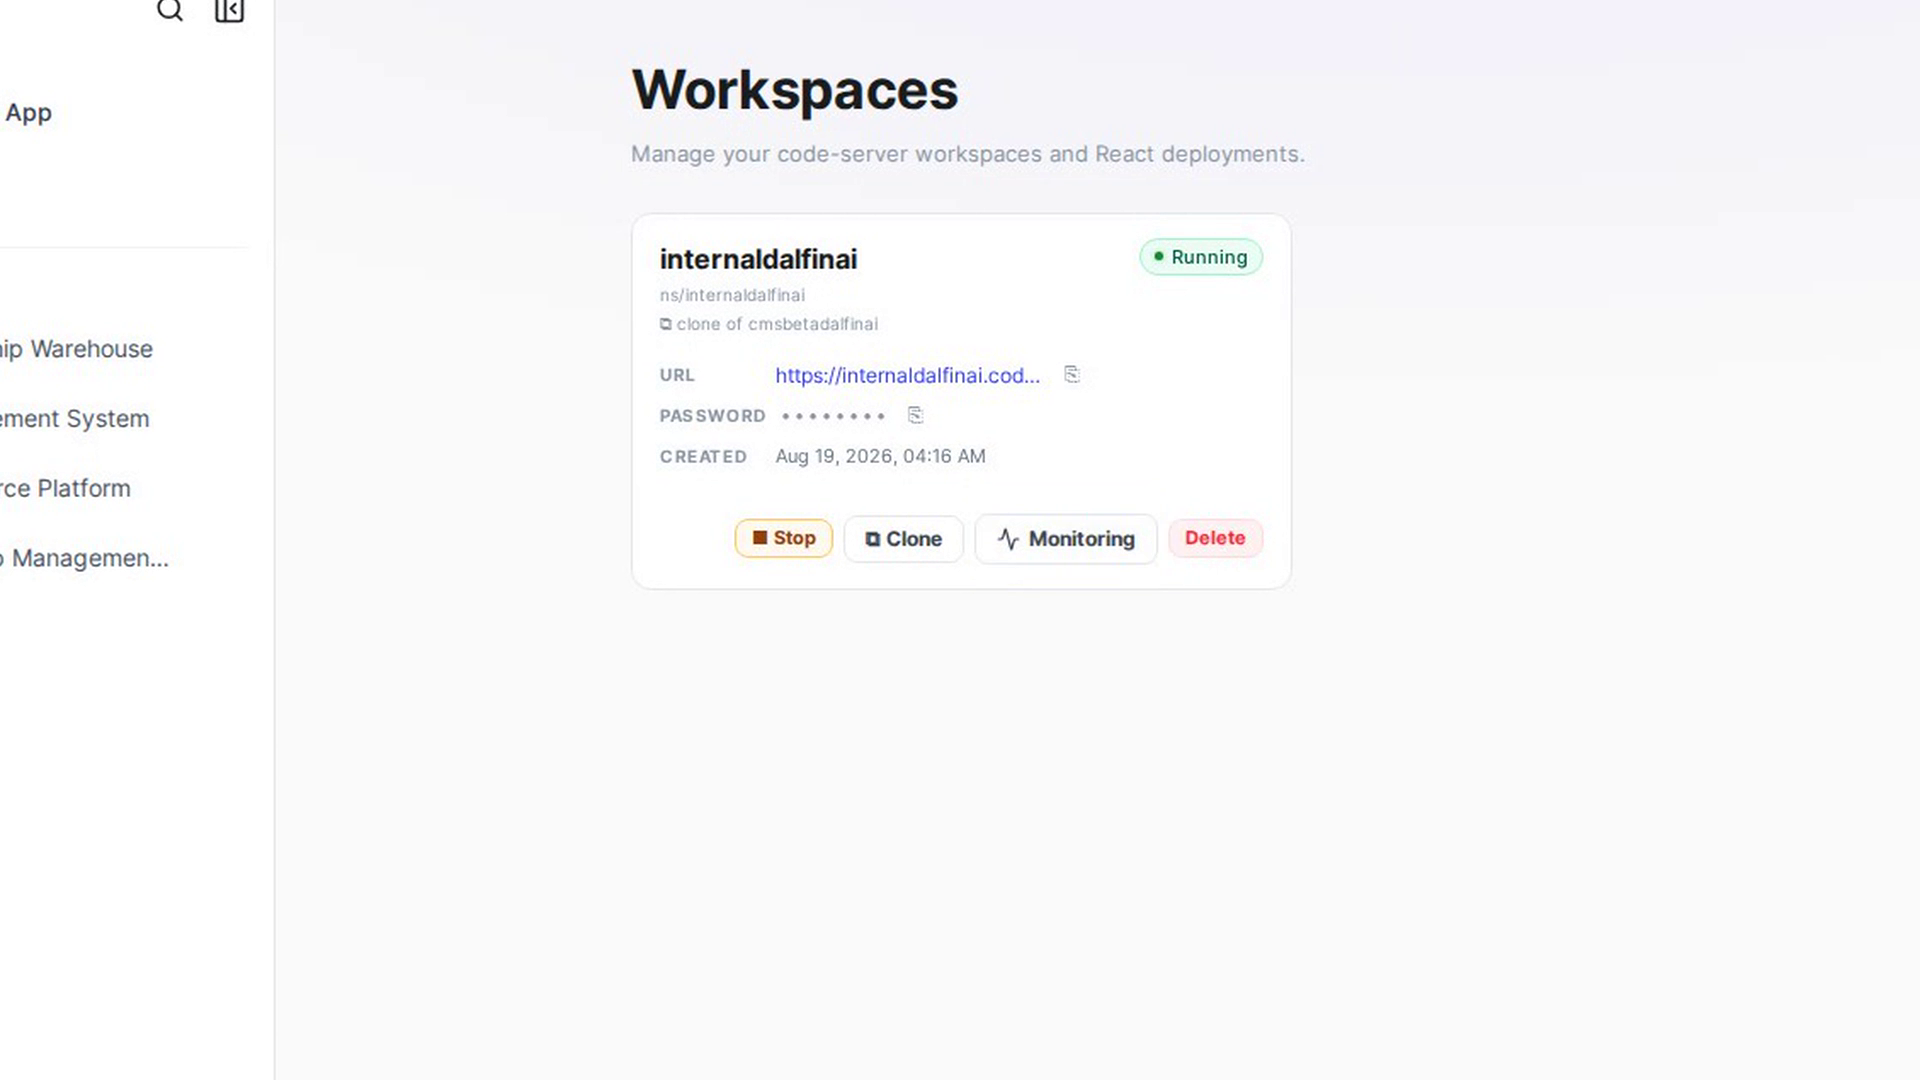
Select Monitoring on a card to see its dashboards. See Tenant monitoring.
Delete a workspace
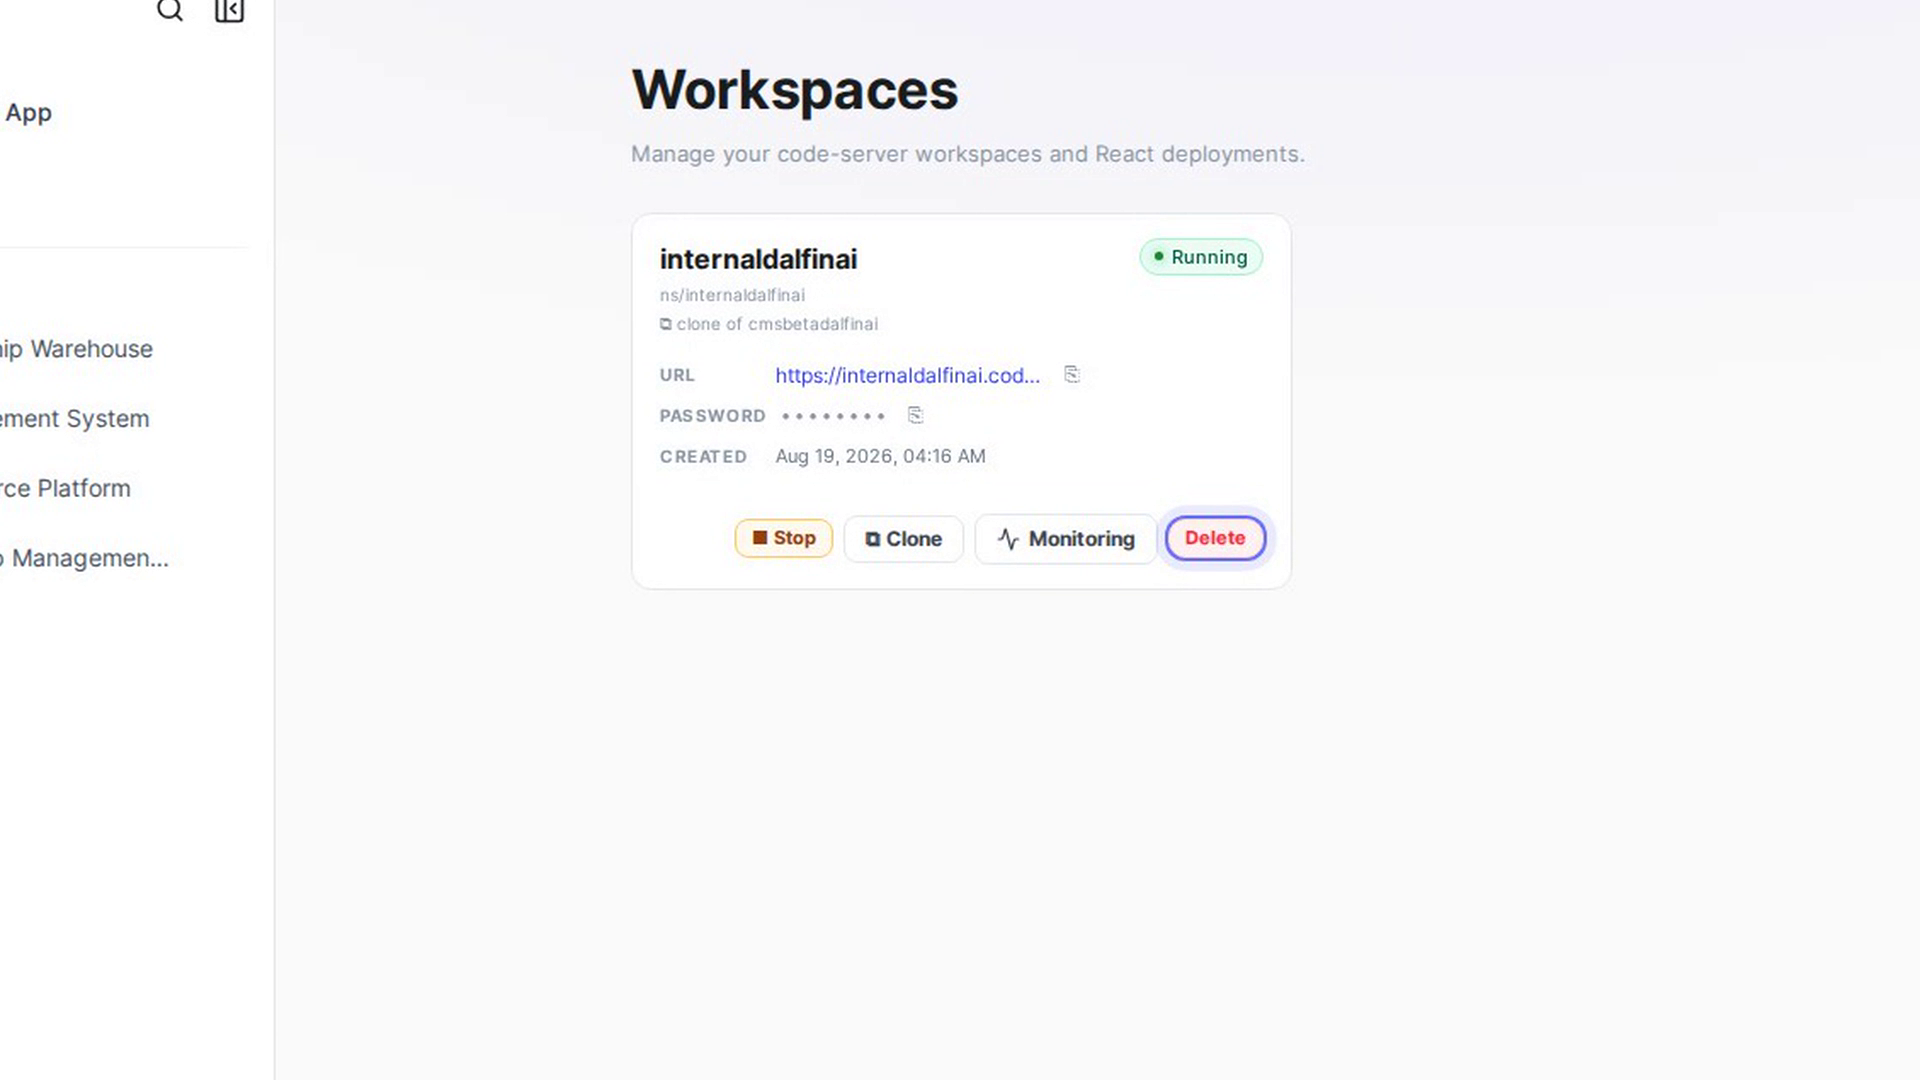
Select Delete. In Delete Workspace, type the workspace name exactly under Type the workspace name to confirm, then select Delete Workspace. You see "Workspace '…' deleted".
Screenshots
Step 1: Open Workspaces
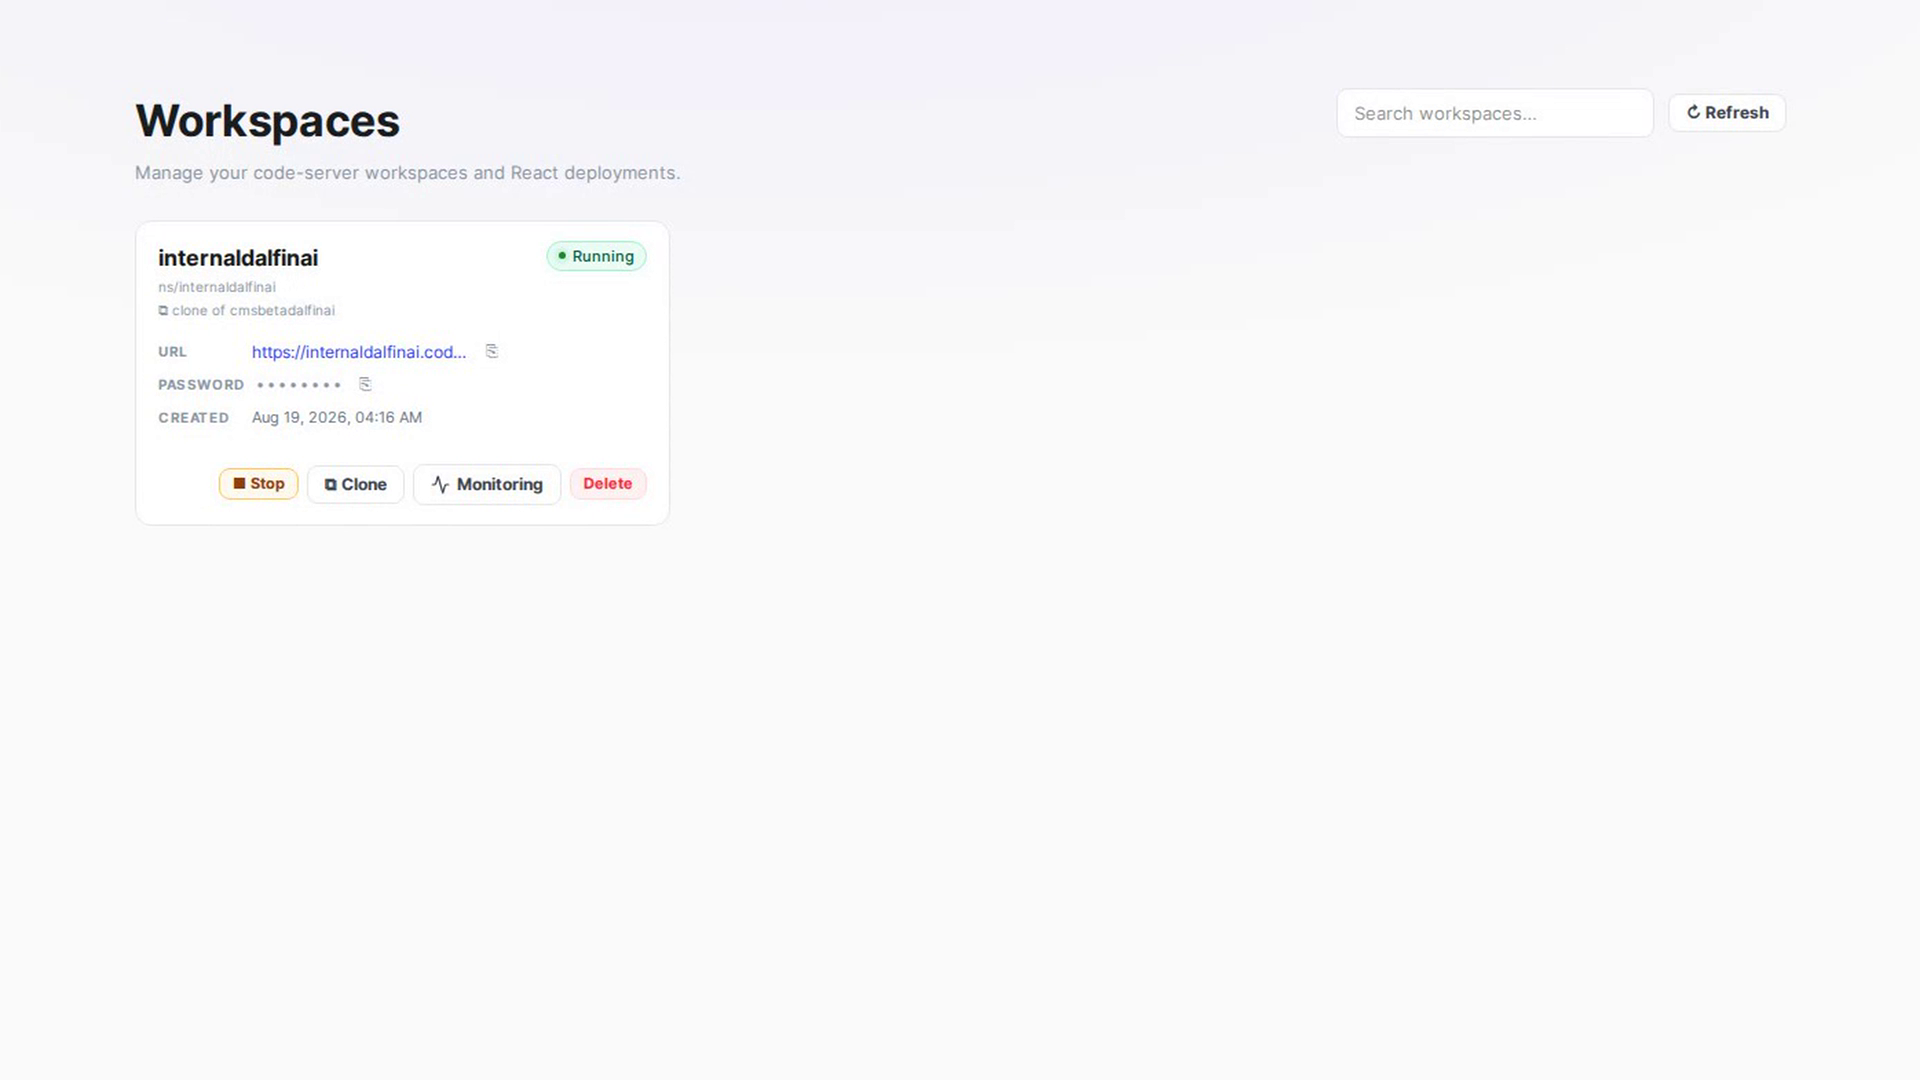
Step 2: Create a workspace
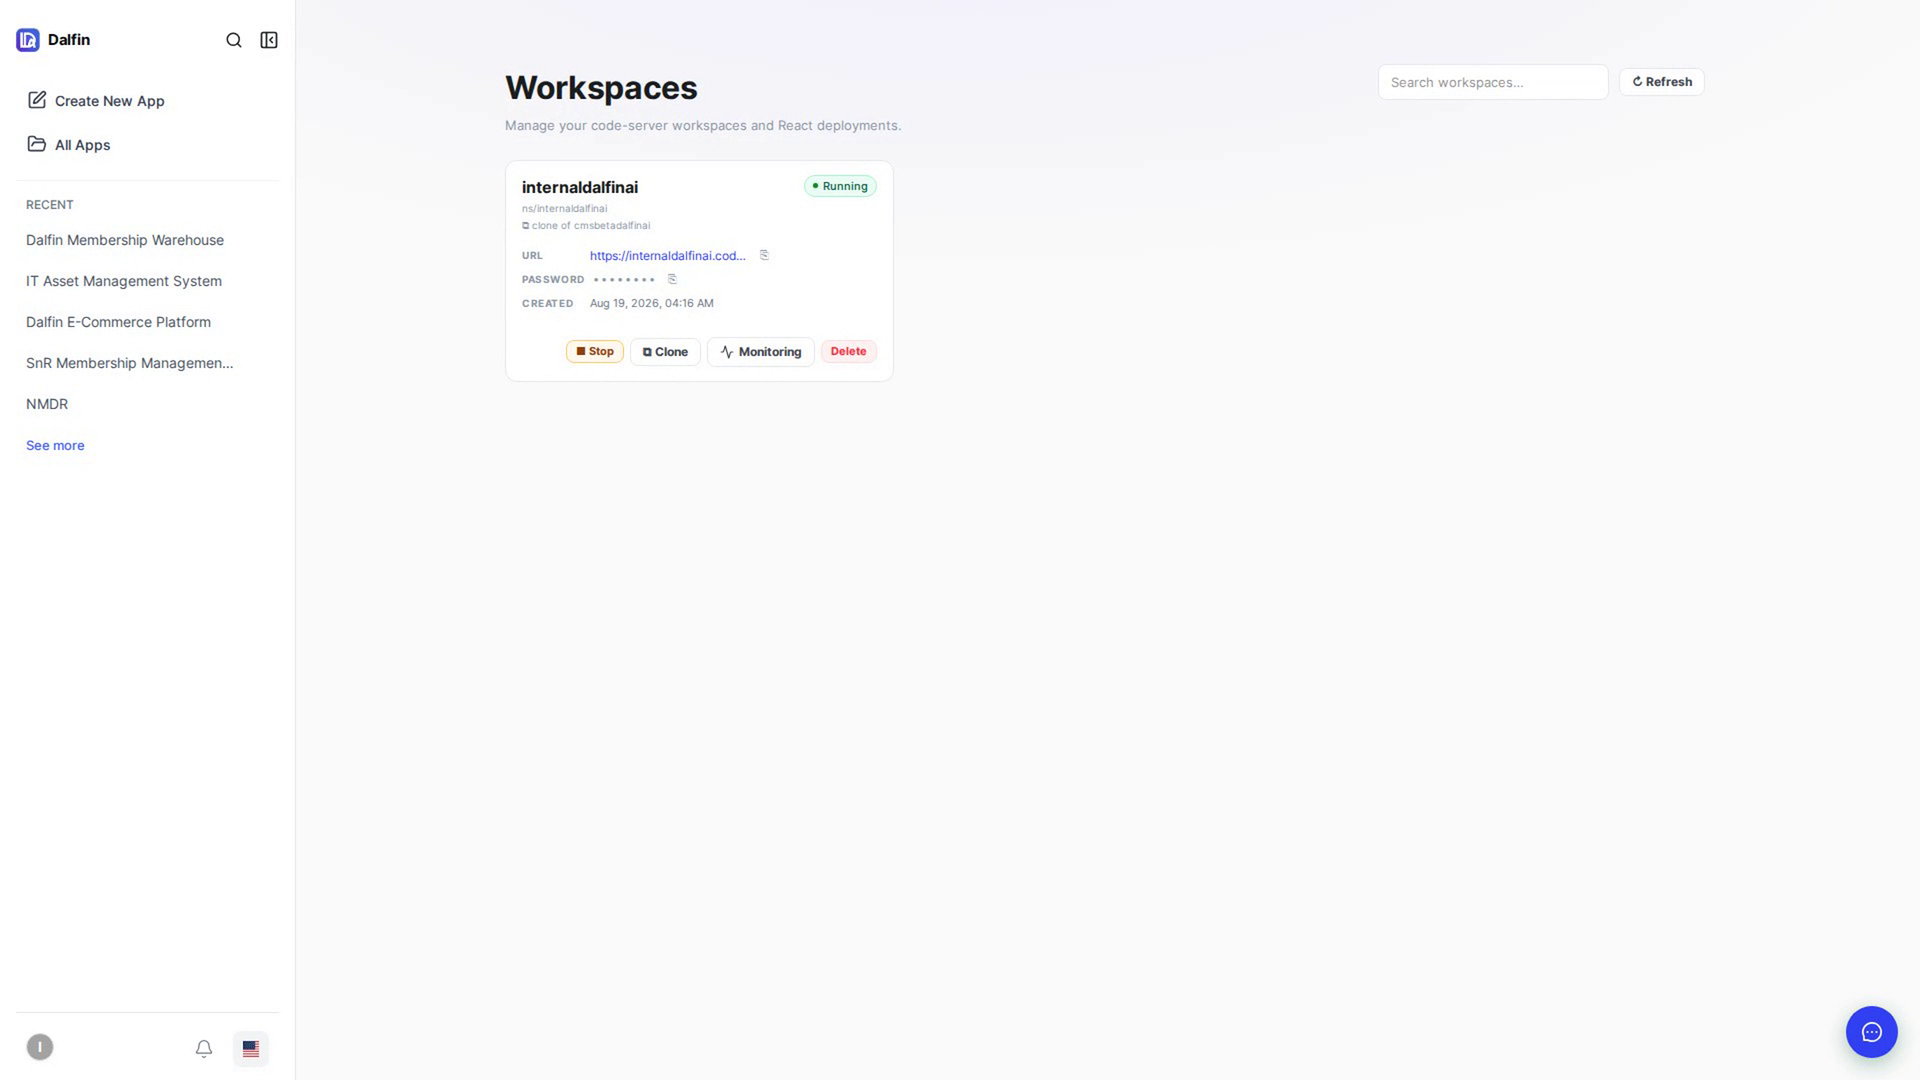
Step 3: Find a workspace
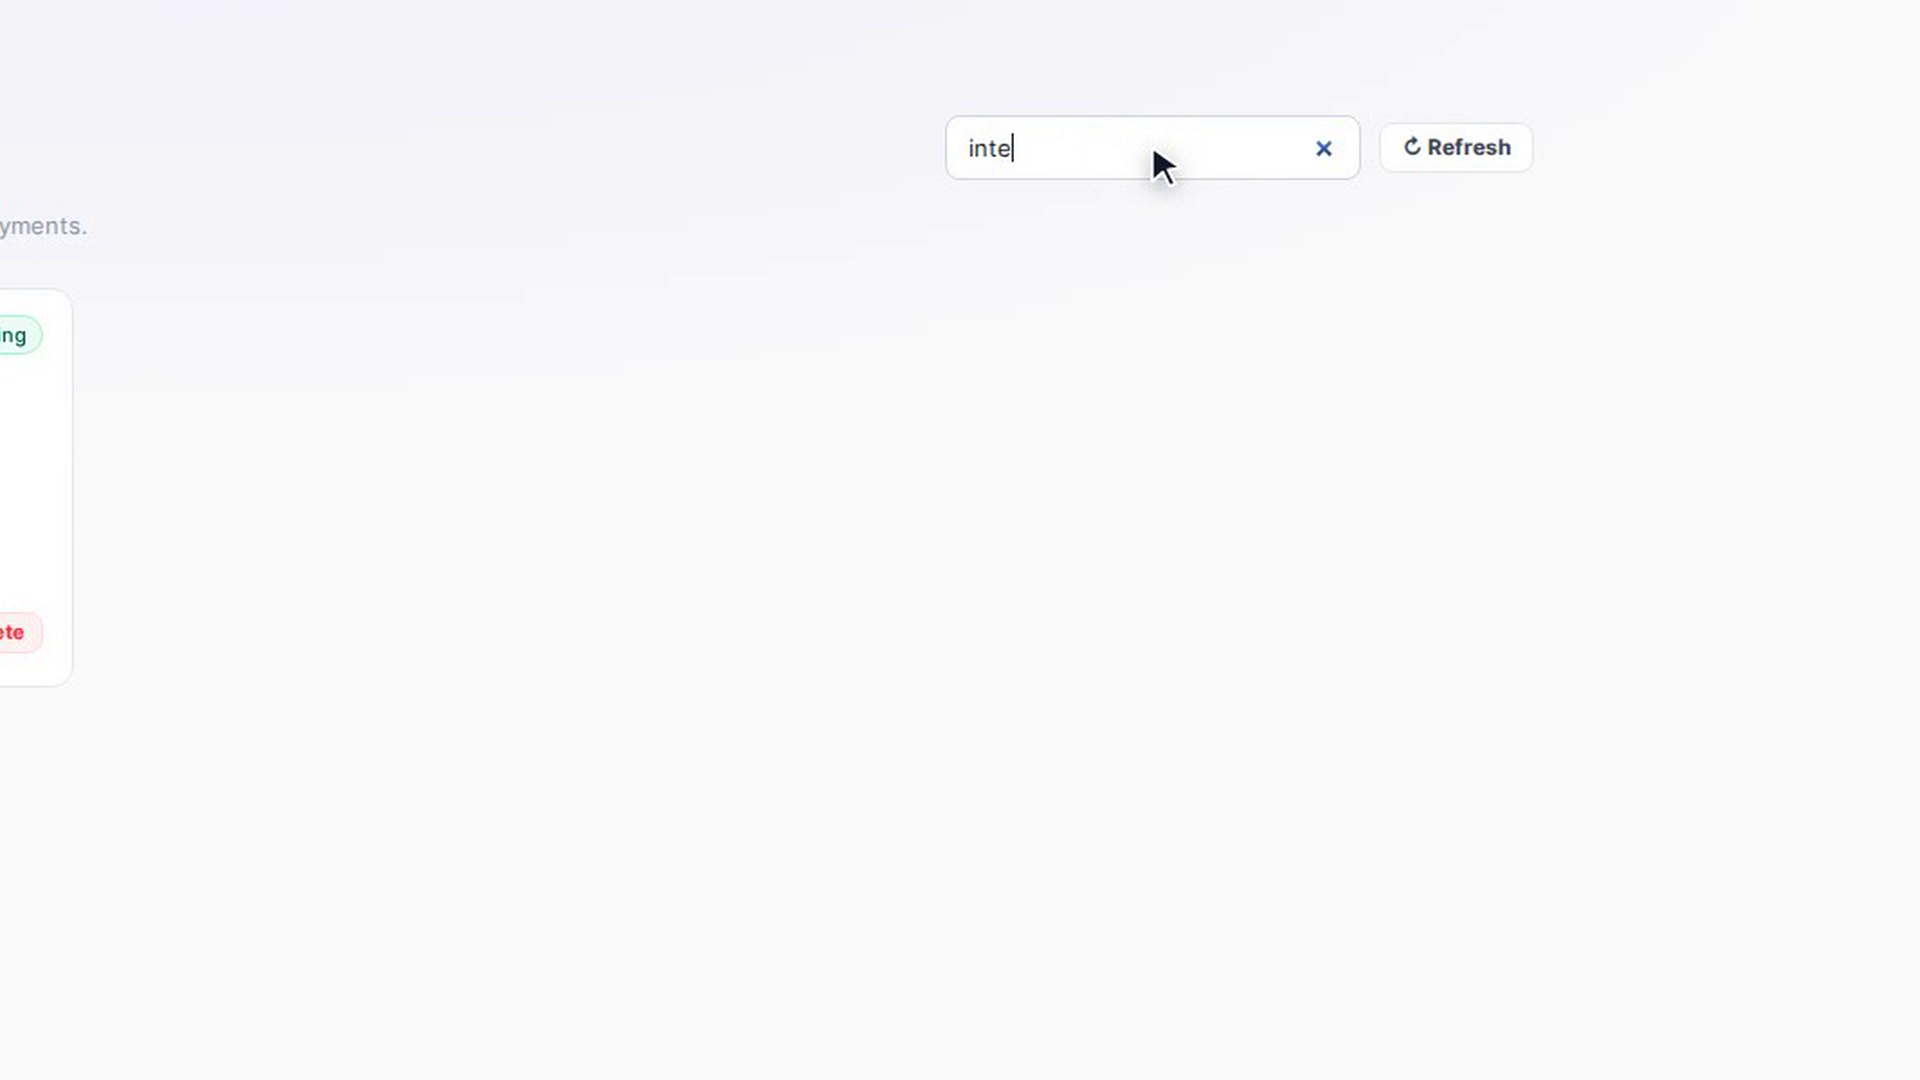
Step 4: Open the workspace and get its password
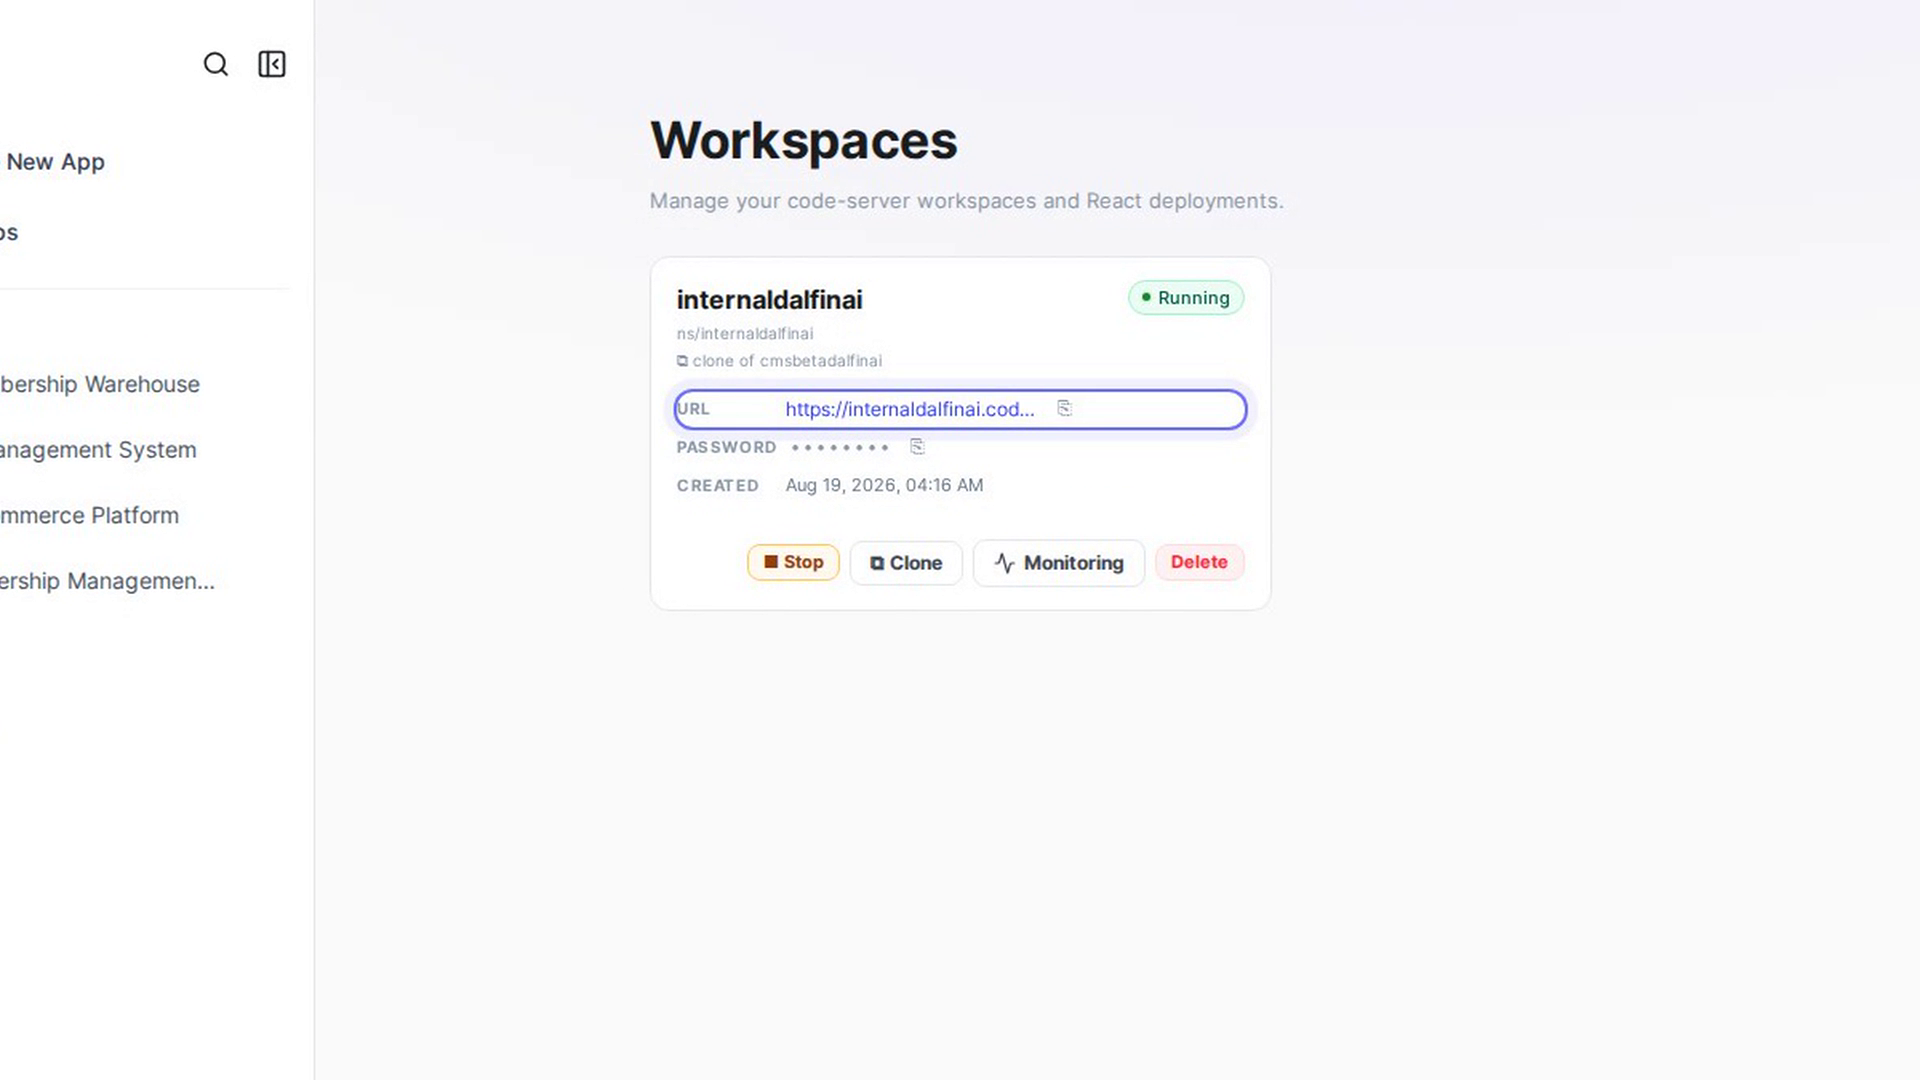
Step 5: Start or stop a workspace
Step 6: Clone a workspace
Step 7: Open monitoring
Step 8: Delete a workspace
Watch how
Deleting a workspace permanently removes all of its resources and cannot be undone. Stopping a workspace makes it unavailable to anyone using it until it is started again.