Assign users to systems
Give people in your organization access to a system by placing them in one of that system's roles. You do this by dragging users onto roles, so you can see every system and who has access in one place.
Before you start
- You need to be the organization owner, or have permission to view Assign System Users. Dragging, switching and removing users also need the matching edit or delete permissions.
- The users must already exist in your organization, and the system must already have roles set up.
Steps
Open Assign System Users
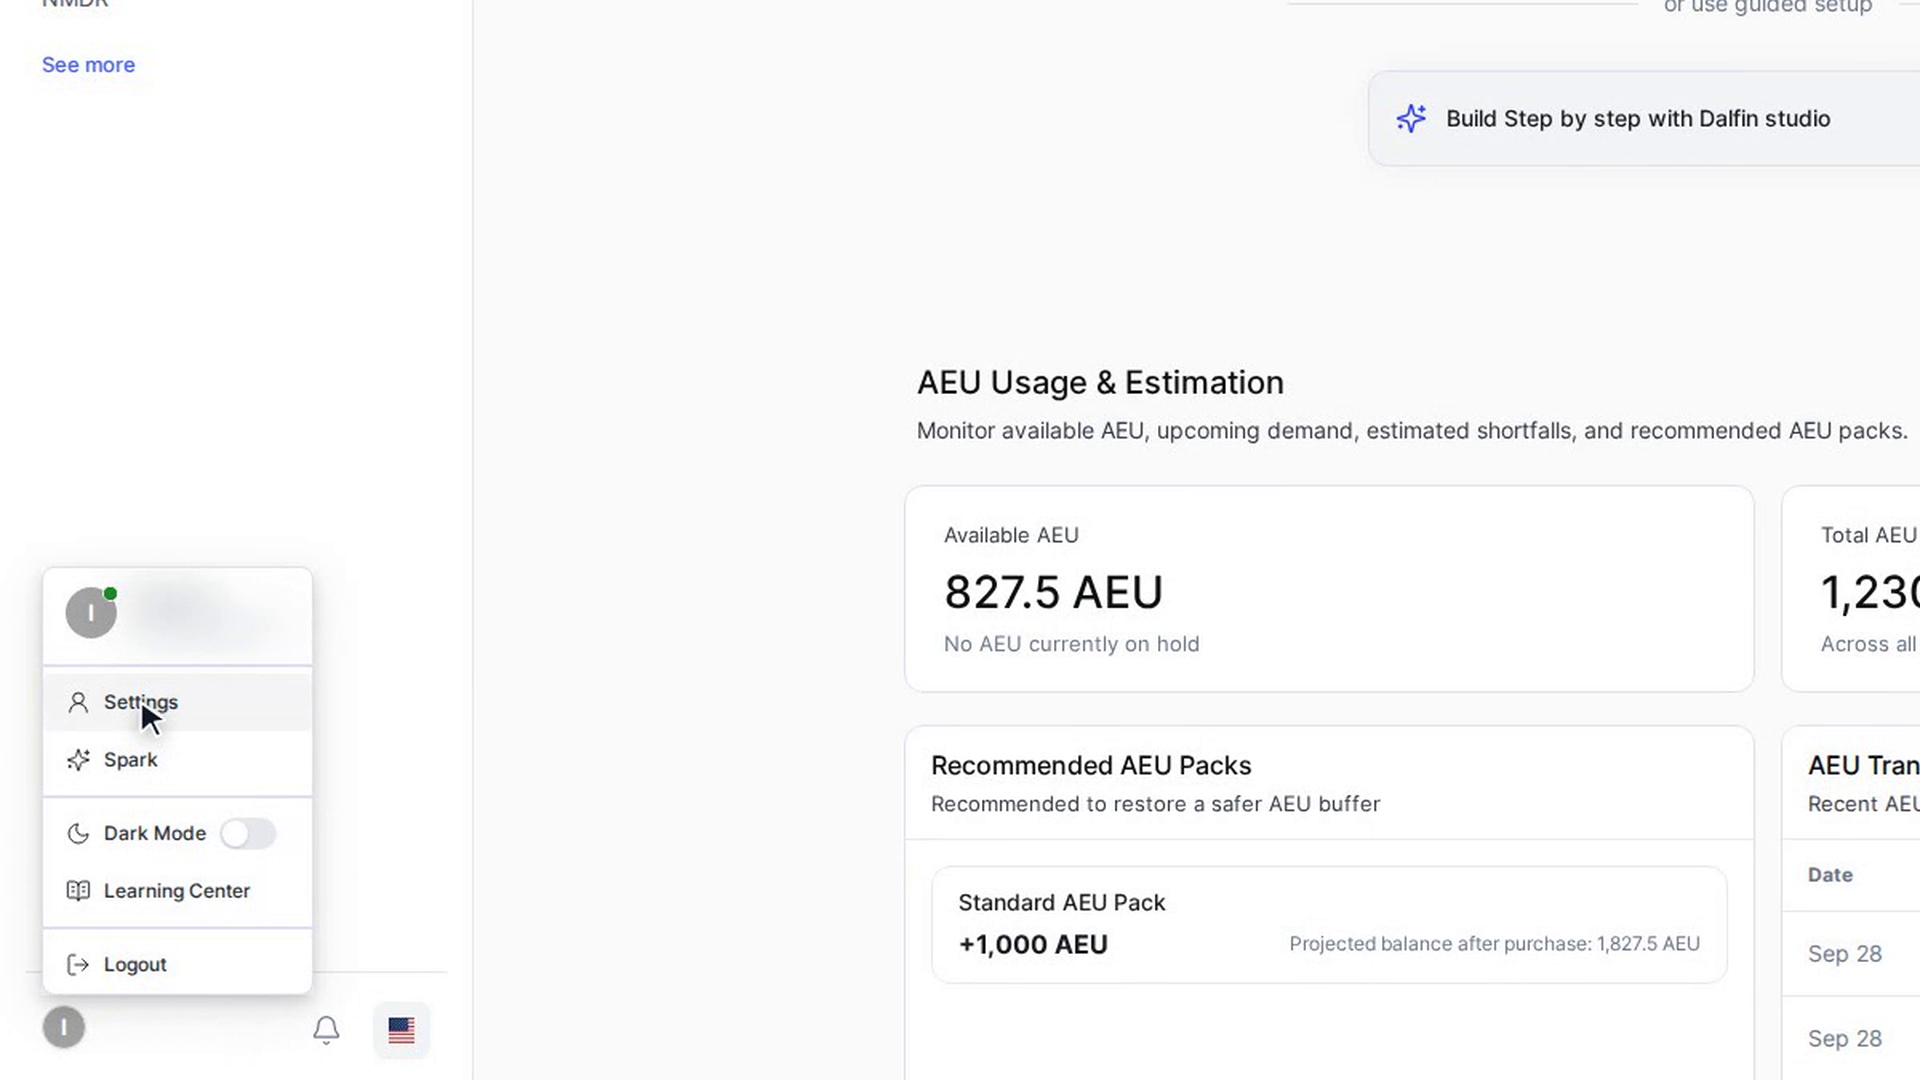
Select your name and picture at the bottom left of the Dalfin sidebar and choose Settings. In the Settings sidebar, open Organization Configuration and select Assign System Users.
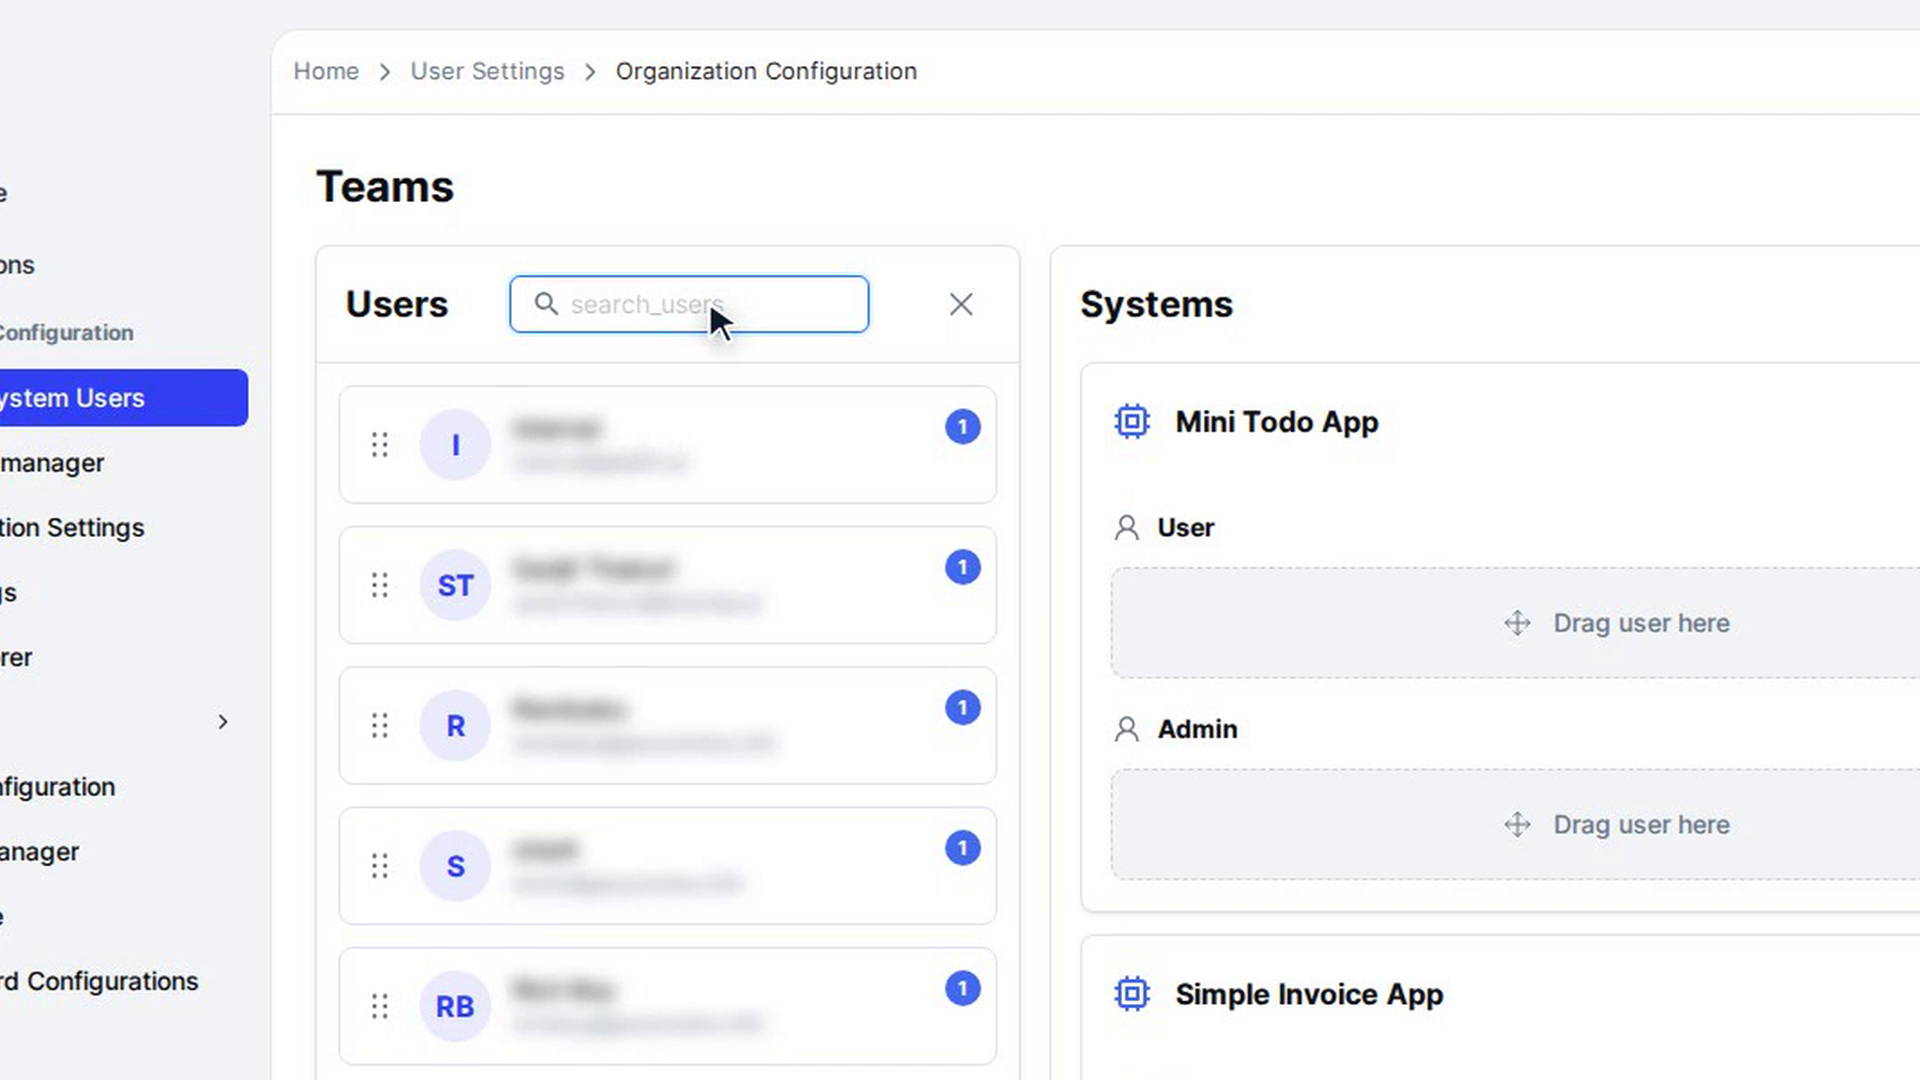
The page is headed Teams. It has two parts: a Users list on the left and a Systems list on the right. Each system card lists its roles and the users in each role. Select a system's name to collapse or expand it.
Find the user and the system
To filter the Users list, select the search icon and type a name, login ID or email. To find a system, type in the Search systems... box above the systems.
Select a user in the Users list to open View Details and see their information and current roles.
Drag a user onto a role
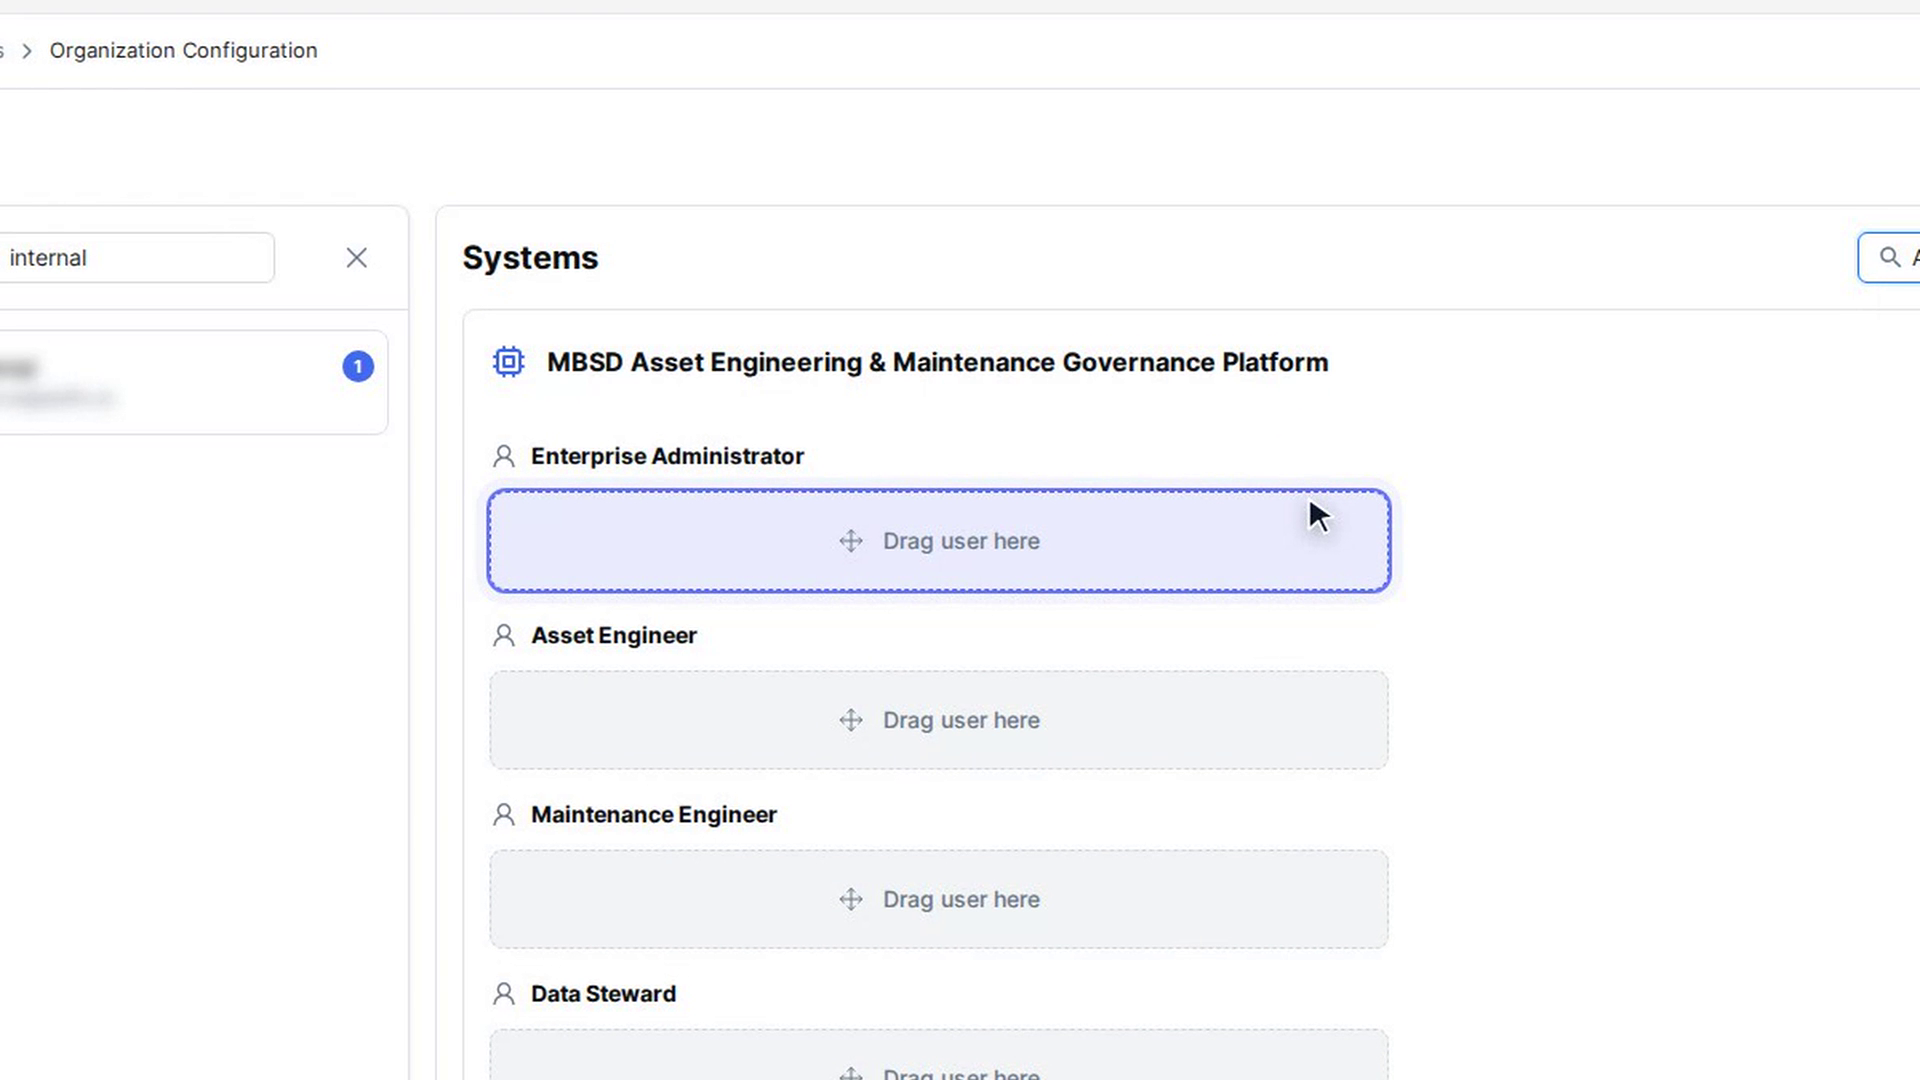
Drag the user from the Users list and drop them on a role inside a system, where you see Drag user here.
A window titled Assign Role asks you to confirm. Select Assign. The user now appears under that role.
Switch a user's role in the same system
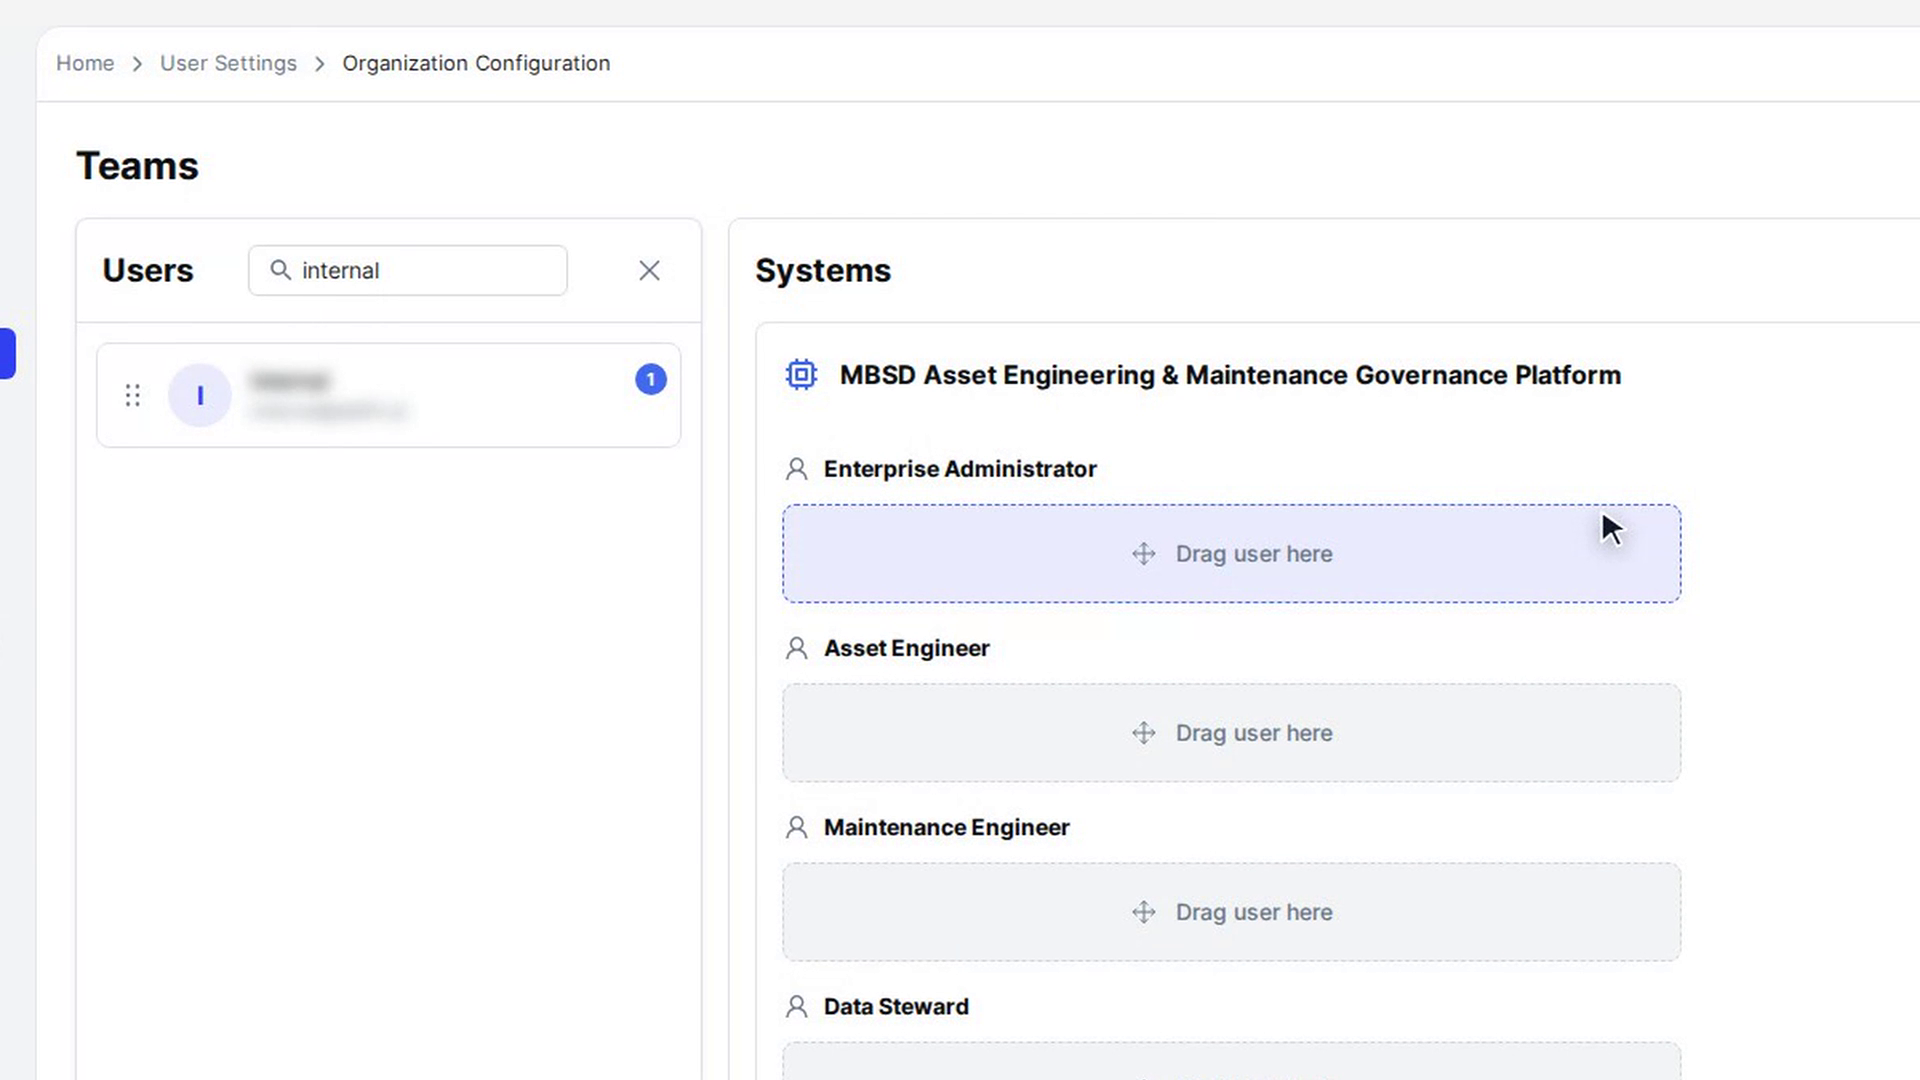
Drag the user from one role to another role in the same system. In the Switch User Role window, select Yes. The user moves to the new role.
Copy or move a user to another system
Drag the user from a role in one system to a role in another system. The Extend or Replace window opens:
- Extend keeps the user in the original system and also adds them to the new role.
- Replace moves the user out of the original system and into the new role.
If the user is already in the target system, you see Can't perform the drag and drop operation. instead, and nothing changes.
Remove a user from a system
Select the red bin icon next to the user's name inside a role. In the Remove User window, select Delete. The user no longer has that role in the system.
Screenshots
Step 1: Open Assign System Users
Step 2: Find the user and the system
Step 3: Drag a user onto a role
Step 4: Switch a user's role in the same system
Step 5: Copy or move a user to another system
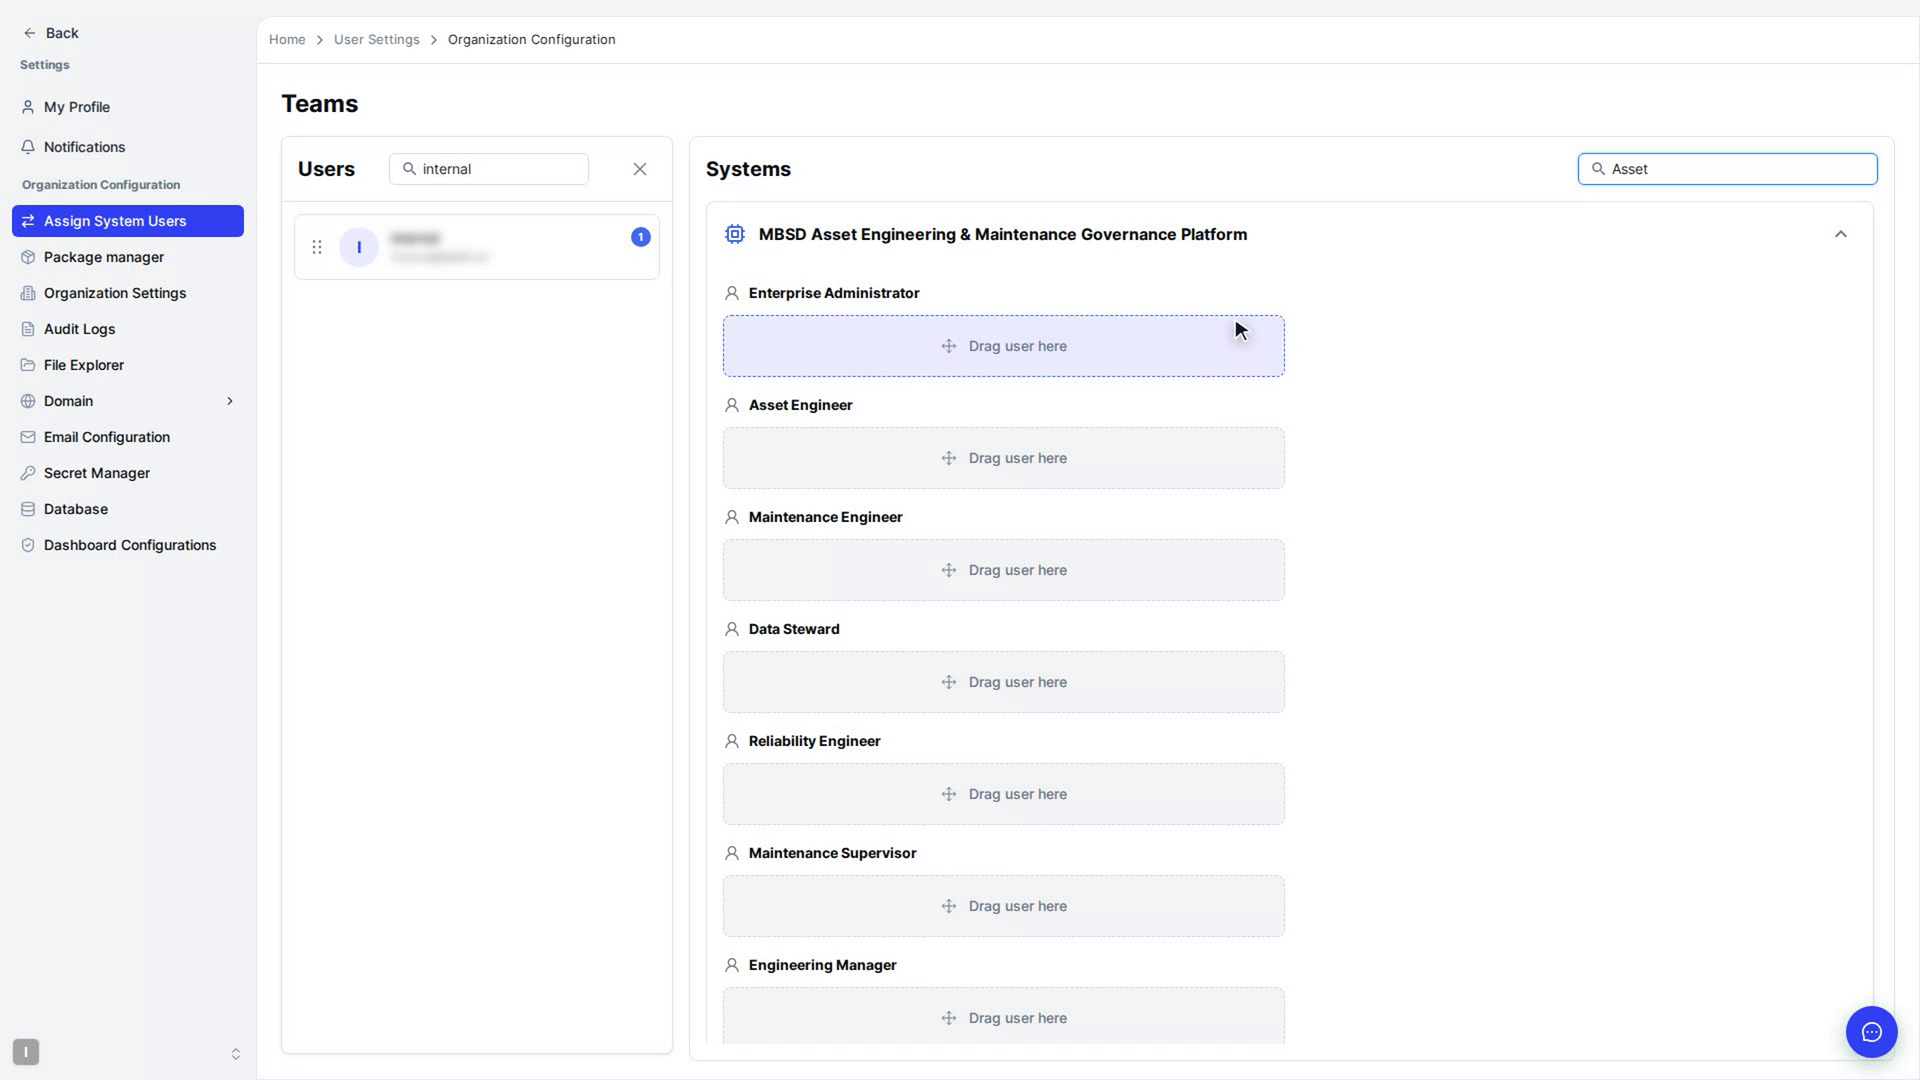
Step 6: Remove a user from a system
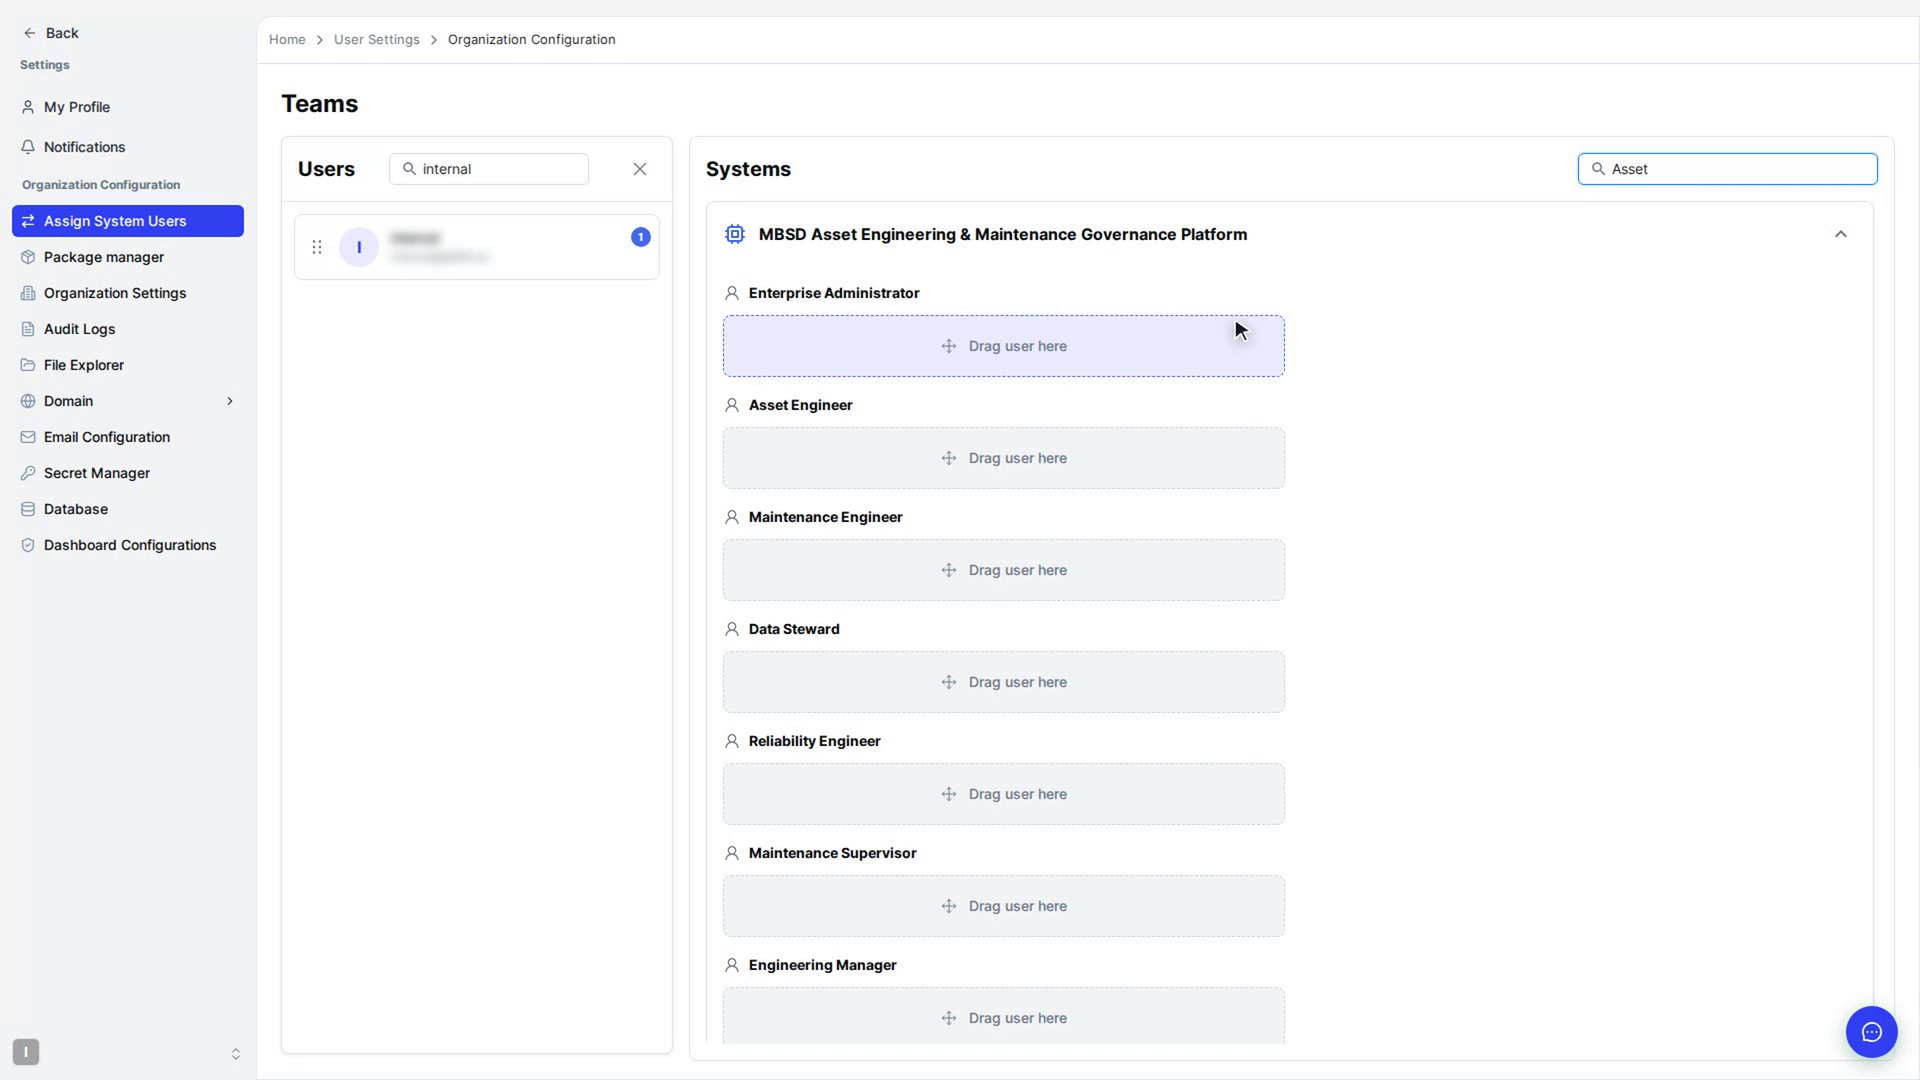
Watch how
Removing a user or choosing Replace takes away their access to the original system straight away.
Note: The Systems list lists your organization's systems. An app you built in Dalfin only appears here once it has its own system in your organization, so an app from All Apps may not be listed yet.