Secret manager
Store the API keys and other secrets your systems need to connect to outside services, such as Figma, GitHub or Stripe. Secrets are kept in one place and are never shown in full once saved.
Before you start
- You need to be the organization owner, or have permission to view Secret Manager.
- Have the key or token from the outside service ready.
Steps
Open Secret Manager
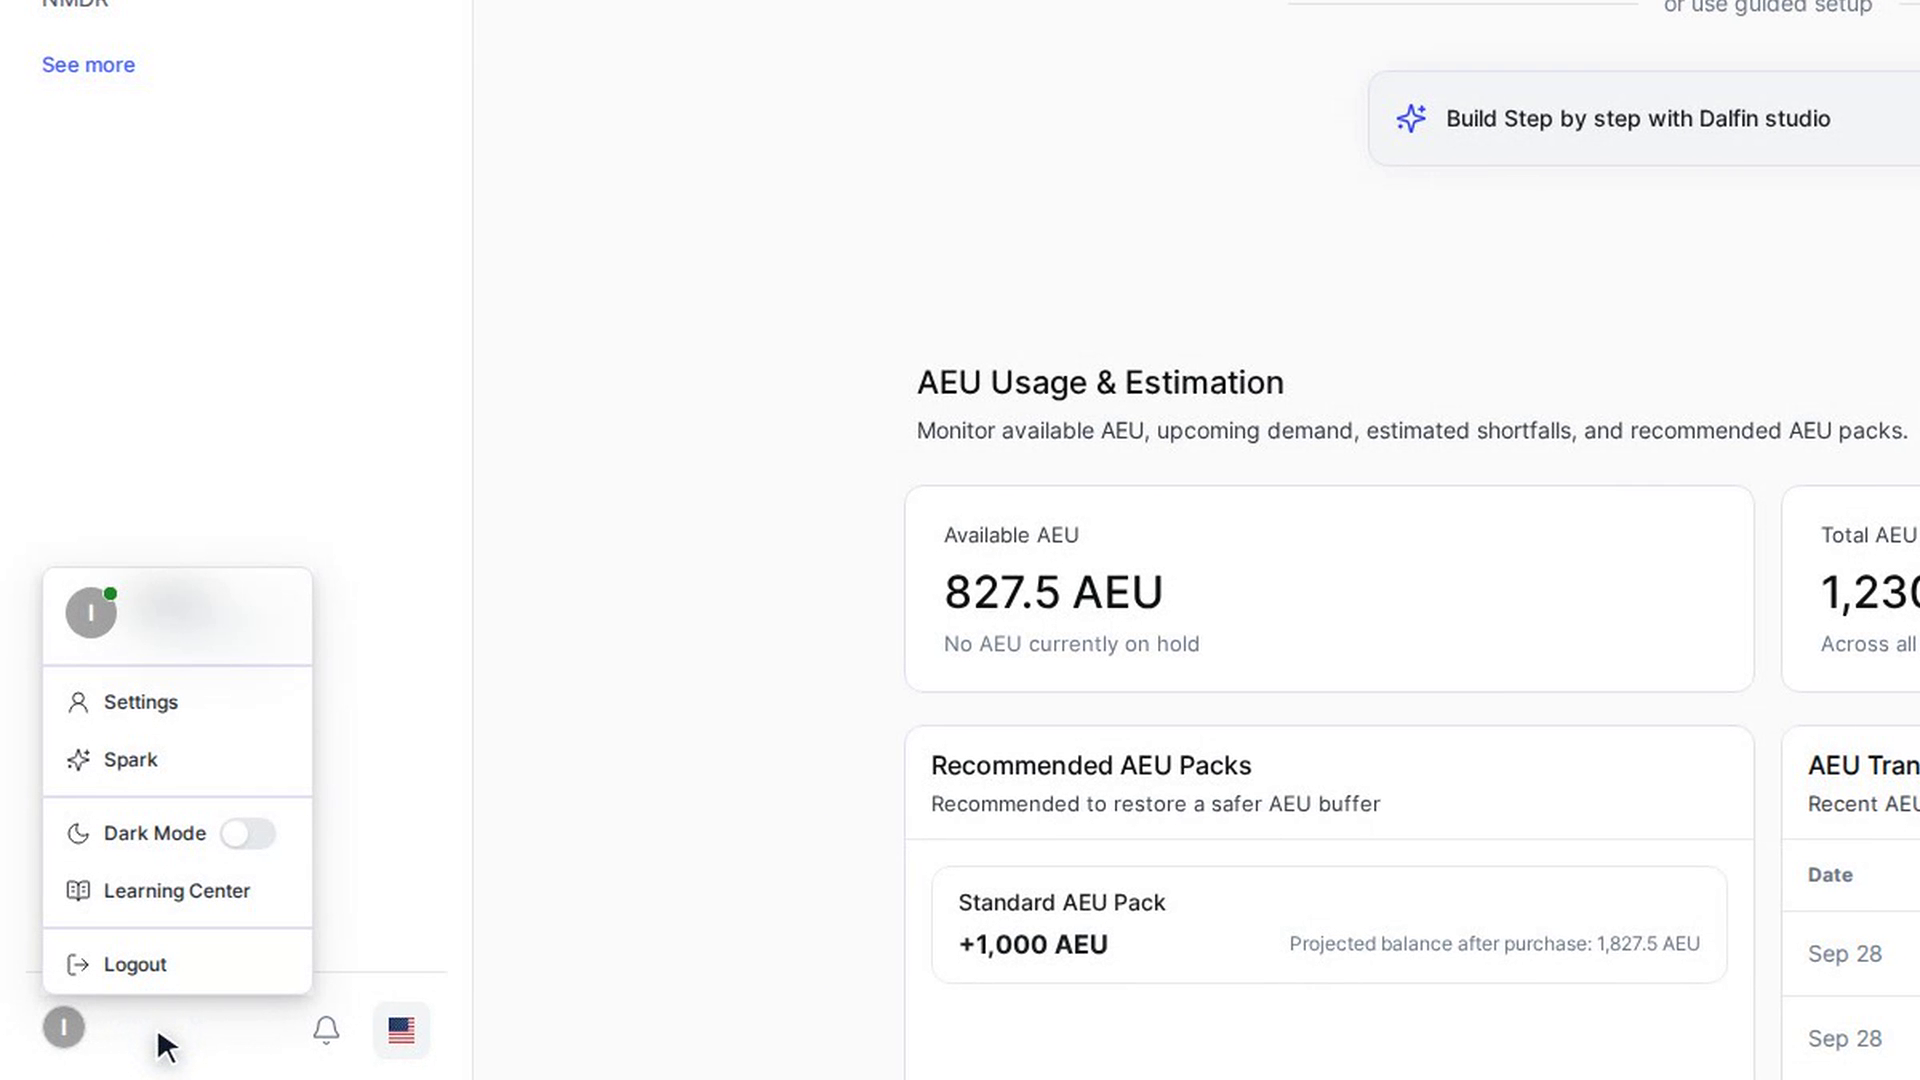
Select your name and picture at the bottom left of the Dalfin sidebar and choose Settings. In the Settings sidebar, open Organization Configuration and select Secret Manager.
You see a card for each secret you have stored, plus an Add Secret card.
Add a secret
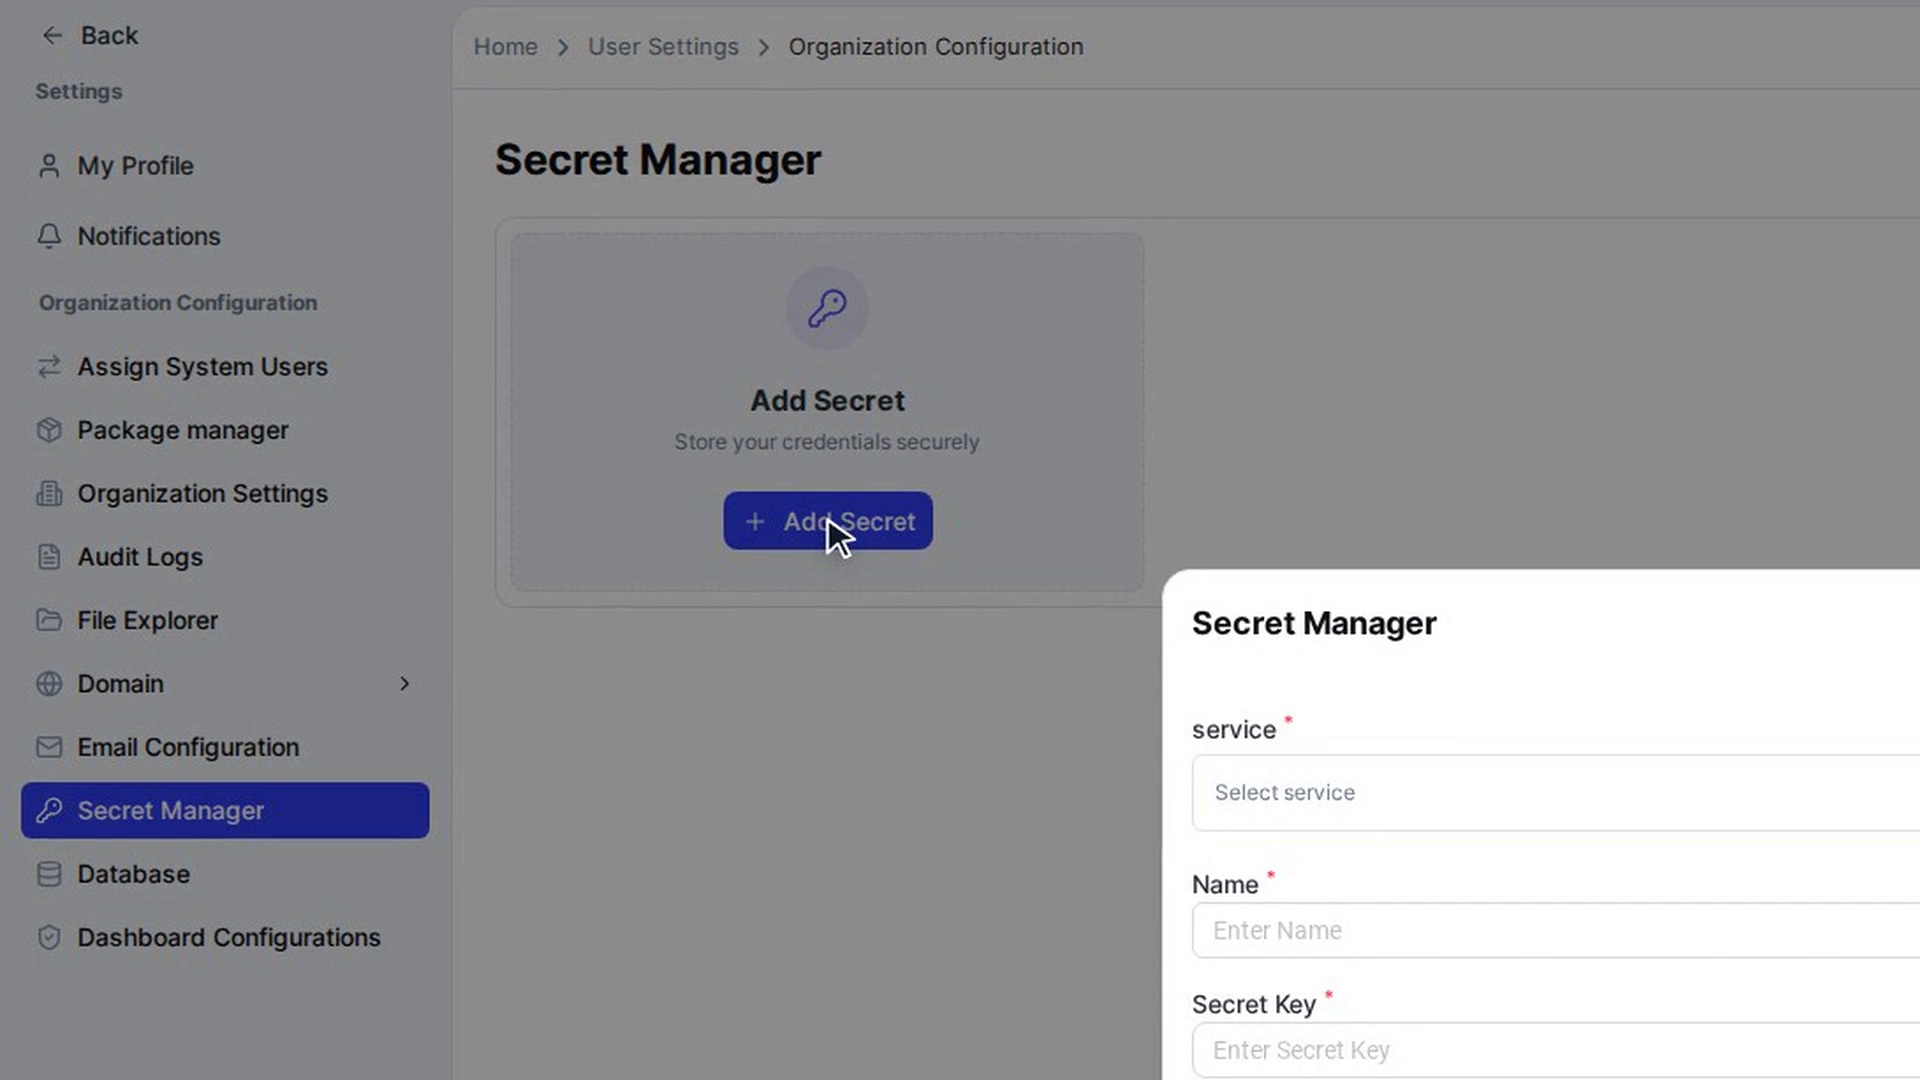
On the Add Secret card, select Add Secret. In the Secret Manager window, fill in:
- Service: the service the secret is for. You can pick Figma, Slack, GitHub, Jira, Notion, Stripe, Twilio, SendGrid, AWS or Google.
- Name: a name that helps you recognise the secret.
- Secret Key: the key or token itself.
Leave Set as active on if the secret should be used straight away. Select Save.
The window closes and the new secret appears as a card with its name, service and the date it was added. The key is shown only as dots.
Make a secret active
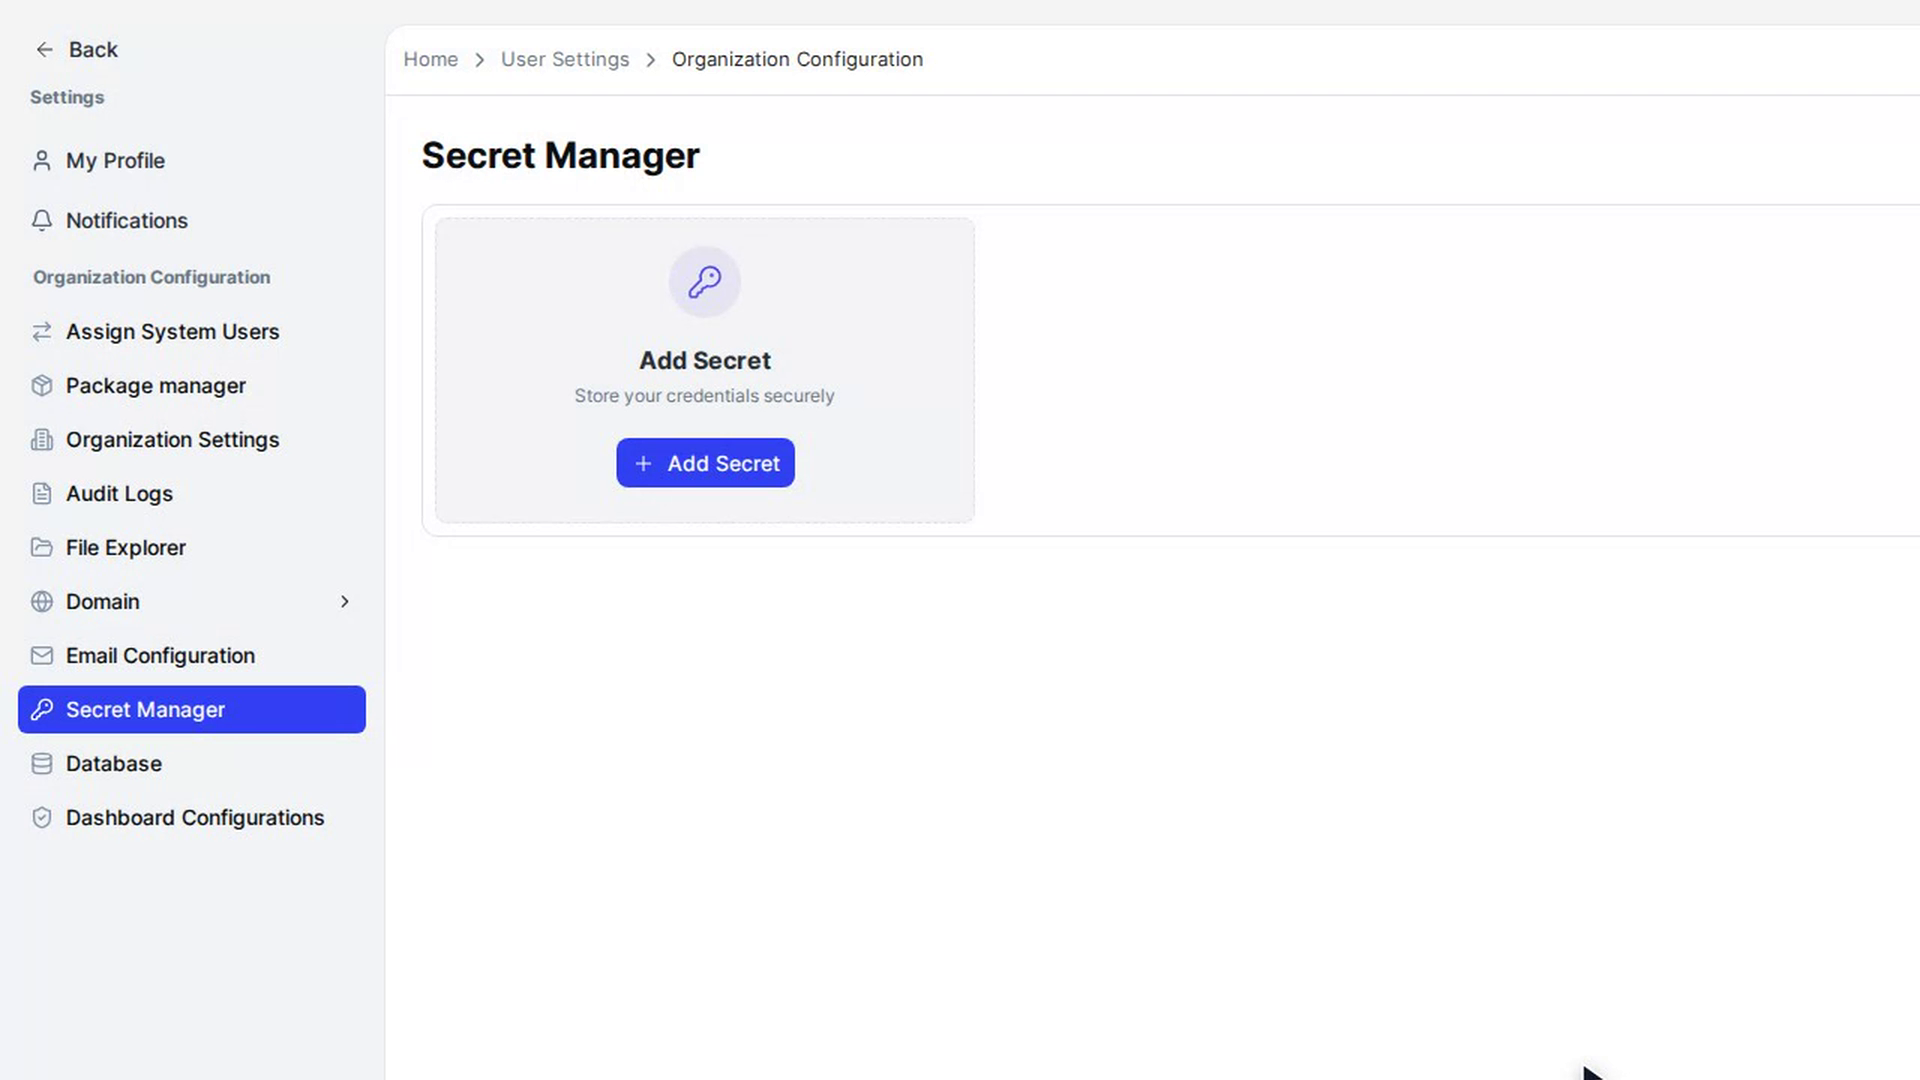
A secret that is in use shows an Active badge. To use an inactive secret, select Activate on its card. The card now shows Active.
View or edit a secret
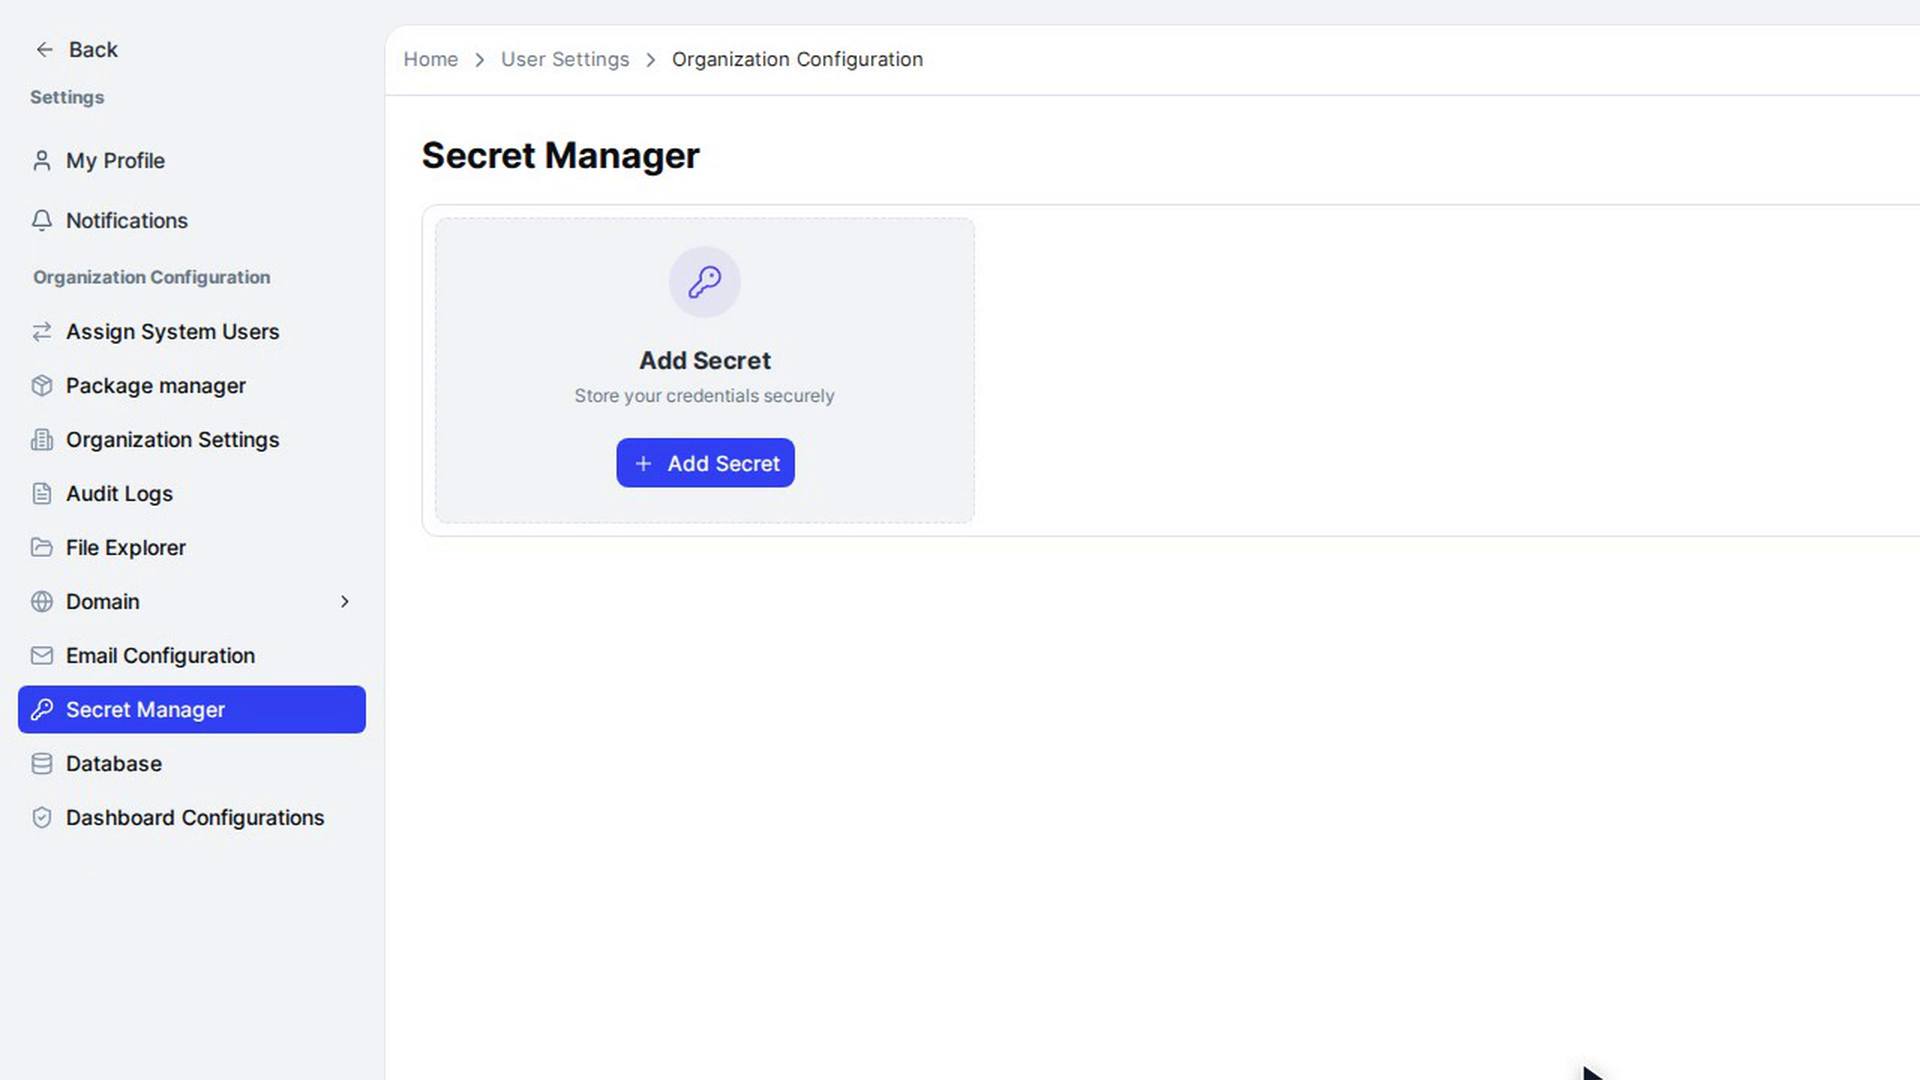
Select the ⋮ menu on a secret's card. It offers View, Edit and Delete (you only see the ones your permissions allow). View shows the secret's details read-only; Delete removes the secret after you confirm.
When editing, you can change the Name and Set as active. The Service can't be changed. The Secret Key field starts empty and says Leave blank to keep current secret: leave it empty to keep the stored key, or type a new one to replace it. Select Save.
Screenshots
Step 1: Open Secret Manager
Step 2: Add a secret
Step 3: Make a secret active
Step 4: View or edit a secret
Watch how
Tip: A saved key is never shown again. Keep a copy somewhere safe if you might need it outside the platform.