Agent Module overview
Every system you build in Dalfin comes with the Agent Module: an AI agent that works on your system's code with you. You describe what you want, and the agent reads the code, plans the work and makes the change.
Before you start
- Your system must be generated. Open it from All Apps on the Dalfin home screen.
- To find the Agent Module step by step, see Open and set up the Agent Module.
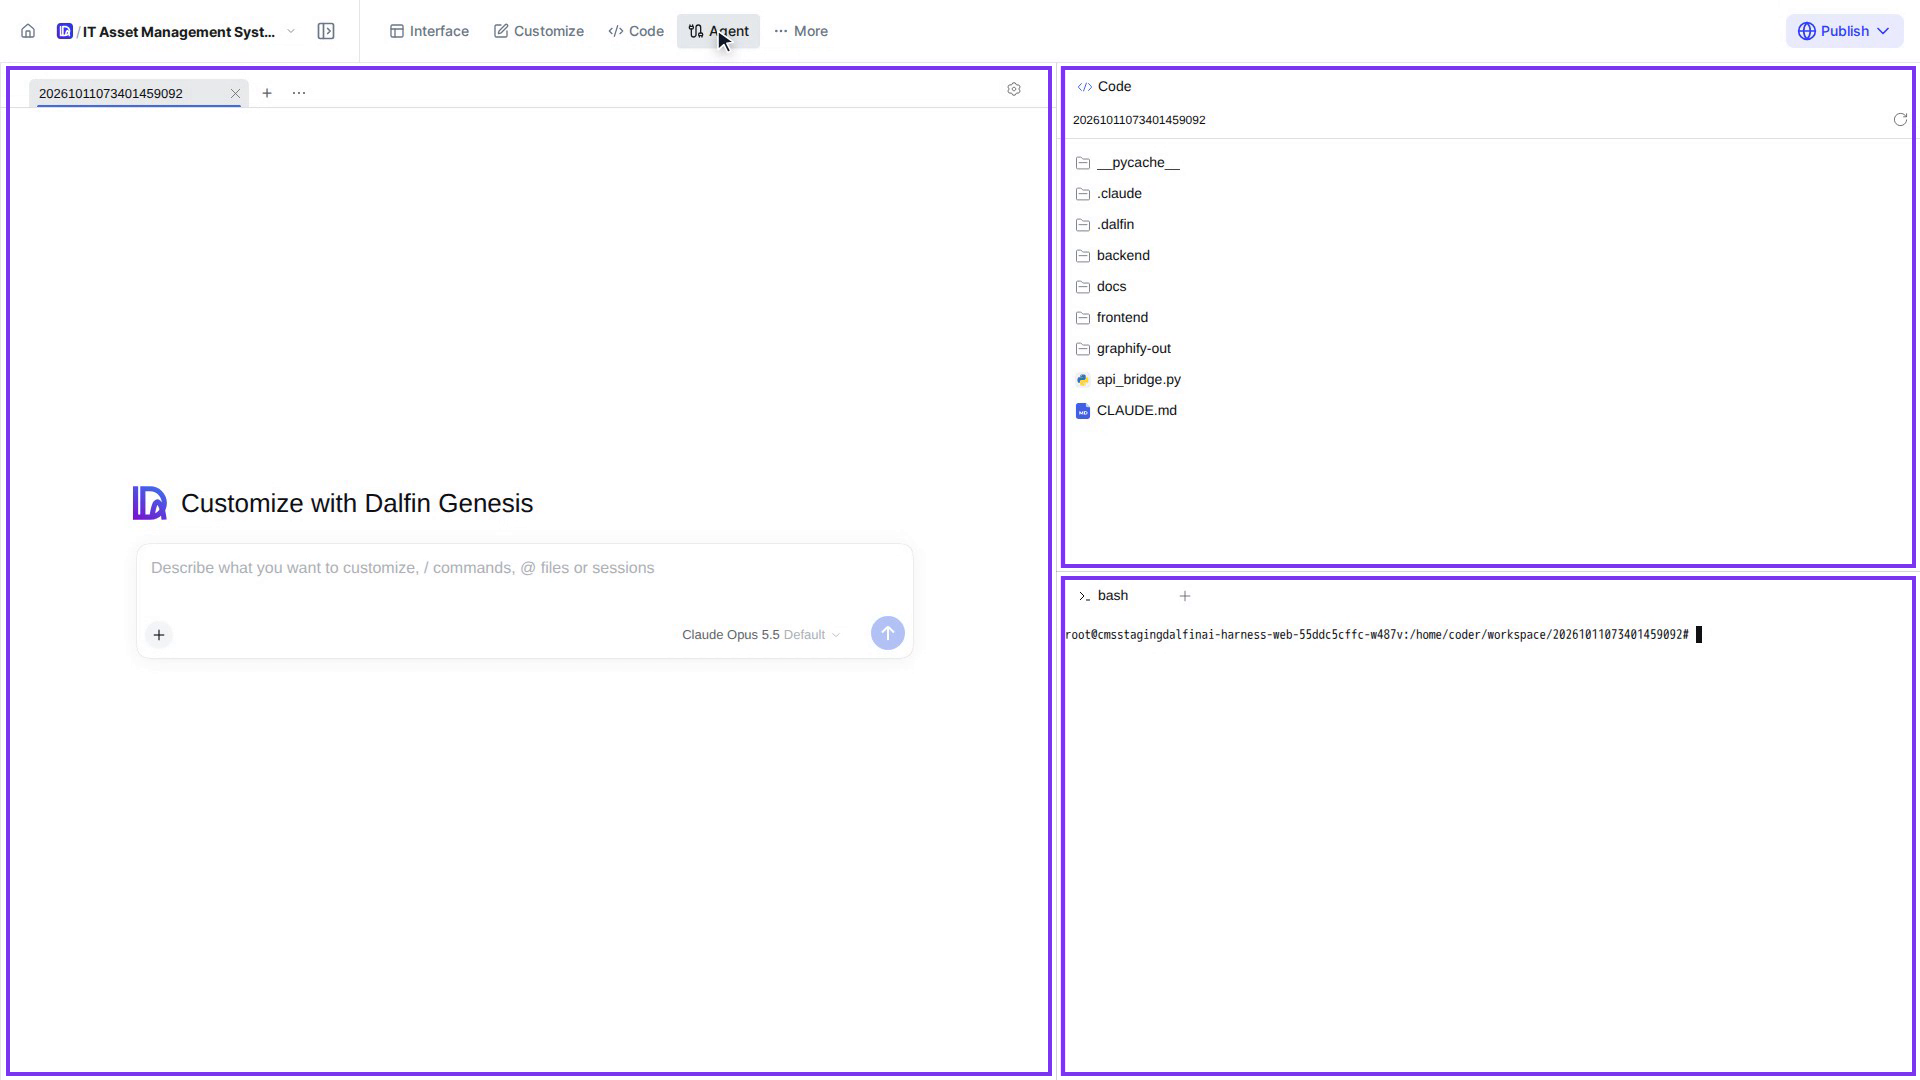
The parts of the workspace
| Part | Where | What it is for |
|---|---|---|
| Conversation | Middle | Tell the agent what you want. It answers, plans and makes the change here. |
| Sessions | Tabs above the conversation | Each conversation is a session with its own tab and history. |
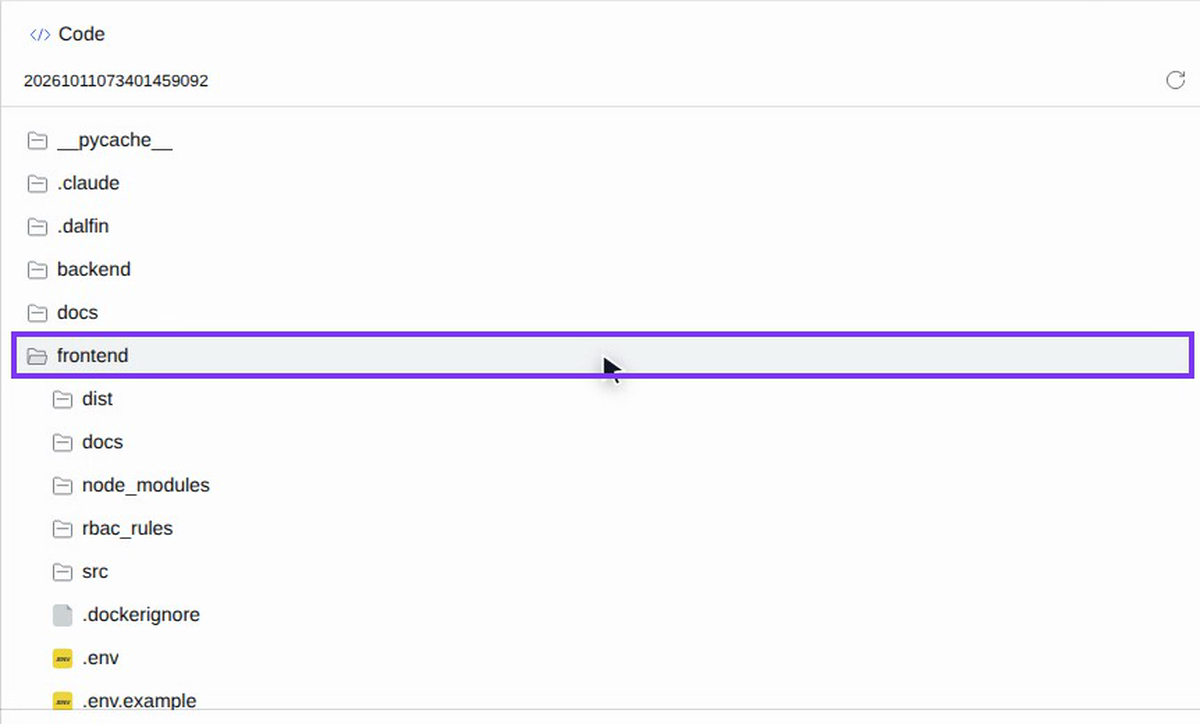
| Code | Top right | Every file of your system. Open a folder to look inside, or a file to read it. |
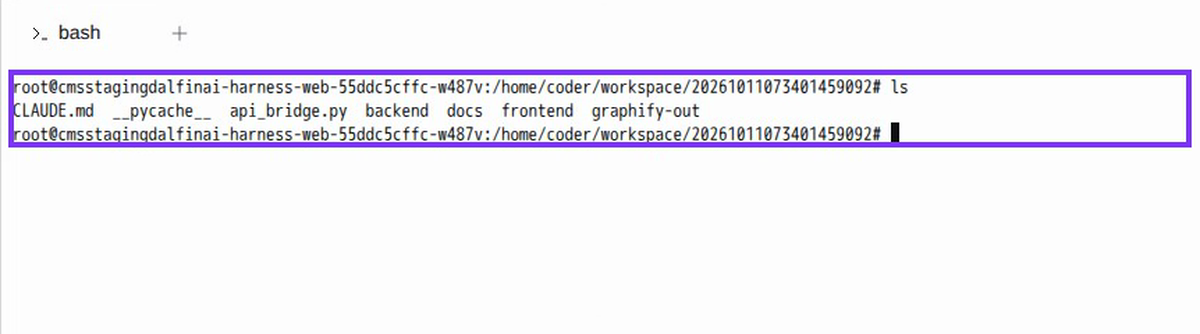
| Terminal | Bottom right | A command line running in your system's workspace. |
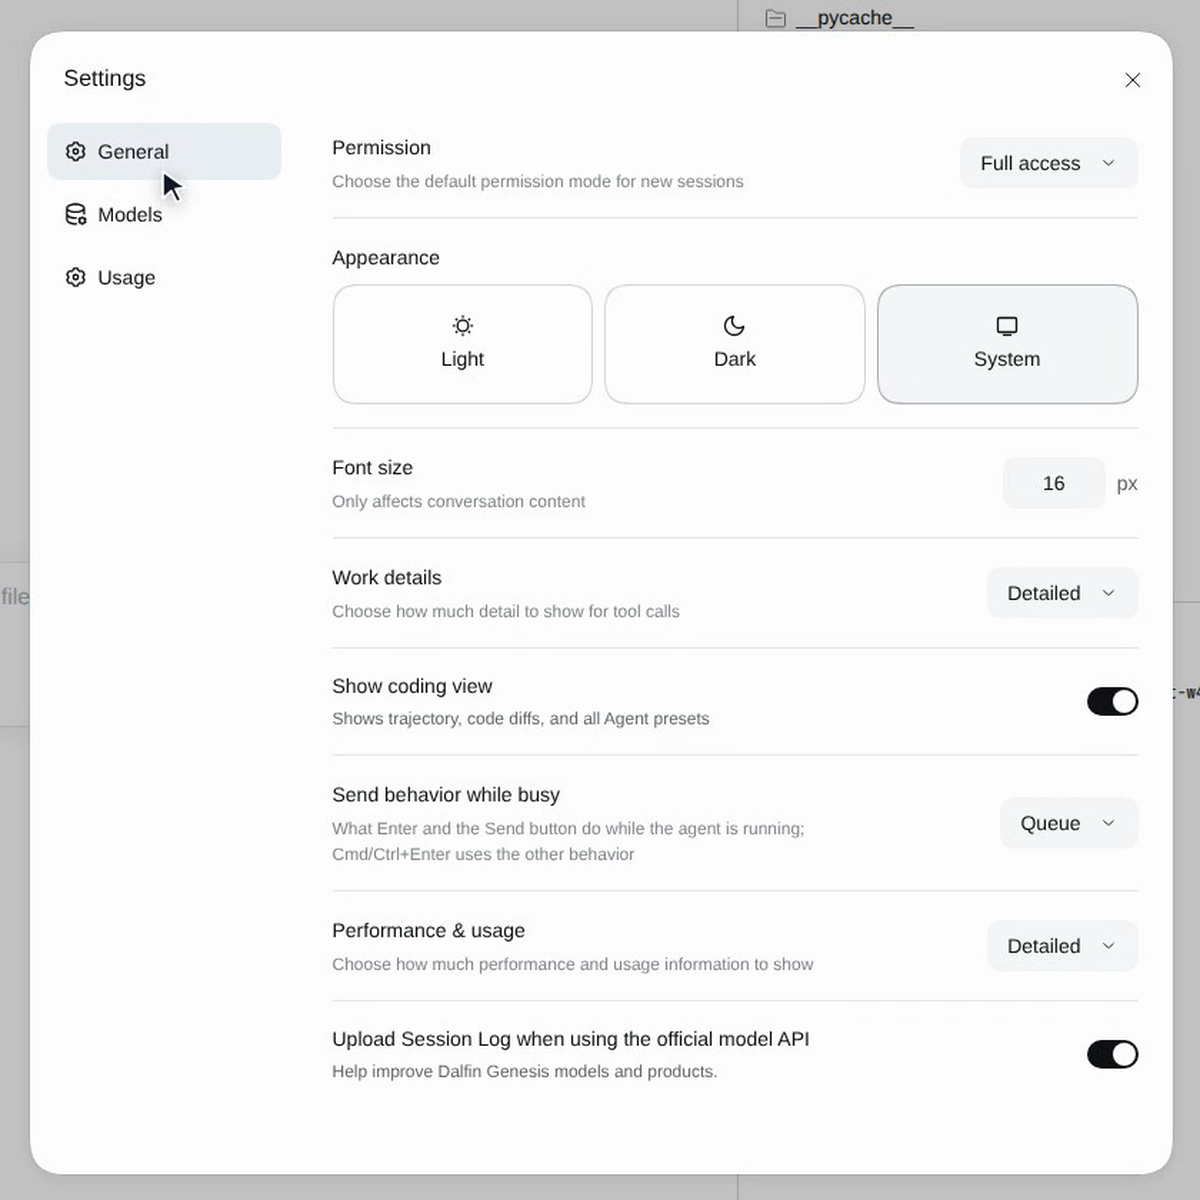
| Settings | Gear at the top of the conversation | General, Models and Usage. |
Steps
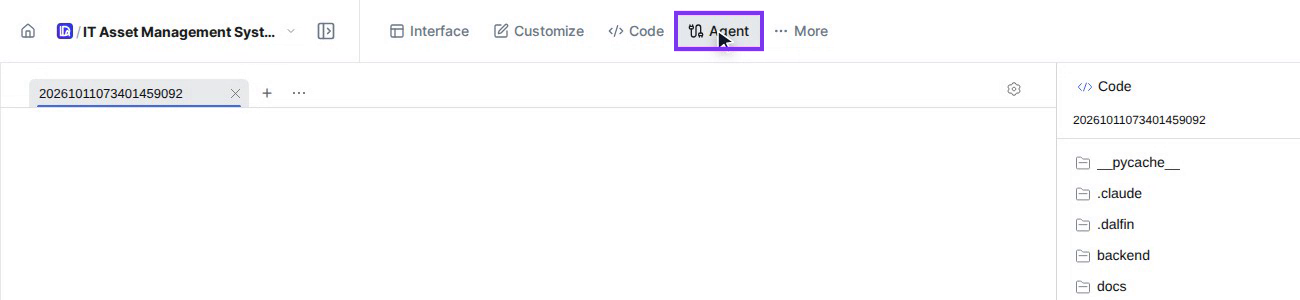
Open the Agent tab
Open your system, then select Agent in the top bar, next to Interface, Customize and Code.
Get to know the four parts
The Agent workspace opens with the conversation on the left, Code at the top right and the terminal (bash) at the bottom right. The gear at the top of the conversation opens Settings.
Talk to the agent
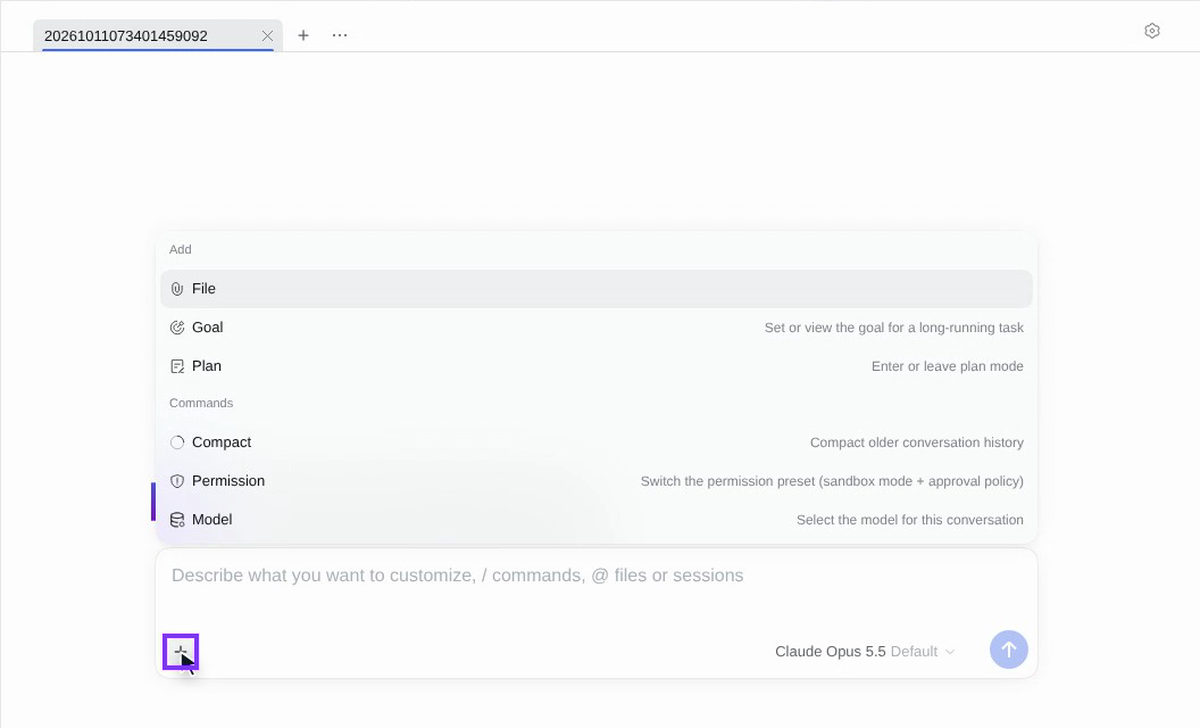
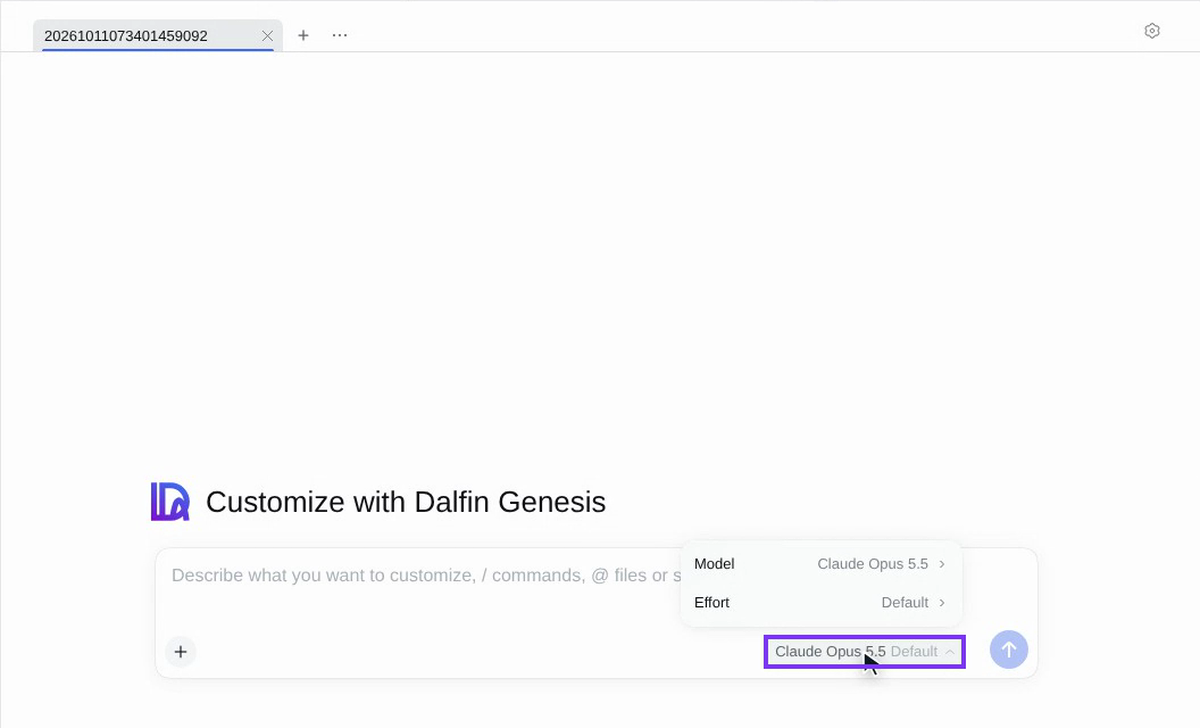
Type what you want in the message box (Describe what you want to customize, / commands, @ files or sessions) and send it with the arrow button.
- The + button adds a File, a Goal or a Plan, and holds the commands Compact, Permission and Model.
- The model picker under the message box (for example Claude Opus 5.5 Default) chooses the Model the agent uses and how much Effort it puts in.
Work in sessions
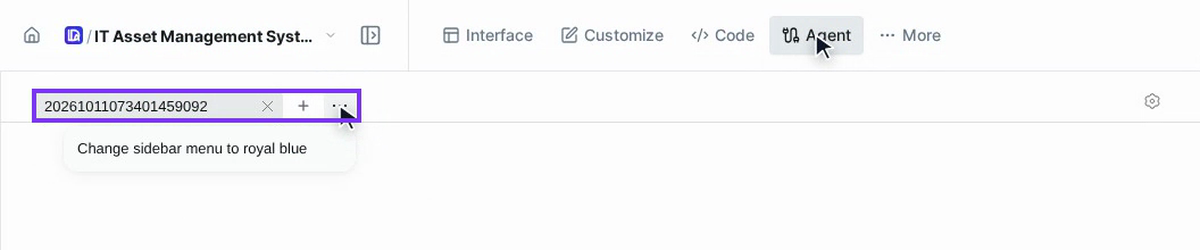
Each conversation is a session with its own tab. Sessions keep their history, so you can come back to them later.
- + next to the tabs starts a new session.
- ⋯ (More sessions) lists your earlier sessions, for example Change sidebar menu to royal blue.
Browse your files
Code on the right shows every file of your system. Select a folder, such as frontend, to see what is inside, or select a file to read it.
Use the terminal
Below the files is a terminal running in your system's workspace. Type a command, such as ls, press Enter, and the output appears right away.
Open Settings
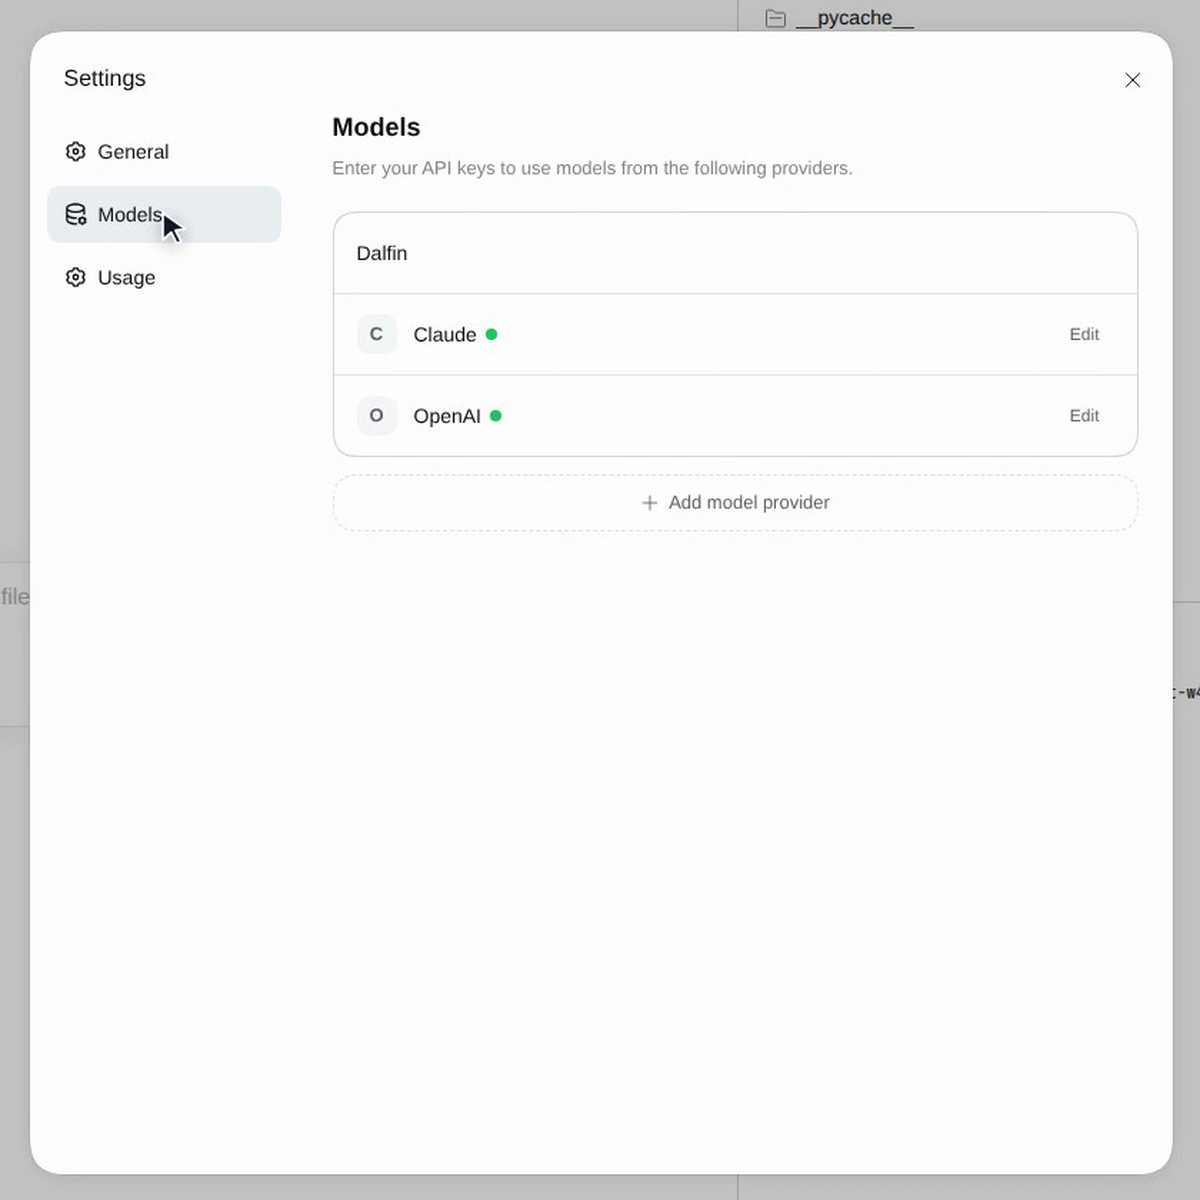
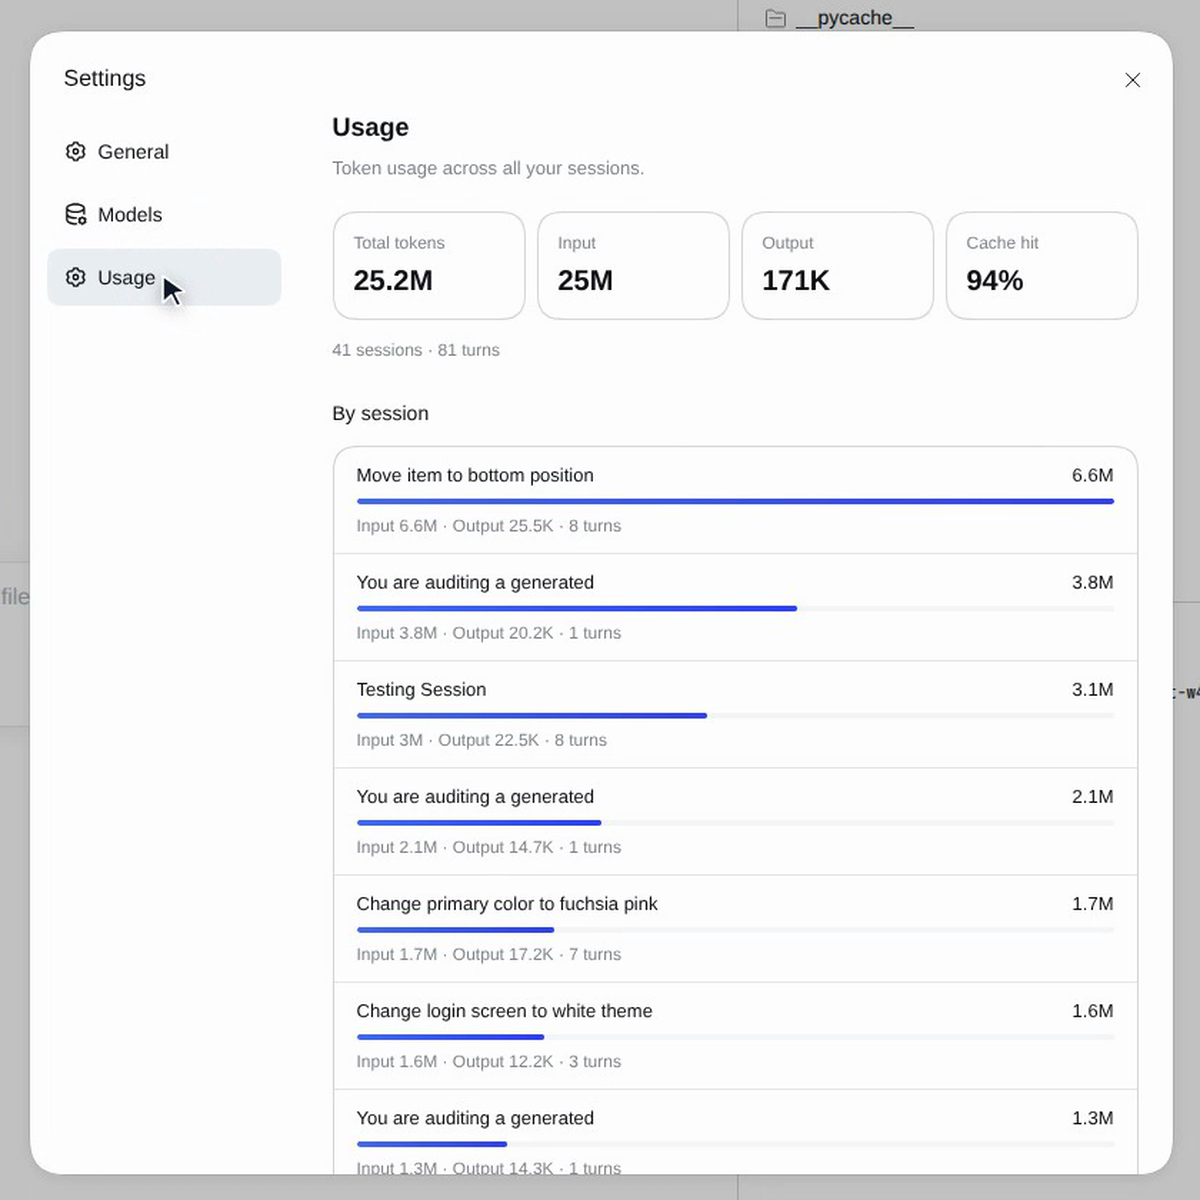
Select the gear at the top of the conversation. Settings has three pages:
- General: how the agent works for you, such as its permissions and how the workspace looks.
- Models: the model providers (for example Claude and OpenAI) and their API keys.
- Usage: the tokens the agent has used.
Screenshots
Step 1: Open the Agent tab
Step 2: Get to know the four parts
Step 3: Talk to the agent
Step 4: Work in sessions
Step 5: Browse your files
Step 6: Use the terminal
Step 7: Open Settings

Watch how
Tip: The Agent Module works on your system's code. The chat panel on the left of the Interface tab is a separate assistant; see Ask the Agent in the chat panel.