Ask the agent to change your system
Describe a change in your own words. The agent reads your system's code, shows you a plan, and makes the change only after you approve it.
Before you start
- Open your system and select Agent in the top bar. See Open and set up the Agent Module.
- The example on this page changes the color of the system's sidebar menu. Any other change works the same way.
Steps
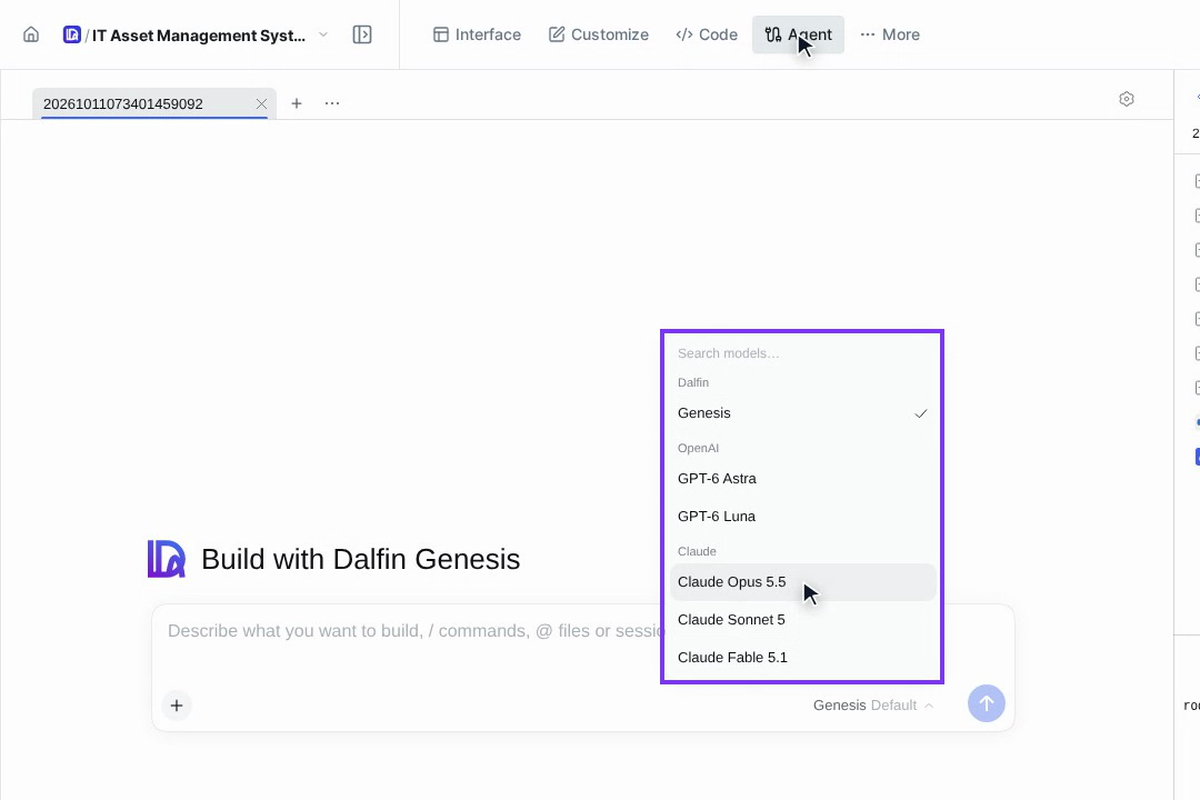
Choose the model
Below the message box, select the model name (it starts on Dalfin's own model), select Model, then pick a model from the list, for example Claude Opus 5.5. The list shows the models of every provider you have connected, grouped by provider. To learn more, see Change or add AI models.
Describe the change
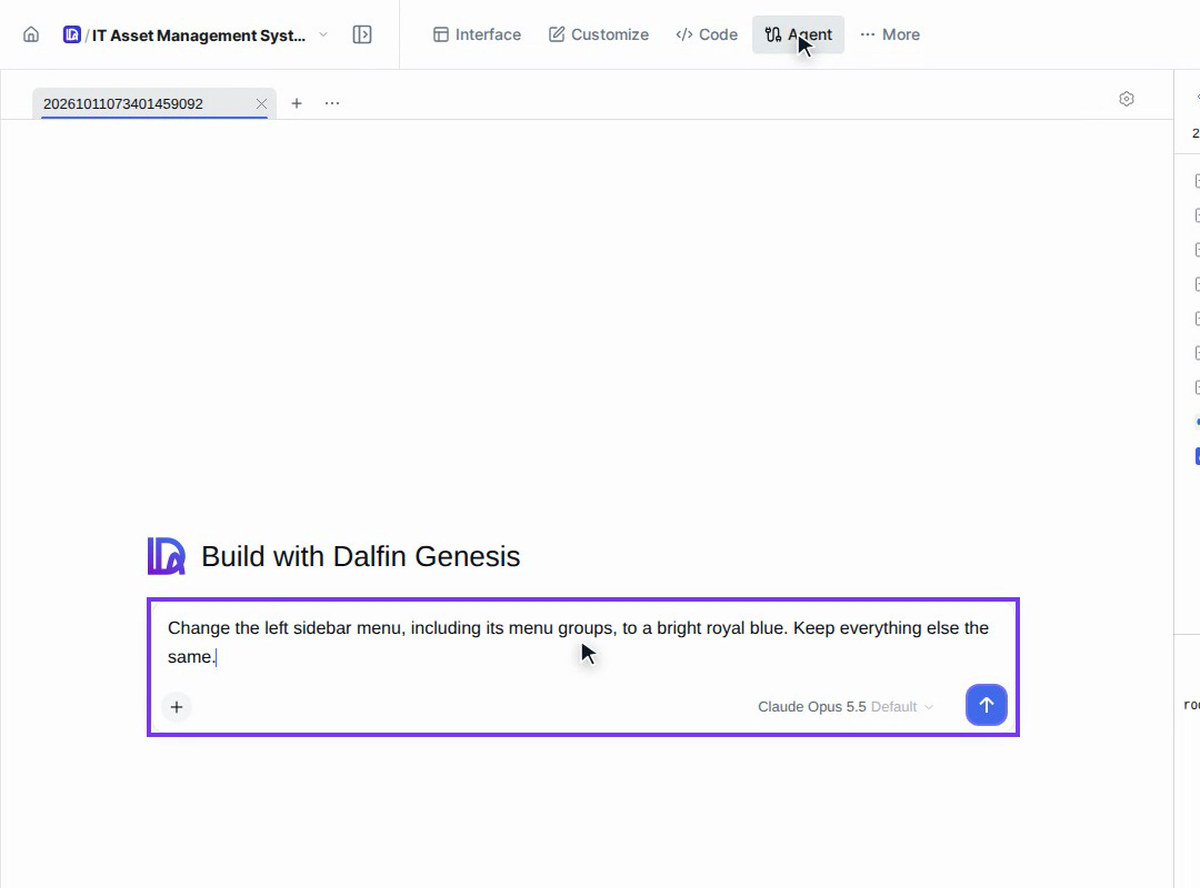
Click in the message box and type what you want, then select the arrow button to send it. Say which part of the system you mean and what should stay the same. The example in the video:
Change the left sidebar menu, including its menu groups, to a bright royal blue.
Keep everything else the same.
Your message gets its own session tab, named after your request.
Let the agent read your code
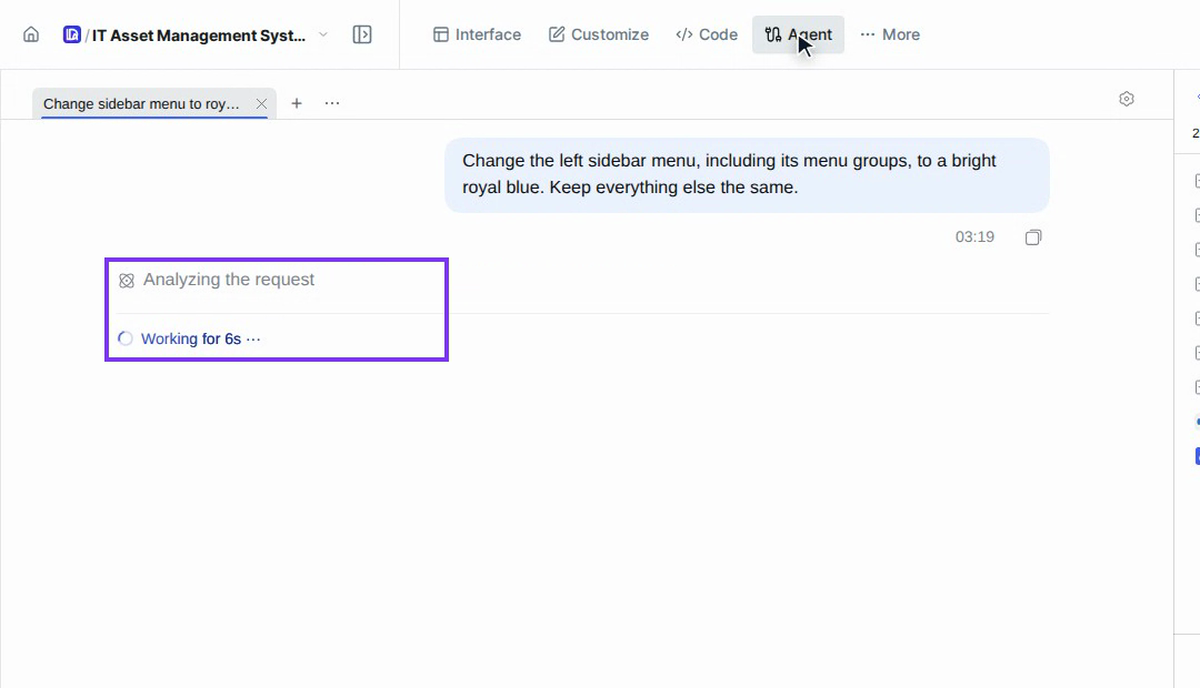
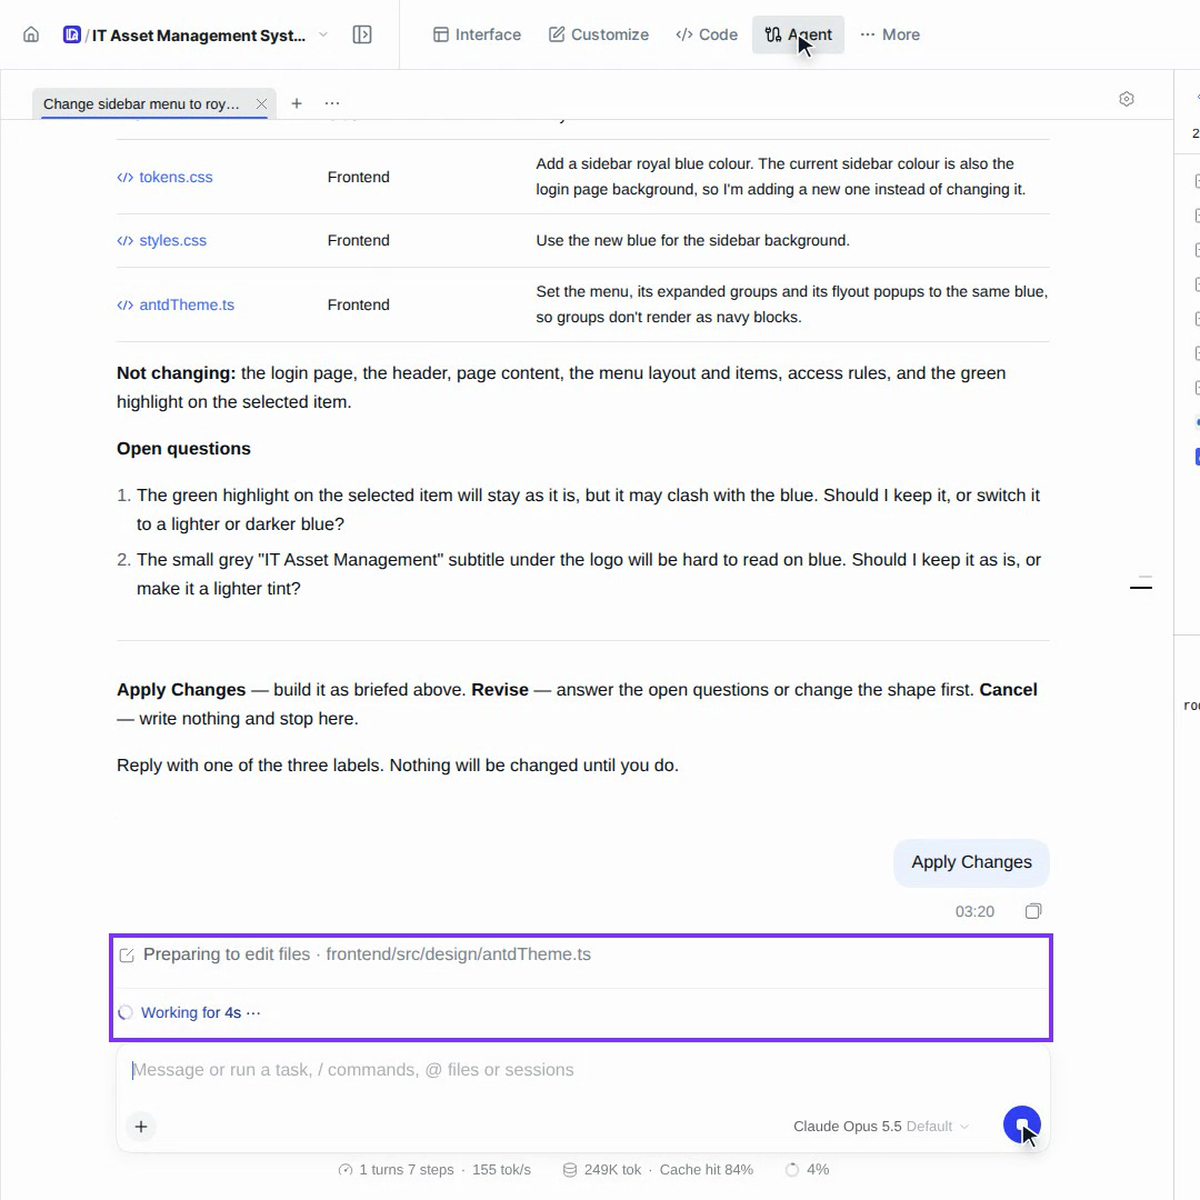
The agent shows Analyzing the request and Working for … while it reads your system's code to find what it needs to change. You don't have to do anything while it works.
Check the plan
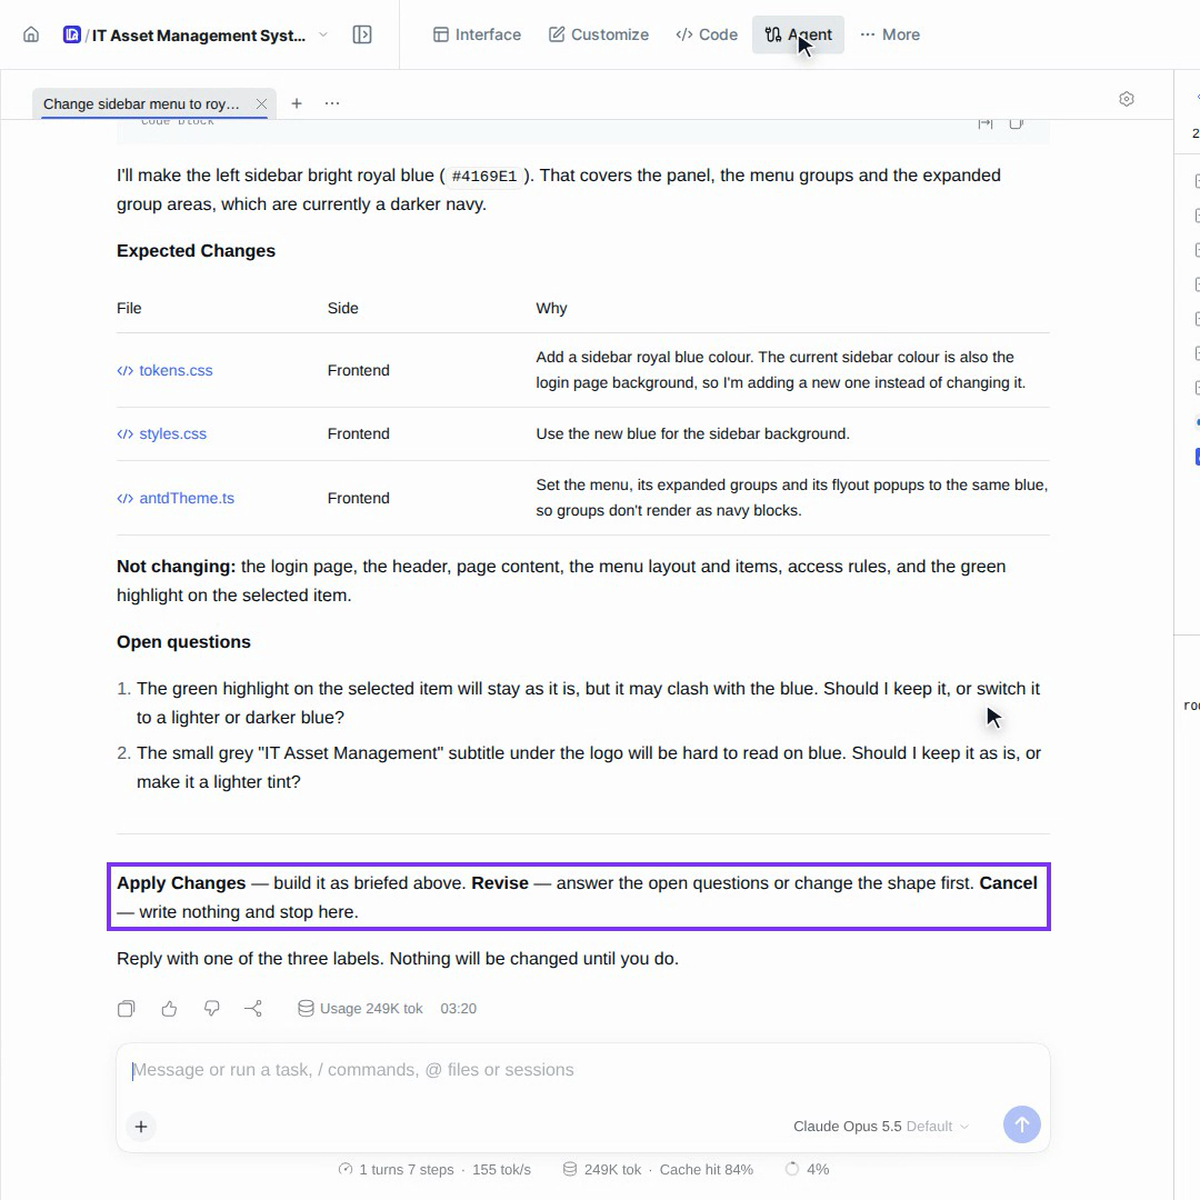
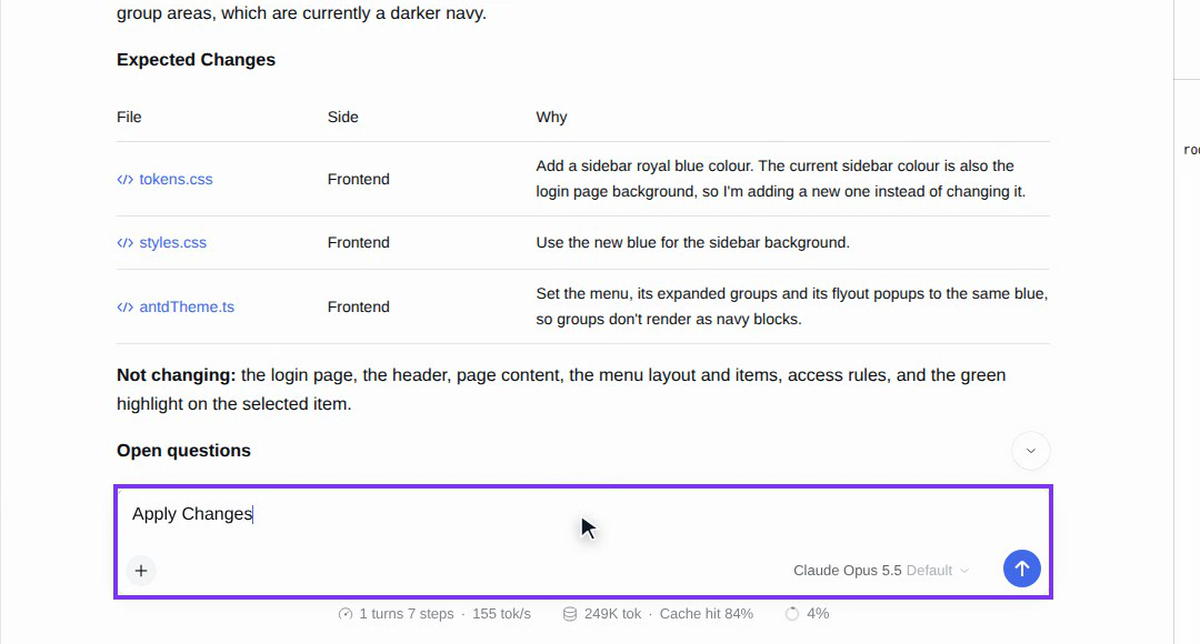
Before it changes anything, the agent shows its plan:
- Expected Changes: each file it will change, whether it is Frontend or Backend, and why.
- Not changing: what it will leave alone.
- Open questions: points where it needs your choice. If you don't answer them, it keeps things as they are.
At the end it asks you to reply with one of three labels:
| Reply | What happens |
|---|---|
| Apply Changes | The agent makes the change as planned. |
| Revise | Answer the open questions or change the plan first. |
| Cancel | Nothing is changed and the agent stops. |
Nothing changes until you reply.
Reply Apply Changes
If the plan looks right, type Apply Changes in the message box and send it. The agent shows Preparing to edit files with the file it is working on, and then makes the change.
Read what it changed
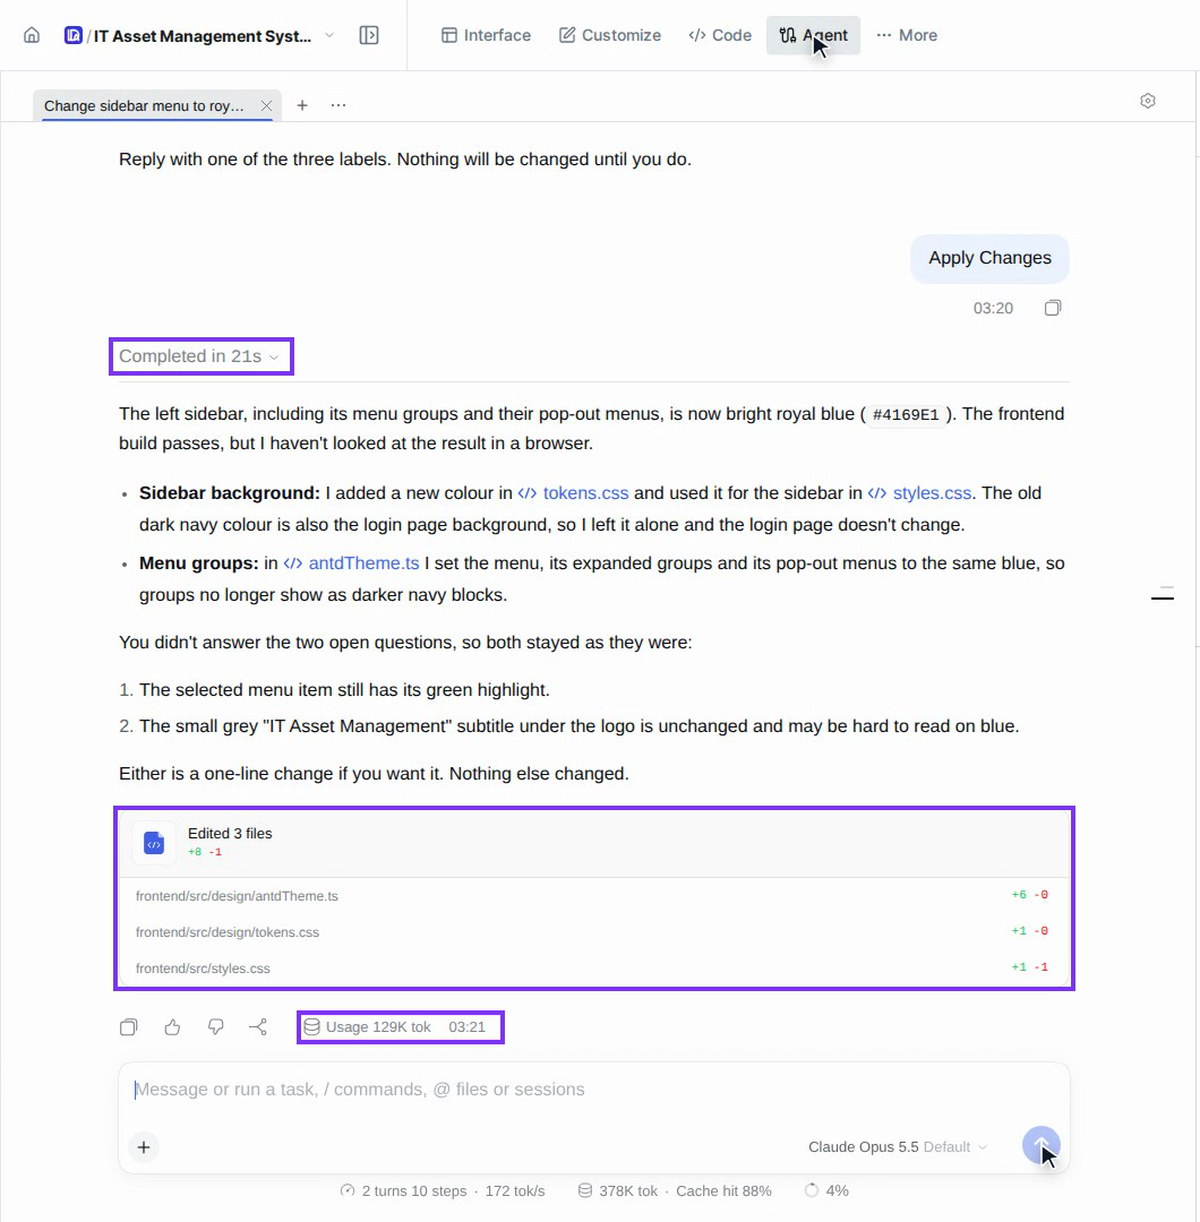
When it's done, the agent sums up what it changed and lists the edited files, with the number of lines added and removed in each.
- Select Completed in … above the answer to see every step the agent took.
- Usage under the answer shows the tokens that answer used. The line under the message box shows the totals for the whole session.
See the change in your system
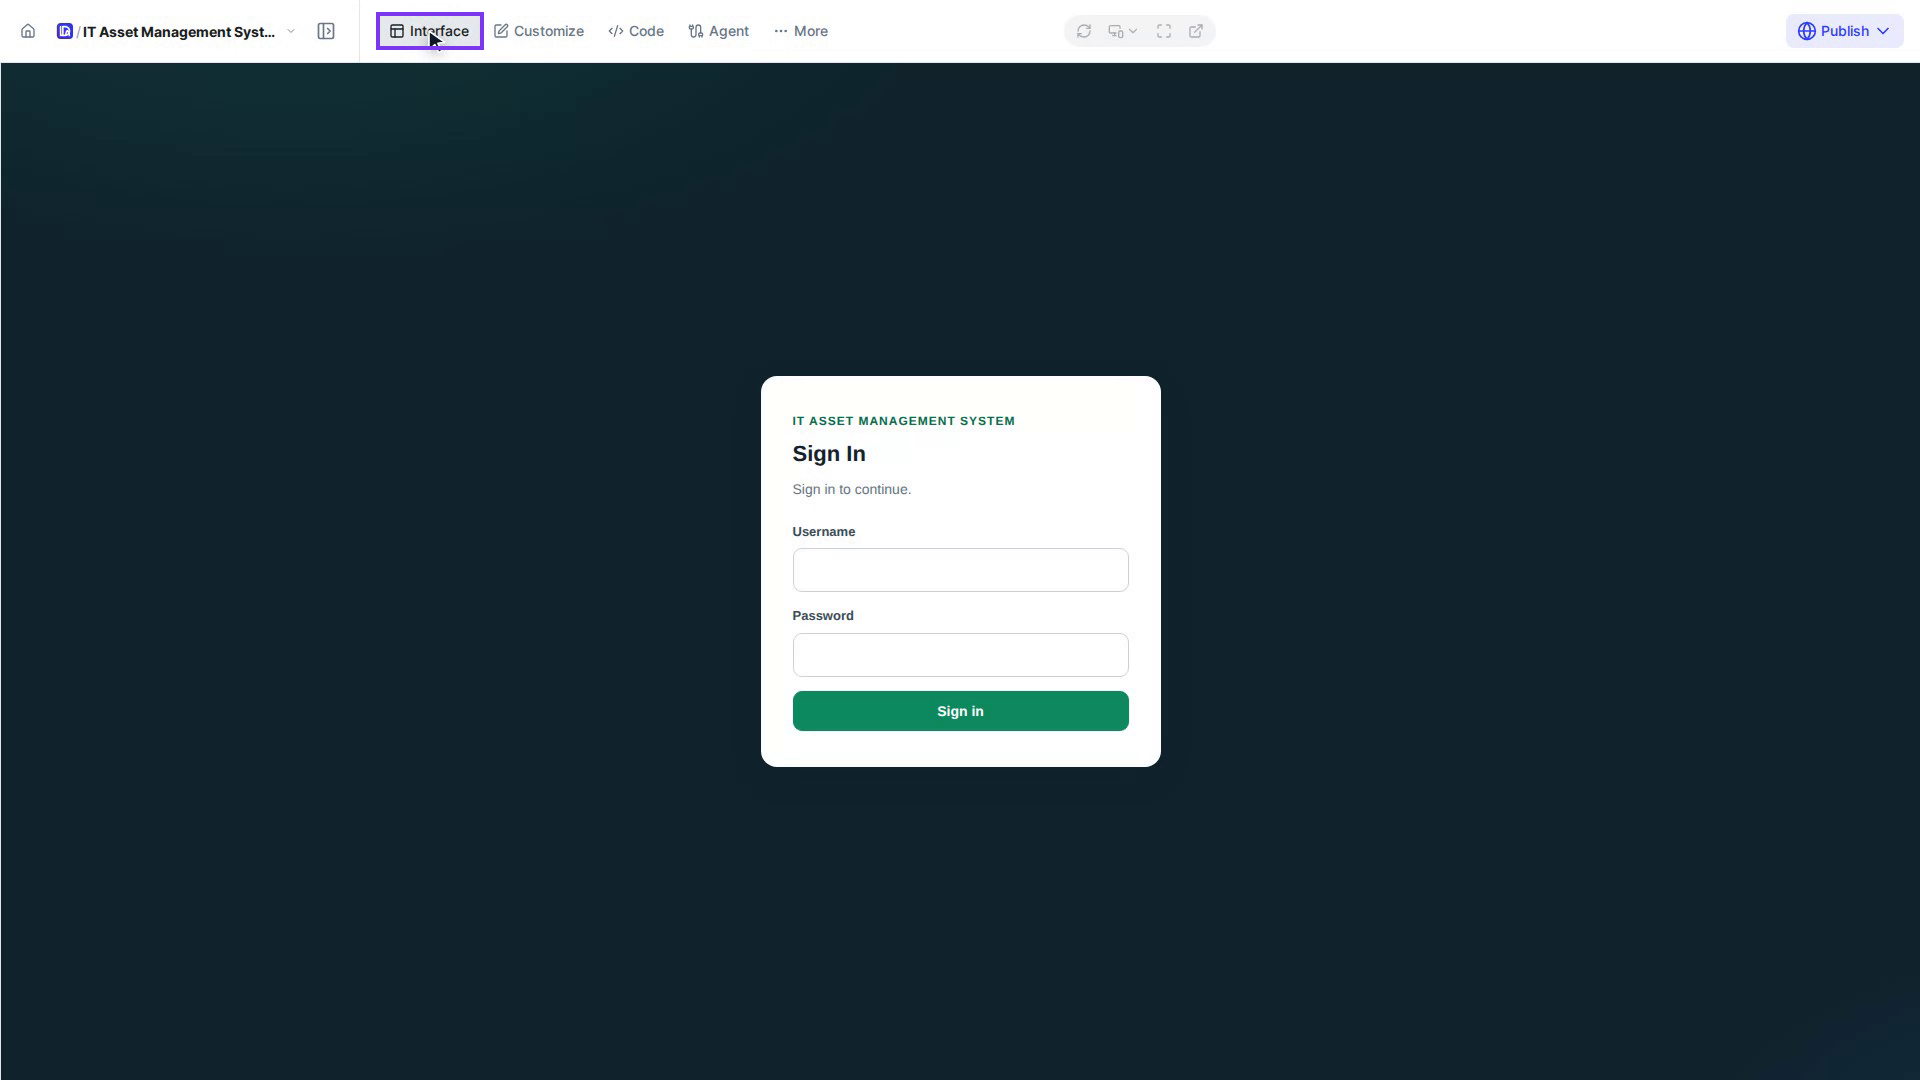
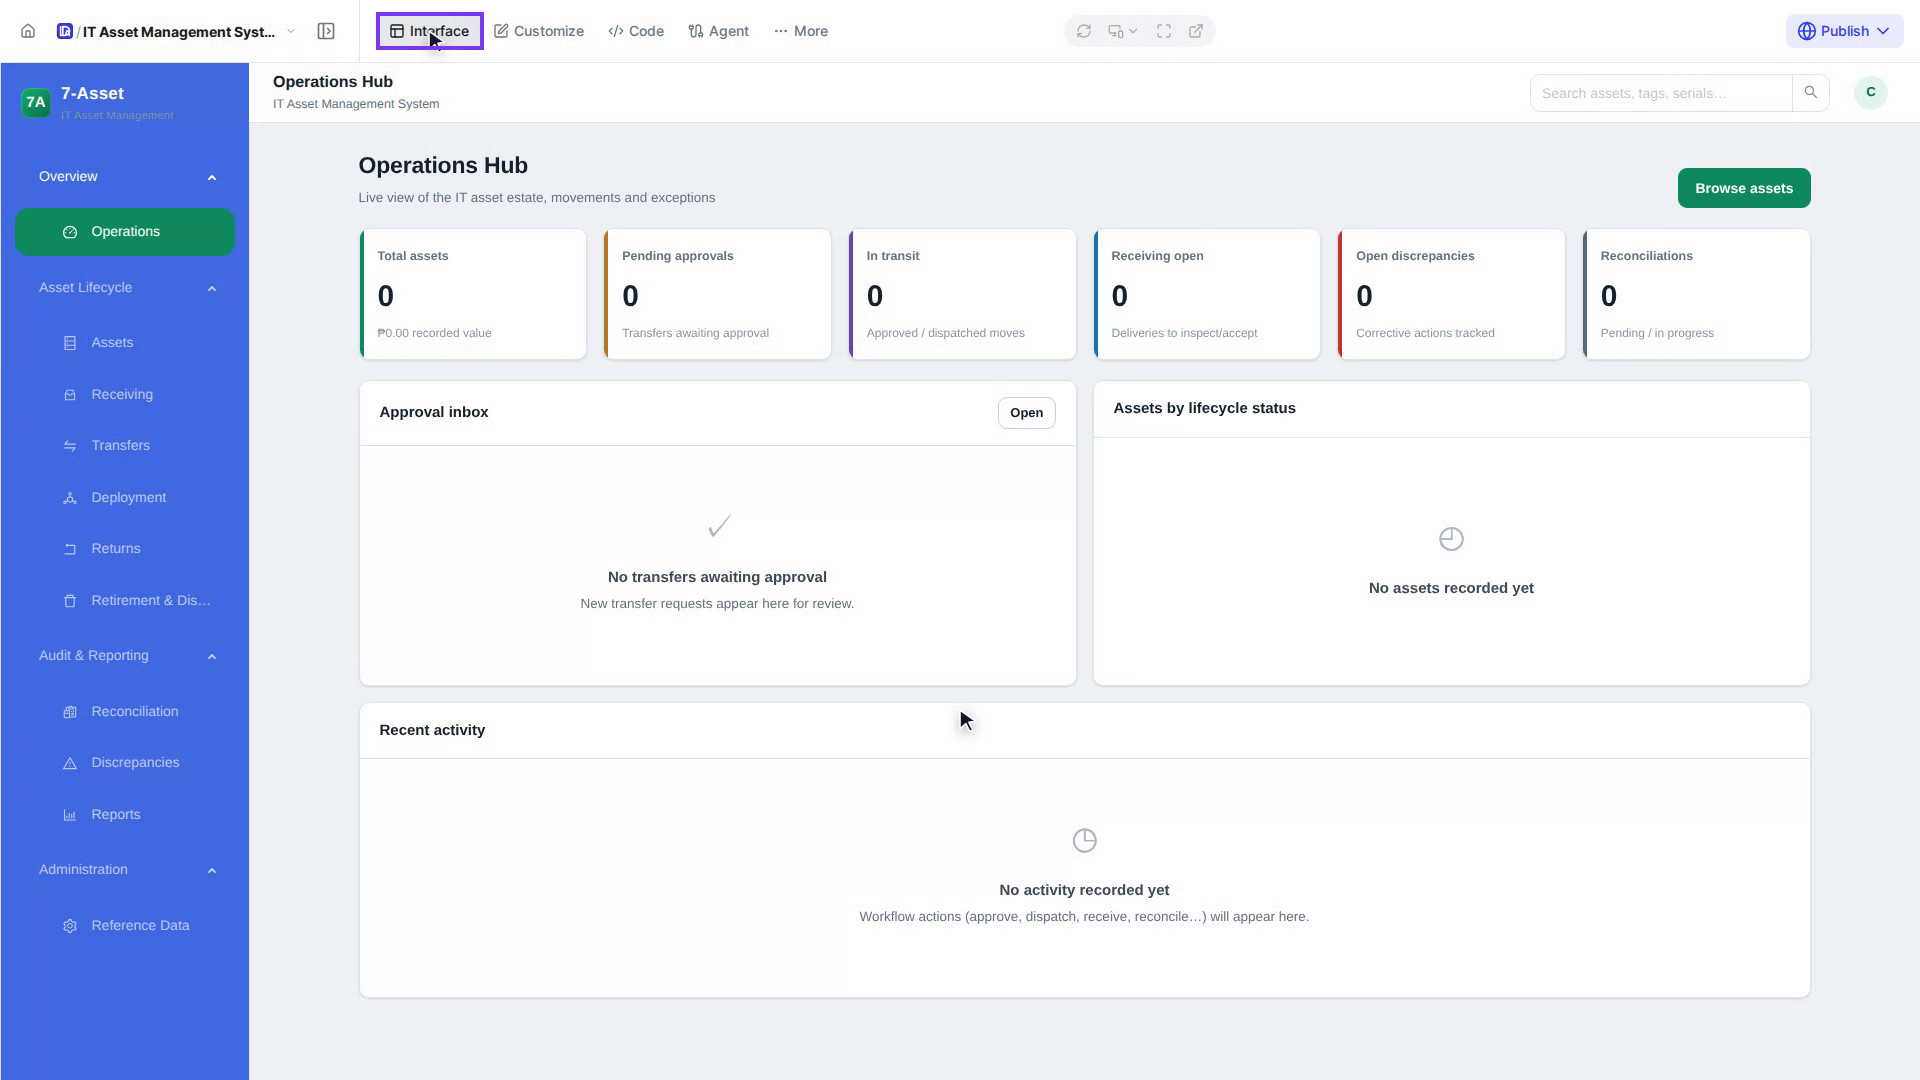
Select Interface in the top bar. If your system asks you to sign in, sign in with your Dalfin account. The change is there: in the example, the sidebar menu is now royal blue and everything else is the same.
Add more to a message (optional)
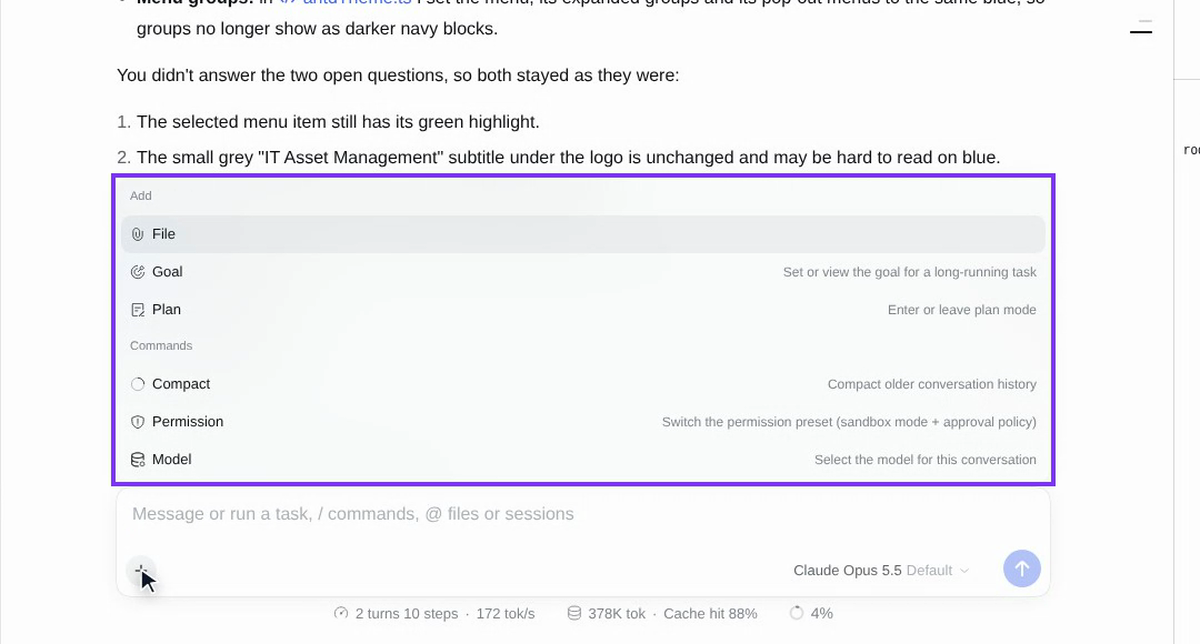
Select + in the message box for more options:
- File: attach a file for the agent to work from.
- Goal: set or view the goal for a long-running task.
- Plan: enter or leave plan mode, to plan before building.
- Compact: shorten the older part of a long conversation.
- Permission: switch what the agent may do without asking you.
- Model: change the model for this conversation.
You can also type / in the message box for commands, or @ to point the agent at a file or an earlier session.
Screenshots
Step 1: Choose the model
Step 2: Describe the change
Step 3: Let the agent read your code
Step 4: Check the plan
Step 5: Reply Apply Changes
Step 6: Read what it changed
Step 7: See the change in your system
Step 8: Add more to a message (optional)
Watch how
Tip: Ask for one change at a time and check it on the Interface tab before you ask for the next. To start a fresh conversation, select + next to the session tabs. To go back to an earlier one, select ⋯ (More sessions).